Customize Shortcut Keys
Additional Customization Resources
- The Keyboard Commands: Overview
- Locating the Keyboard Commands in CAD
- Method 1: Locating the Keyboard Commands in Our Hover Tooltips
- Method 2: Locating the Keyboard Commands in the Customize User Interface (CUI)
- Creating a Shortcut (Alias) for a Keyboard Command
- Using Your Aliases
- Adding a Macro, Multi-Step, or Compound Keyboard Shortcut (Advanced Users)
Each AutoCAD and Land F/X tool has a corresponding keyboard command, which you can type in the Command line to access that tool. If you take the time to memorize them, these keyboard commands provide a quick way to access your favorite tools without searching for them in a ribbon, toolbar, or menu.
Even more handy, however, is the ability to create shortcuts for these keyboard commands – otherwise known as "aliases" – using the AutoCAD Edit Alias tool. With aliases, you can set any combination of keystrokes to access the AutoCAD or Land F/X tool of your choice. We recommend making your aliases as short as possible for easy memorization and quick access. In most cases, a two-letter code can serve as your alias for one of the commands.
In this way, the keyboard commands you memorize and use are not only brief and easy to remember – they're your own.
The Keyboard Commands: Overview
Before you can create an alias for an AutoCAD or Land F/X tool's keyboard command, you'll need to find out the command.
We've provided a documentation page listing the keyboard commands for all tools on each Land F/X ribbon. You can find them here:
Locating the Keyboard Commands in CAD
Method 1: Locating the Keyboard Commands in Our Hover Tooltips
We've made it easy to find our keyboard commands by adding them to the hover tooltips in our ribbons.
Just hover your mouse pointer on the button for the tool whose keyboard command you need to find out. After a few seconds, it will drop down a tooltip. The command name will be identified at the bottom, just above the words Press F1 for Help.
While the tooltip is still expanded, you can also press the F1 key on your keyboard to open the exact documentation page for that tool, which will make it easier to copy and paste the command name.

Method 2: Locating the Keyboard Commands in the Customize User Interface (CUI)
You can also find all the existing keyboard commands for all AutoCAD and Land F/X tools by using the Customize User Interface (CUI) feature in AutoCAD.
Open the CUI:

Manage ribbon, User Interface button
or type CUI in the Command line
The Customize User Interface dialog box will open. With the Customize tab open, search by name (or partial name) for an AutoCAD or Land F/X tool in the Command List field. In our example, we've searched for the word Irrigation.
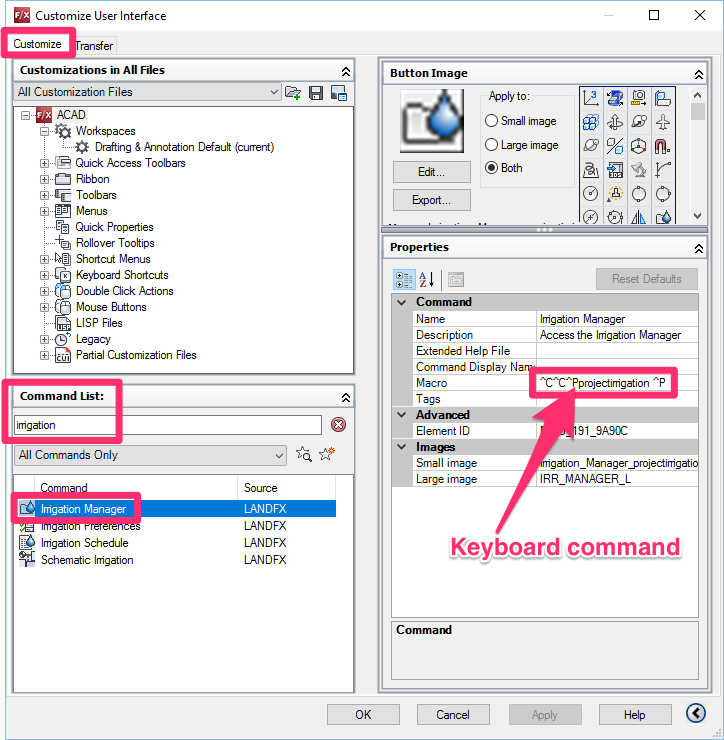
The names of all AutoCAD and Land F/X tools that include your search term will appear in the pane to the bottom left. Highlight the name of a tool whose keyboard command you would like to know (example: Irrigation Manager).
The keyboard command for the highlighted tool will appear to the right of the word Macro in the pane to the right (see image above).
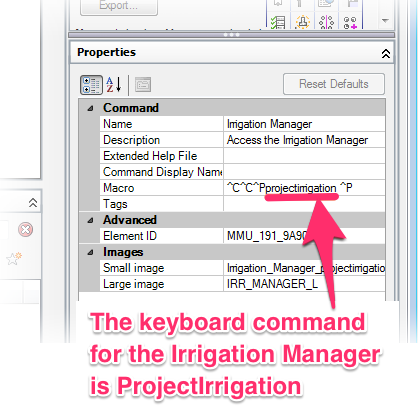
You can ignore the characters ^C^C^ before the command, as well as the characters ^P after it. So in this case, the keyboard command for the Irrigation Manager is ProjectIrrigation.
Creating a Shortcut (Alias) for a Keyboard Command
You can create your own keyboard shortcuts for the AutoCAD and Land F/X tools using the AutoCAD Alias Editor. Open the Alias Editor:
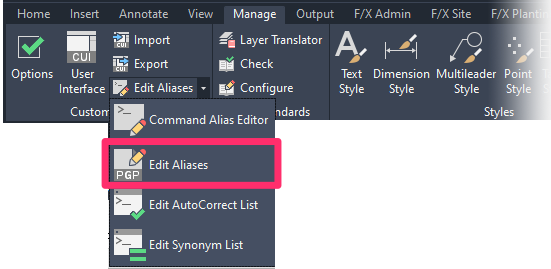
Manage ribbon, Edit Aliases flyout
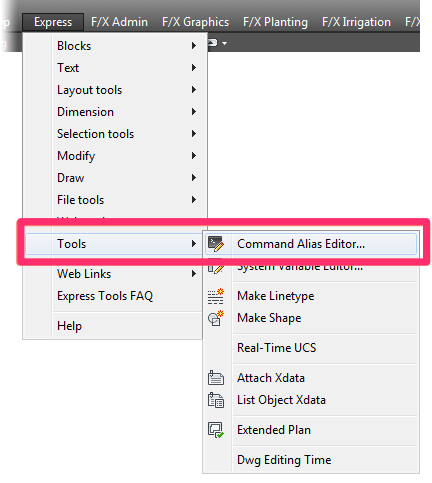
AutoCAD Express > Tools menu, Command Alias Editor option
or type AliasEdit in the Command line
The AutoCAD Alias Editor dialog box will open. Click Add to open the New Command Alias dialog box.


In the AutoCAD Command field, type the name (or partial name) of the keyboard command for a tool. Note that you need to type the actual keyboard command here – not the name of the tool.
In our example, we'll create an alias for the Irrigation Manager tool. Using either the documentation pages or the CUI instructions shown above in the Keyboard Commands section, we've learned that the command to access the Irrigation Manager is ProjectIrrigation.
As you type the command name, the list below will show similar entries. When we type ProjectIrr, we can see that the command we're looking for, ProjectIrrigation, shows up first in the list.
Don't see the command in the list? That's OK – continue adding your command alias by following the steps below.


Highlight the keyboard command in the list. The full command will appear in the AutoCAD Command field.
You can now type the alias of your choice for the command. We've chosen the letters PI as our alias for the Irrigation Manager.
Click OK to save your alias.

Unhandled Exception Error
You might receive an error message beginning with "Unhandled exception has occurred in your application."
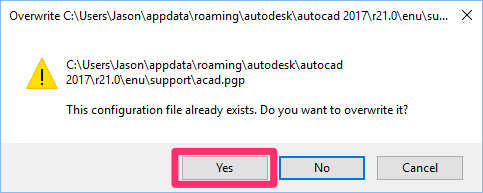
Once you've confirmed your changes, you'll be asked whether you want to overwrite the existing configuration file.
Click Yes to set your alias as the command for the selected tool.
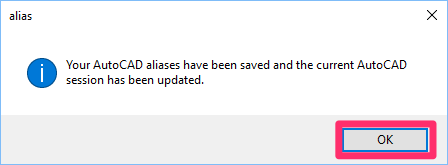
You'll then see a message that your aliases have been saved.
Click OK to save your aliases.
You can continue to add aliases as needed by repeating the instructions outlined above.
For more information about the Alias Edit command, see our Alias Edit PDF.
Using Your Aliases
Once you've created an alias for a tool, you can type that alias in the Command line to access that tool.
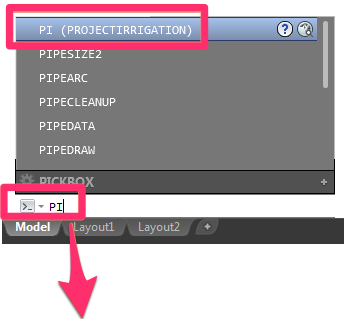
In our case, we've created the alias PI for the Irrigation Manager.
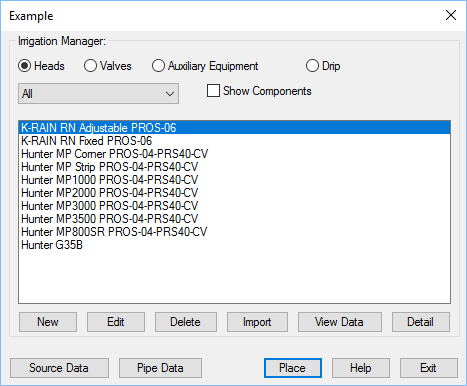
When we type PI in the AutoCAD Command line, we're now able to access the command ProjectIrrigation – that is, the command for the Irrigation Manager.
Adding a Macro, Multi-Step, or Compound Shortcut (Advanced Users)
Some CAD users like to create macros – compound commands that automatically fire multiple CAD commands at once. For example, you may have created a command that automatically zooms to extents and then zooms to a 90% view of your drawing.
While it's possible to create a shortcut for this type of command, the process requires a few extra steps. In fact, the only way to create a shortcut for a macro is to use the programming language LISP. We recommend completing this process using the Customized User Interface (CUI). Here, you can add any necessary LISP as a .mnl file for either the Custom CUIX or one named for your office.
In order to complete the following steps, you'll need to have created your own macros using LISP and saved them as .mnl files.
Open the CUI as described above.
In the Customized User Interface dialog box, right-click the LISP Files option and select Load LISP from the menu that opens.

In the dialog box that opens, navigate to and select the LISP file you want to load. Click Open.

Restart CAD. Your macro will load and be available for use.


