Edit Our Default Plant Symbols
Quick video
- A Few Important Notes About Plant Symbols
- The Land F/X Block Folder Structure
- Editing a Tree or Shrub Symbol
- Saving Edited Symbols With Save Block
- Alphanumeric Symbols
- Saving a Groundcover or Shrub Area Hatch
- Re-Creating Your Custom Plant Symbols Using Our Default Blocks
- Related Webinars
- Troubleshooting
Your installation of Planting F/X includes libraries of plant symbols and groundcover hatches, all saved within your LandFX folder. The plant symbols are saved as DWG files (also known as source block drawings), and the groundcover hatches are saved as PAT files. You're free to edit these blocks and hatches to serve your needs and office standards. It's a good idea to save the DWG under a new name once you've made your changes, in case you decide you want to use the original symbol.
Groundcovers are represented by hatch patterns rather than standard plant symbols. For more information, see our Groundcover Hatch Patterns documentation. For information on saving hatches into our hatch library, see our Save Hatches documentation.
A Few Important Notes About Plant Symbols
If you intend to make extensive changes to one of the default plant symbols, we recommend reading our documentation on the General Rules for Plant Symbols and Plant Symbol Sizes.
We also recommend learning about the best practices for Symbol Layer Names.
Our Block Folder Structure
All of our default blocks, including plant symbols, are stored as DWG files in the Blocks subfolder in your LandFX folder. Plant symbols are saved in the folder LandFX/Blocks/Graphics/Planting.
The Planting subfolder contains subfolders for three of the four plant categories: Shrub Areas, Shrubs, and Trees.

Groundcovers are saved as hatches rather than blocks, so you'll find the Groundcover hatches in another location. For information on editing groundcover hatches, see our Groundcover Hatch Patterns documentation.
Each plant category folder contains a subfolder for each symbol type under that category. For example, the Tree folder contains a subfolder for each tree symbol type: Simple, Evergreen, Deciduous, etc.
Our software is configured to access these folders directly when you assign a symbol to a plant in the Planting dialog box.
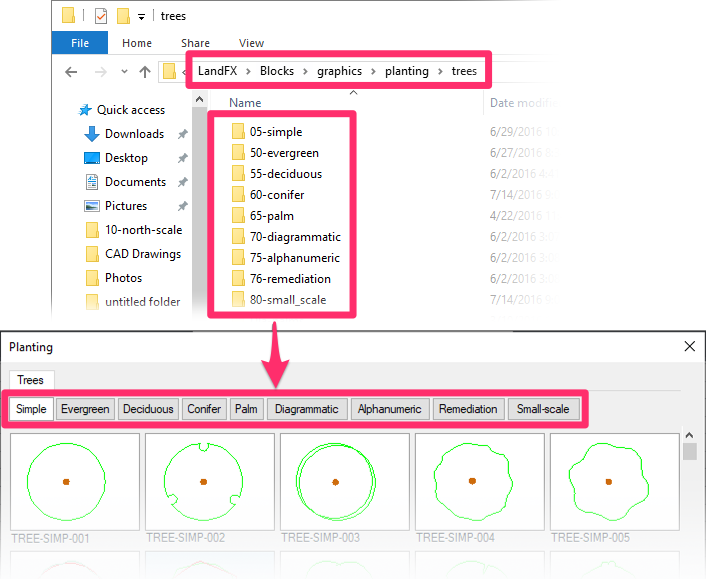
Each of these subfolders contains all files associated with each symbol:
- The drawing containing the symbol source block, with a DWG extension
- The slide of the symbol that appears as a thumbnail image throughout our software, with an SLD extension
- A directory listing that allows the system to access the symbol, with an XML extension
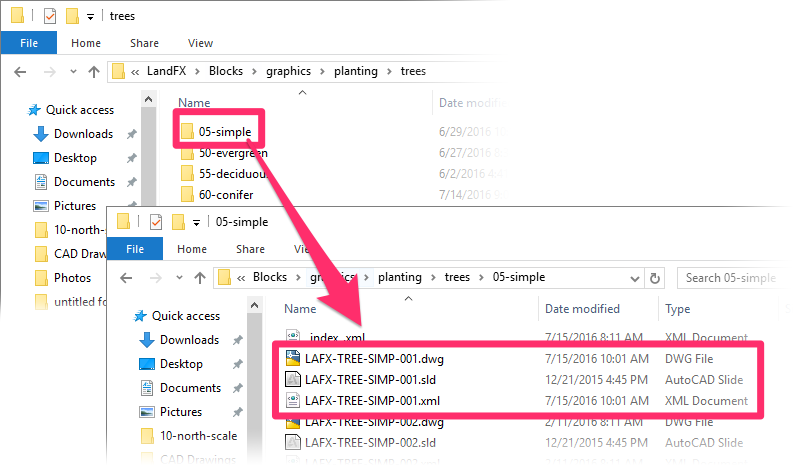
When you edit one of our default plant symbols, you'll edit the plant block in the DWG file with that symbol's name.
Editing a Tree or Shrub Symbol
To edit one of our default plant symbols, open that symbol's DWG source file.
We've engineered a quick and easy way to open and edit a symbol's source file from our Generic Plants tool. Open Generic Plants:
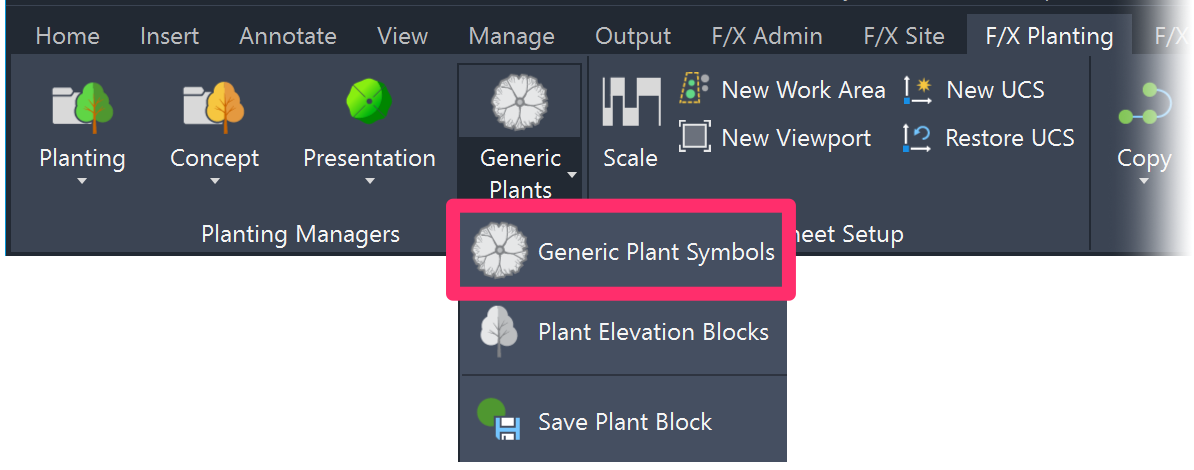
F/X Planting ribbon, Generic Plant Symbols flyout
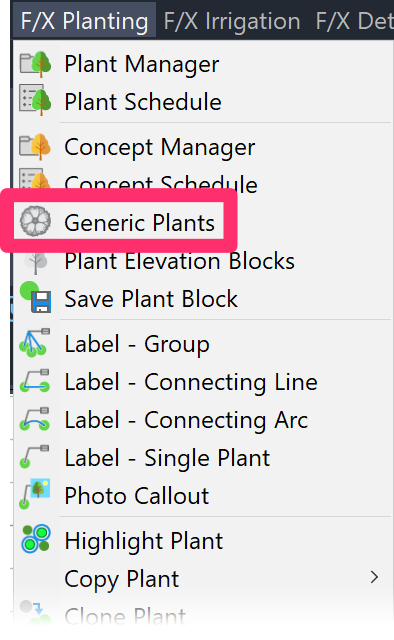
F/X Planting pull-down menu
or type FX_PlaceGenericTrees in the Command line
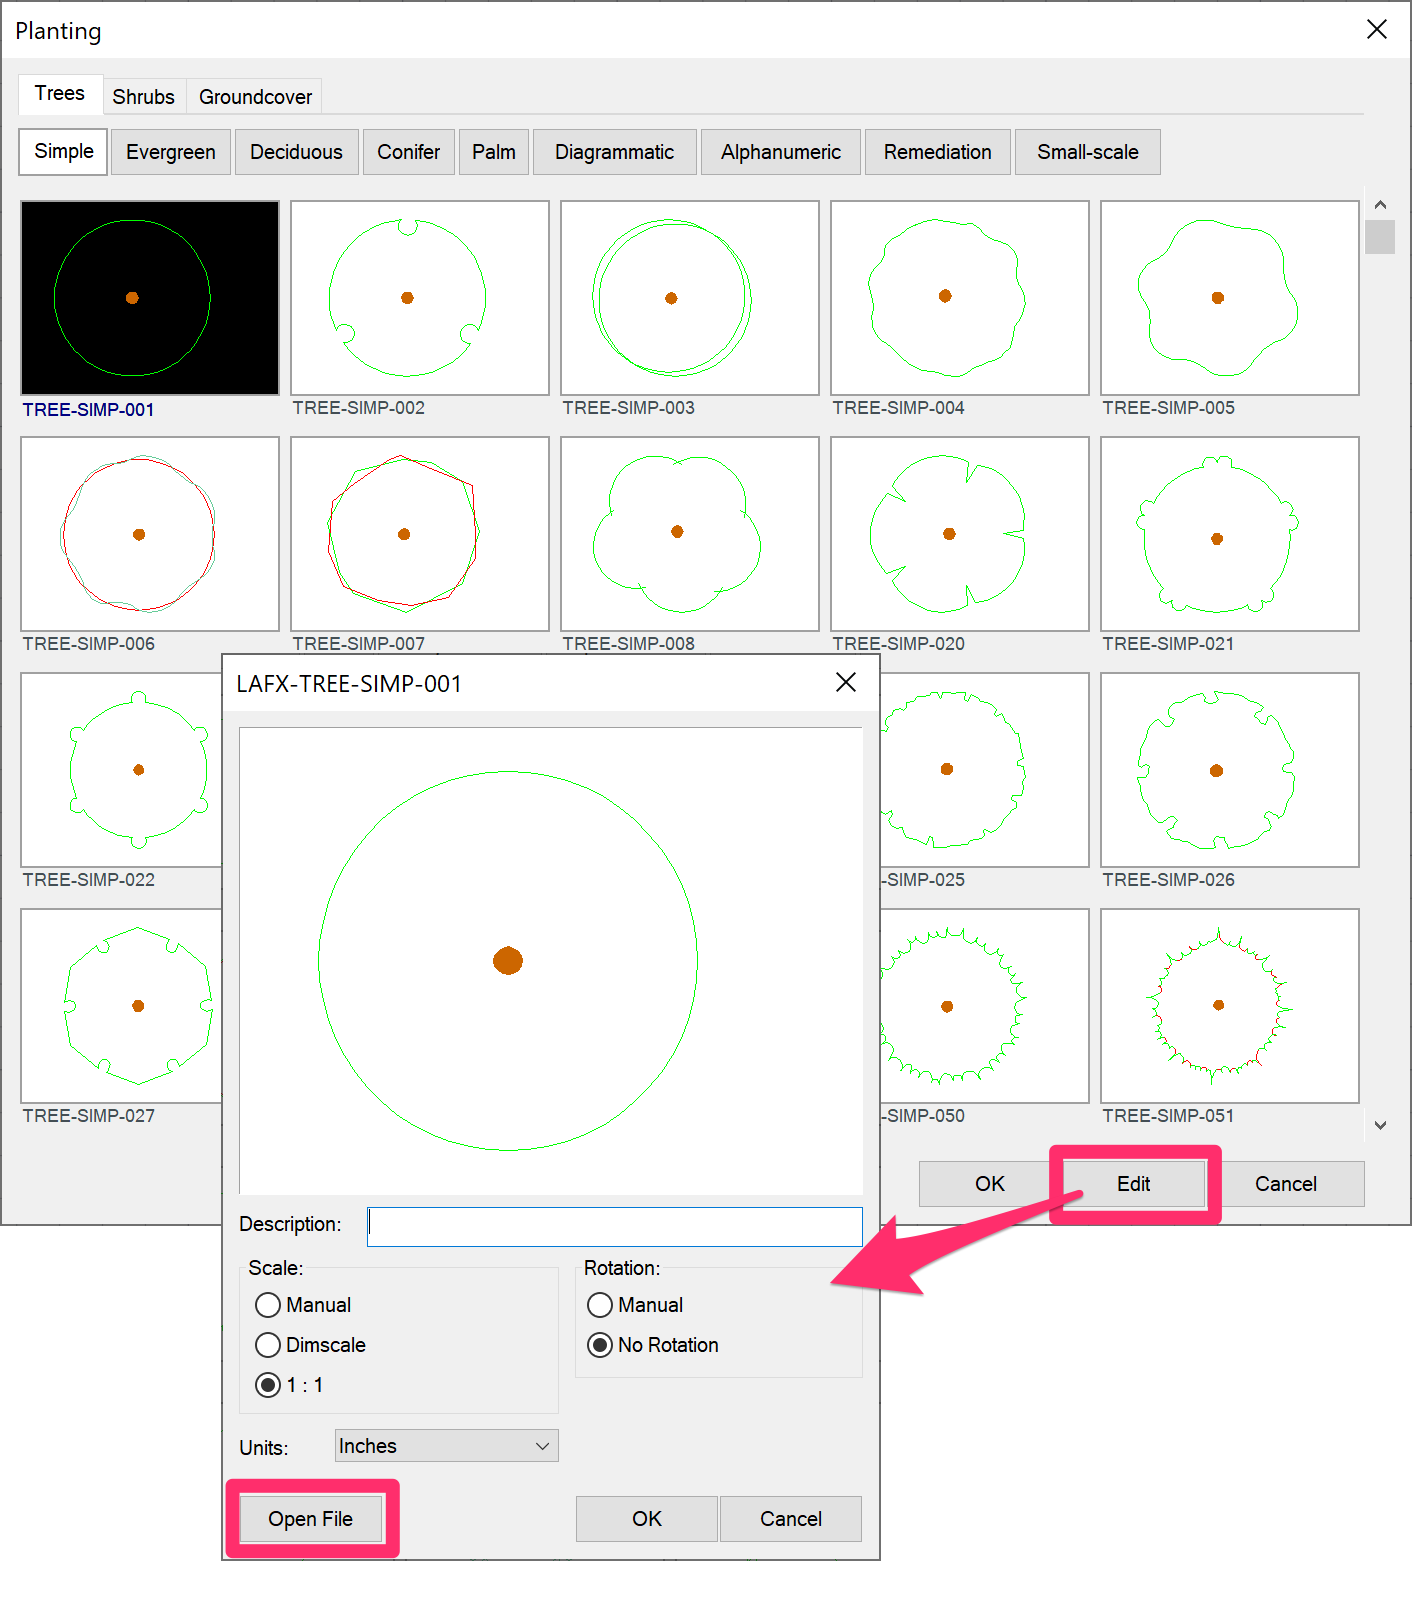
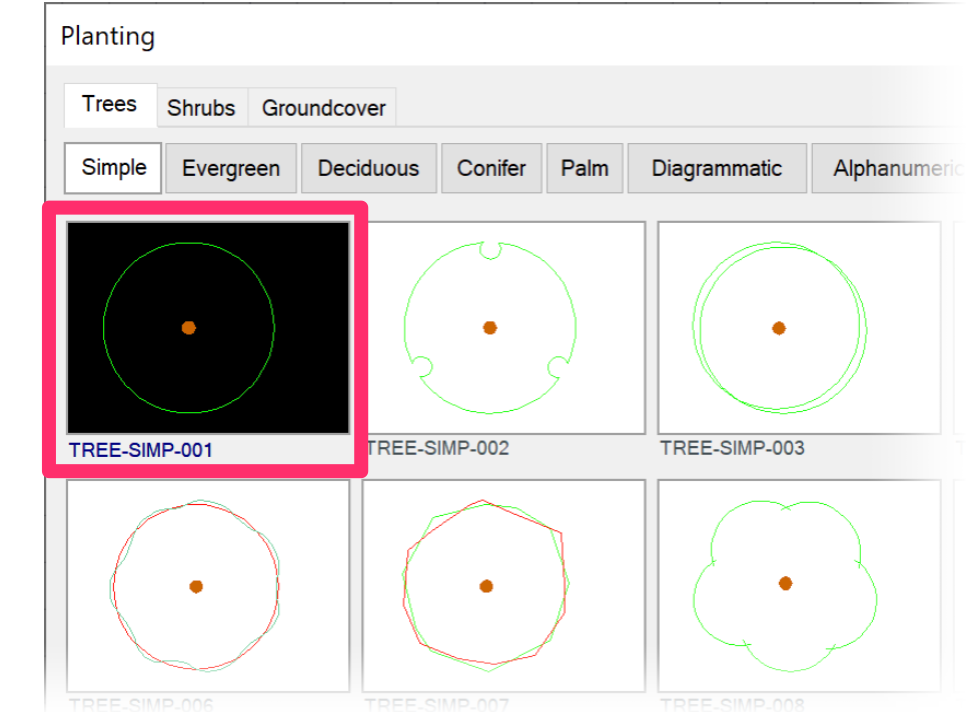
In the Planting dialog box, select the plant symbol you want to edit. Then click Edit. In this example, we'll edit the tree symbol LAFX-TREE-SIMP-001.
In the dialog box that opens, click Open File. The source file for the selected symbol will open, and you can make your desired edits.
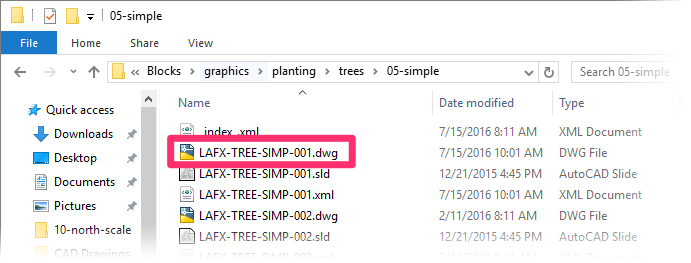
You can also choose to open the source file in the original way, by opening it directly from the appropriate subfolder within the path LandFX/Blocks/graphics/planting.
In this example, you would open the file LAFX-TREE-SIMP-001 from within the Trees subfolder.
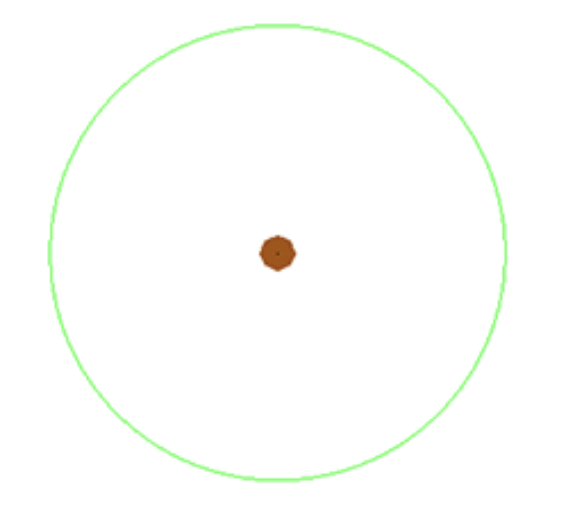
Here's what the default symbol LAFX-TREE-SIMP-001 looks like in its source drawing.
It has the exact same appearance throughout our software, as pictured below.
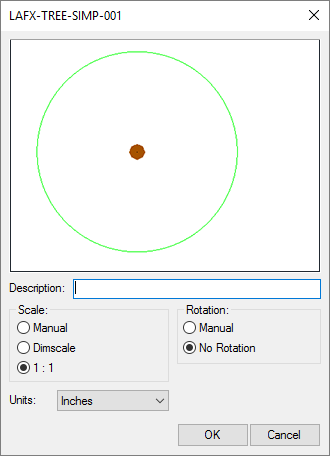
In this example, we'll add some lines to the existing symbol – right in its source drawing – to demonstrate the process.
We highly recommend saving your edited symbols under new filenames, which will prevent them from being overwritten by our cloud-based blocks. You can also create new symbol subfolders within the Trees and Shrubs folders to store your edited symbols.
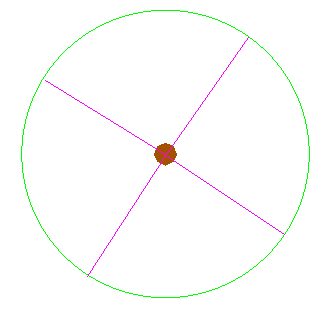
Note that all our default symbol blocks (those we've created and included with the software) will include the LAFX- prefix for ease of identification. You can choose whether or not to include this prefix in the filenames of your custom symbols. Note that the system will ignore this prefix when sorting symbols alphabetically.
Once you've made the changes you want to make, it's time to save the new symbol into the software using our Save Block tool.
Saving Edited Symbols with Save Block
Zoom in to your edited plant symbol so it somewhat fills your screen.
If you plan to adjust or rename any layer, do it now. If you plan to add shadows, make sure you place them due east of the drawing area.
Save Block automatically creates a preview slide for blocks you save. We offer a few best practices for optimizing the quality of this slide.
When ready to save the symbol, open the Save Block tool:
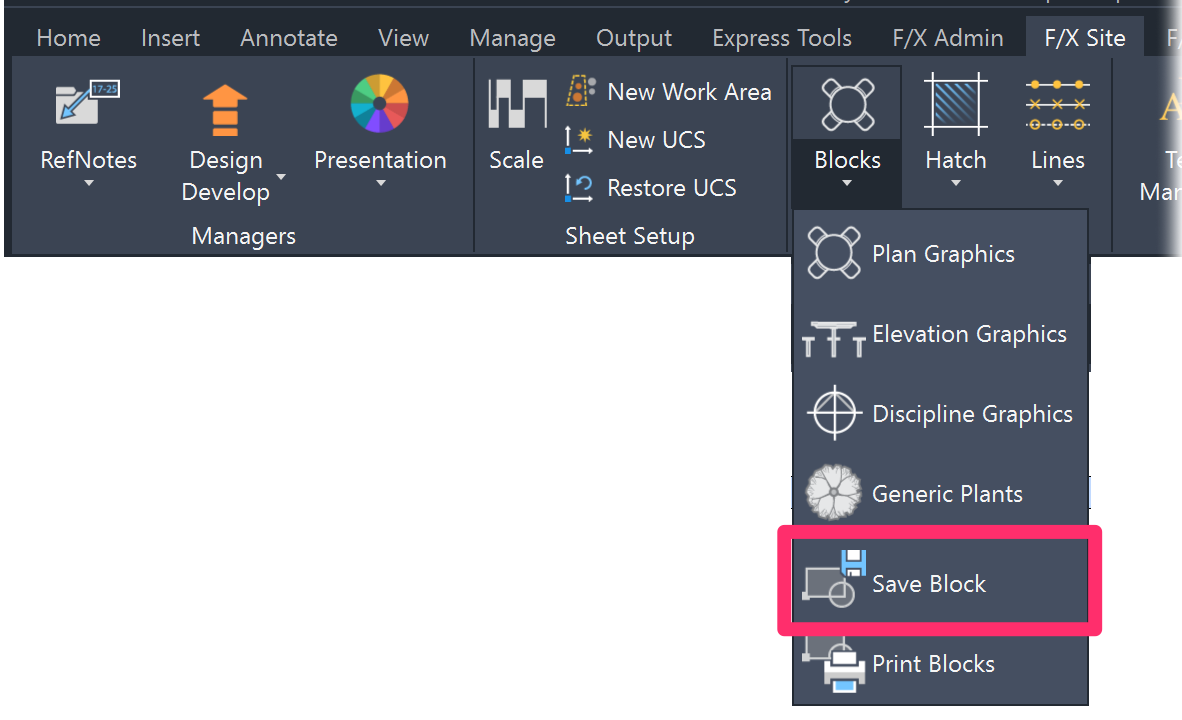
F/X Site ribbon, Save Block flyout
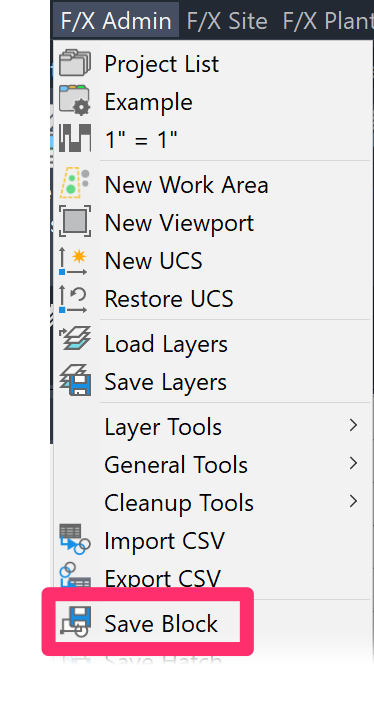
F/X Admin menu, Save Block option
or type FX_AddBlock in the Command line
The Command Line will prompt you to set an Insertion point.
Click to set your symbol's insertion point – usually at the center of the symbol or the center of a tree trunk, if applicable.
The Command line will then prompt you to Select objects.
Select all objects you want to include in this plant symbol, including the shadow (if you want your symbol to include one).
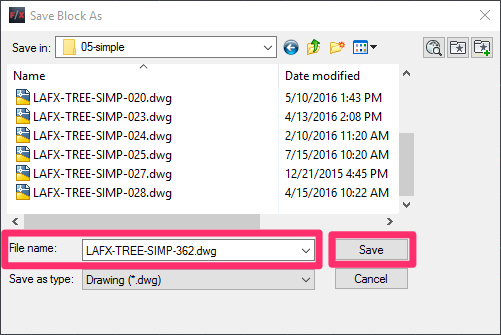
You'll be brought to the Save Block As dialog box, which mirrors the Blocks subfolder in your LandFX folder. We recommend saving the edited block under a new name to retain access to the original symbol and prevent your customized symbol from being overwritten by our cloud-based blocks.
Click Save to save your symbol into the system.
We'll give our newly edited symbol file the name LAFX-TREE-SIMP-362.
Remember to keep the LAFX-TREE- and LAFX-SHRUB- naming convention, which will allow our software to access your symbols.
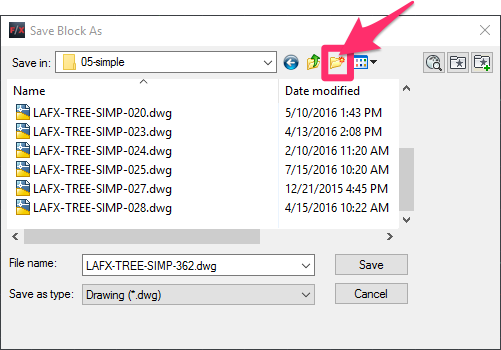
You're also free to create a new symbol subfolder at this point by clicking the button shown to the left.
You can then give the folder the name of your choice (less than 15 characters) and, if you want, save your symbol in this folder.
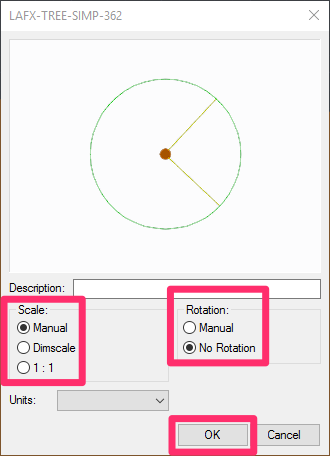
Clicking Save will open the Save Block dialog box.
We recommend setting the Scale to Manual and the Rotation to No Rotation.
Click OK to save the symbol.
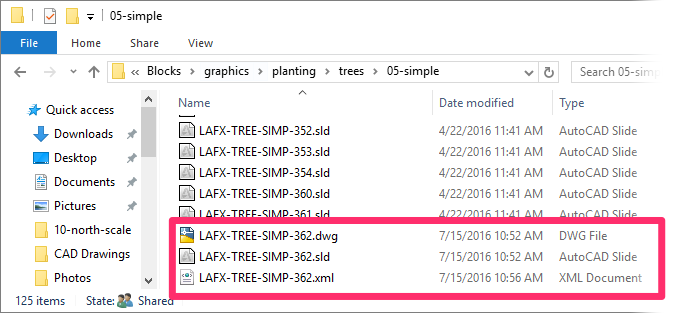
Your symbol will now appear in the blocks folder where you saved it, in the form of DWG, SLD, and XML files.
If you want to make further edits to this symbol, you can open this DWG file, edit it, and save it again with Save Block.
Your symbol will now be entered into our software. When you go to select or edit a plant symbol, the newly named symbol will be available as a thumbnail selection in the Planting dialog box. Note that the organization of this dialog box mirrors that of the folder LandFX\Blocks\Graphics\Planting.
In our example, we saved our symbol in the subfolder Trees\Simple within the Planting folder.
To find our symbol in the Planting dialog box, we select Trees, then Simple.
Our symbol is listed along with the other symbols in this folder.

Saving Alphanumeric Symbols
Our symbol blocks include a family of Alphanumeric symbols for trees and shrubs. Each of these symbols contains dynamic characters that, when placed in a drawing, will display the plant code of the plant represented by that symbol.
You're free to add your own Alphanumeric symbols to the symbol library. The easiest way to do this is to edit one of the existing Alphanumeric symbols and save it under a new name in the Alphanumeric subfolder within either the TREES or SHRUBS symbol folder.
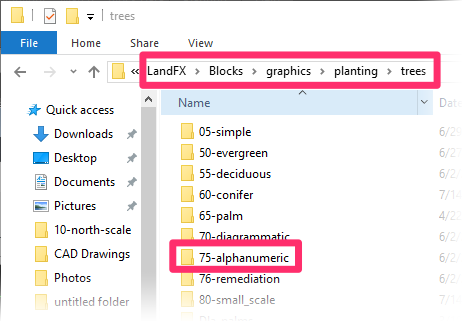
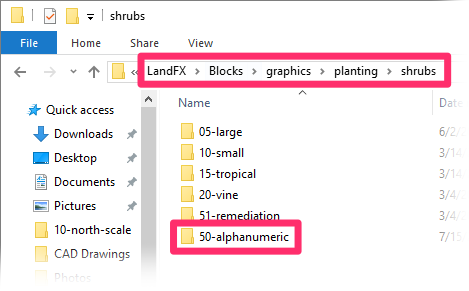
Because Alphanumeric symbols contain dynamic characters, they behave a little differently from other plant symbols when you save them. For more information, see our Alphanumeric Symbols documentation page.
Saving a Groundcover or Shrub Area Symbol
Groundcovers and Shrub Areas are represented by hatch patterns, but you can add to our library of hatch patterns for these items. For a quick way to find out which hatch patterns are available for these items, go to the Generic Plant symbol library.
Open our Generic Plants tool:

F/X Planting ribbon, Generic Plant Symbols flyout

F/X Planting menu, Generic Plant Symbols option
Or type FX_PlaceGenericTrees in the Command line
The Generic Plants dialog box will open.
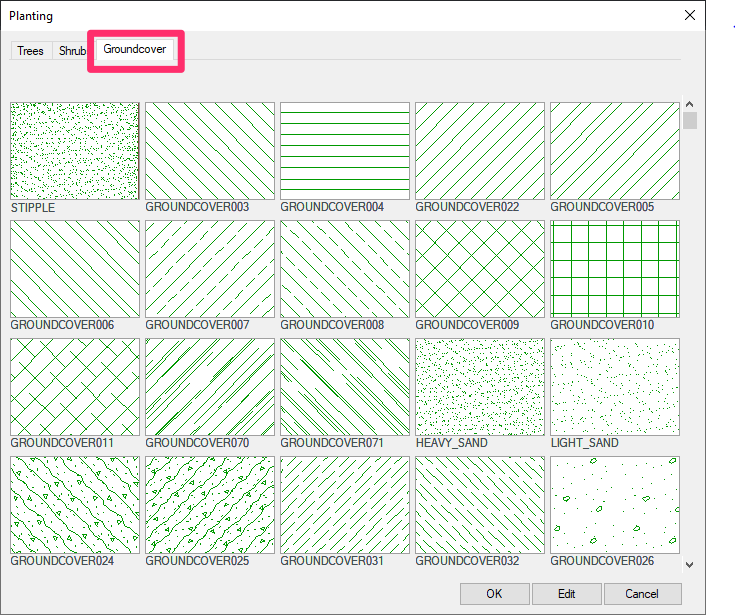
Select the Groundcover tab.
Review the hatch patterns available in our default hatch library. You can scroll up and down using the scroll bar on the right side of the dialog box.
 <
<
Adding to the Groundcover Hatch Library
The easiest way to add to the Groundcover Hatch Library is to edit an existing hatch pattern and then save it as a new hatch pattern. For information on editing these hatches, see our Groundcover Hatch Patterns documentation.
You may have downloaded or purchased a pattern or just used one of the AutoCAD standard patterns that is not in our default library. For information on adding a completely new hatch to our hatch library, see our Save Hatch Patterns documentation.
Creating and Saving a Shrub Area Boundary Linetype
If you add a plant to a project as a Shrub Area (as opposed to a groundcover), it will be represented by a hatch surrounded by a distinct linetype.
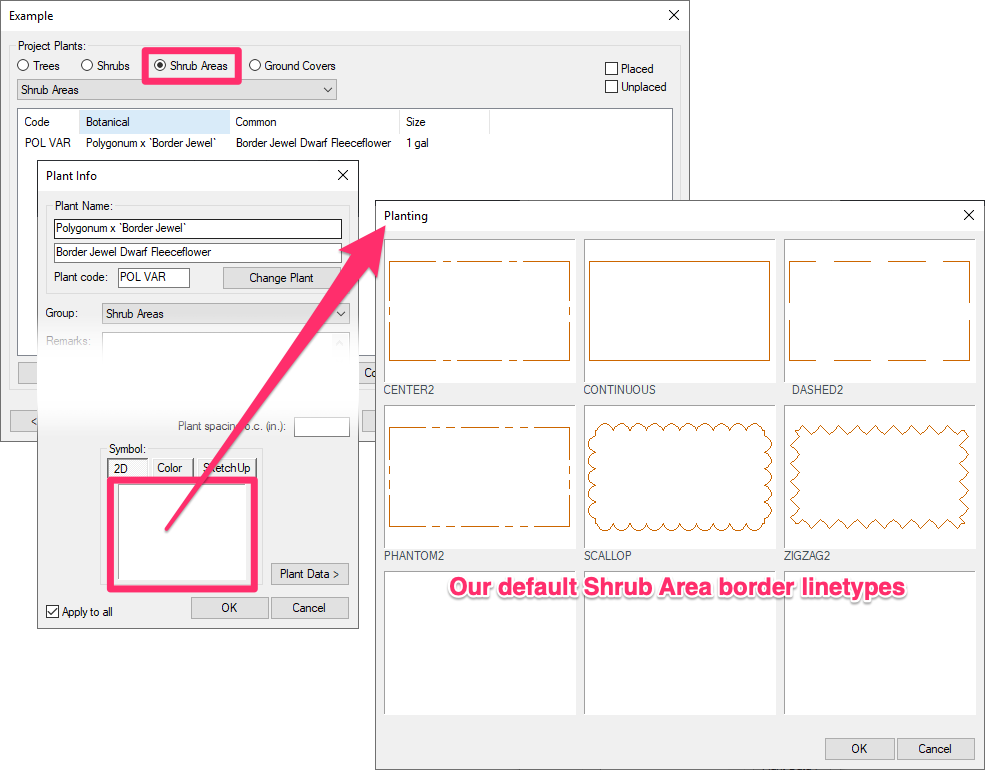
Want to add your own custom linetype to use as a boundary for Shrub Areas? See our steps for creating and saving a custom linetype for Shrub Area boundaries.
Re-Creating Your Custom PLant Symbols Using Our Default Blocks
Has something gone wrong with any of your custom plant symbol blocks? We recommend using our default blocks as a basis for your custom blocks, as they're already set up correctly for best performance in CAD. Use them to repair or re-create your custom blocks.
See our Re-Creating Custom Blocks from Default Blocks Power Tip, linked to the right, for more information and instructions.
Related Webinars
- Implementing Your Office CAD Standards: Find out how easily you can adapt your own office standards to Land F/X – and how effectively the software will then apply them to your projects. (1 hr 2 min)
- Rock Out With Your Block Out: We’ve formulated a workflow that incorporates Adobe Photoshop and Illustrator along with AutoCAD to create custom block content. Learn how to transform an image into a polished, optimized, and unique block for your library. (1 hr 5 min)
- Planting F/X Setup: If you're trying to make Planting F/X work with your firm's existing style standards, this webinar is for you. (58 min)
- Working with Blocks: We go over the role played by blocks within our software, showing the various types of blocks you have access to and how they all function. We'll also show you how to integrate your personal set of custom blocks into our system. (51 min)
Troubleshooting
Issue: Your customized tree or shrub symbols are appearing in the Plant Schedule at an incorrect rotation


