Change Plants
You can easily select a plant you've placed in your drawing and replace it with a totally different plant.
If you simply want to edit a plant's information, see our Edit Plant Information documentation.
Changing Plants Overview
To change plants, open the Plant Info dialog box:

F/X Planting ribbon, Edit Plant button
type FX_PlantInfo in the Command line

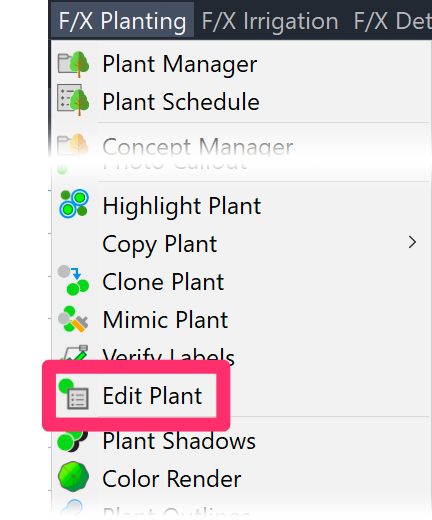
F/X Planting menu, Edit Plant option

F/X Planting menu, Edit Plant option
or type FX_PlantInfo in the Command line
The cursor will turn into a pickbox. Select the plant you want to change.
Use caution when changing using this method while the design process is already under way.
Changing plants from the Plant Manager WILL NOT create problems if:
- The planting plan is the current drawing. In this case, any changes made from within the Plant Manager would instantly update throughout the drawing as with the Edit Plant button.
- No plants from the project have been placed in any drawing to date. In this case, no drawing exists to update.
However, editing from the Plant Manager WILL create problems if:
- The planting plan has been under development but is not the current drawing, and you go to the Plant Manager without the planting plan drawing being active. In this case, the selected plant's data will be updated within the project's database, but these changes will not be reflected in the drawing. As a result, a data mismatch will occur in the project and data in the drawing.
Changing a Plant
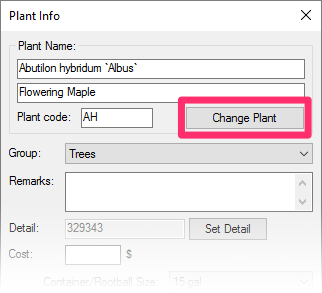
Once you open the Plant Info dialog box, you can change the selected plant by clicking Change Plant.

The Change Plant dialog box will open. Here, you'll see a list of plants that are currently in the project in the selected plant's category (example: Trees).

At this point, you can either:
1. Select a plant that is already in the project (example: Quercus acuminata), then click OK. The selected plant will be replaced in the drawing by the plant you've specified. The Plant Info dialog box for that plant will open, allowing you to make any necessary edits.
2. Add a new plant to your project and substitute the currently selected plant with this new plant. To do this, click Add New.
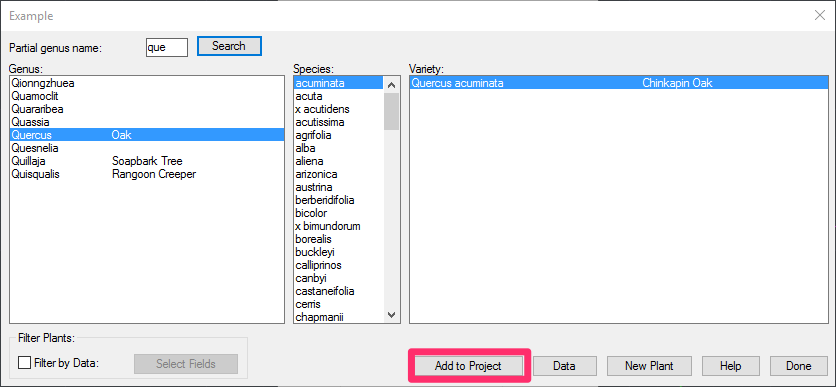
If you click Add New, the following dialog box will open.

Select the Genus, Species, and Variety for the plant you want. Then click Add to Project.
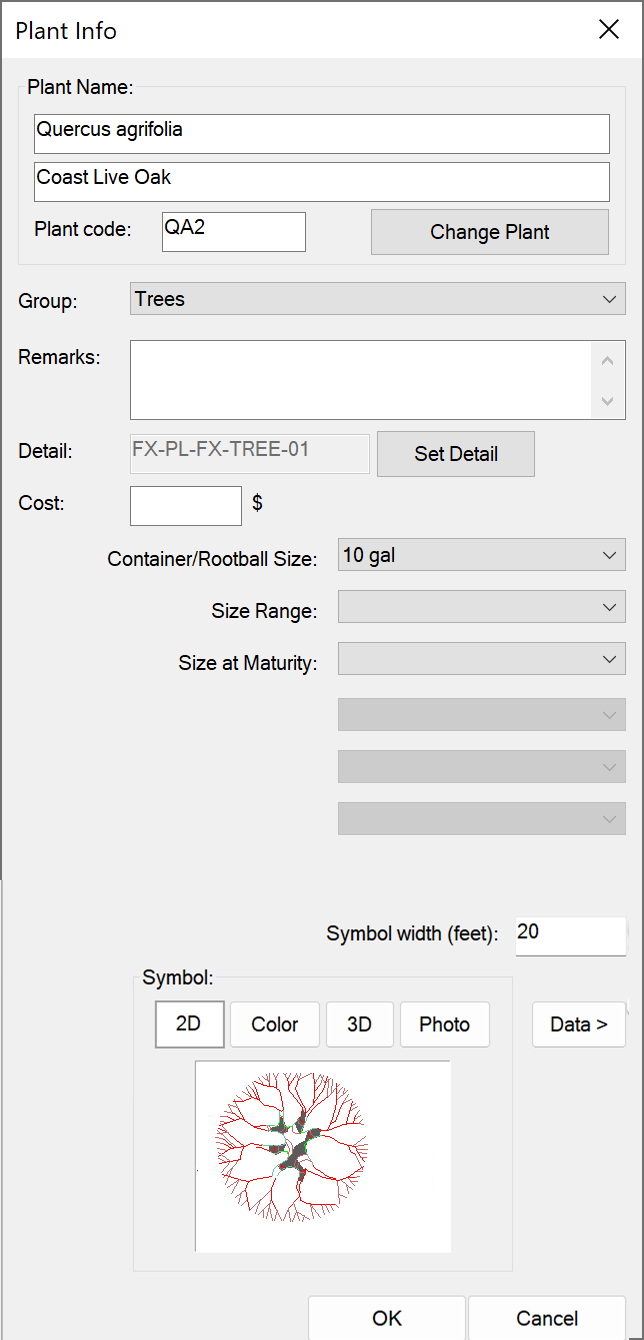
You'll then see the new plant’s Plant Info dialog box.

Review the information in this dialog box, selecting settings such as contain size, symbol, etc., to meet your preferences.
When finished defining the plant, click OK to replace the original plant with this new one.


