
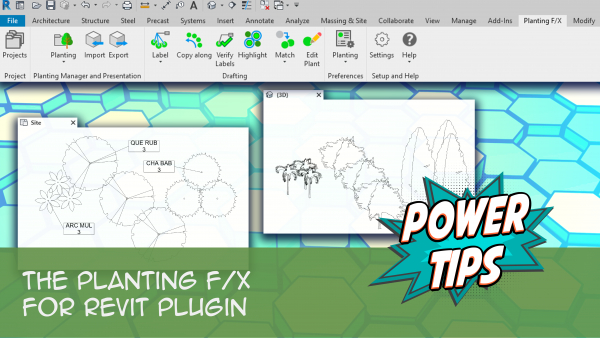
Planting F/X for Revit® Plugin Quick Start Steps
Quick video
- Step 1: Set Up Your Planting F/X Library Folder for Revit
- Step 2: Create & Open a Project
- Step 3: Add Plants to Your Project
- Step 4: Edit Plants & Assign Symbols
- Step 5: Place Plants
- Step 6: Label Plants With Tags
- Step 7: Create a Plant Schedule
Ready to get started with landscape design in Revit using our Planting F/X for Revit Plugin? Here's a quick guide. For more detailed information, see our Planting F/X for Revit Plugin overview documentation section.
Step 1: Set Up Your Planting F/X Library Folder for Revit®
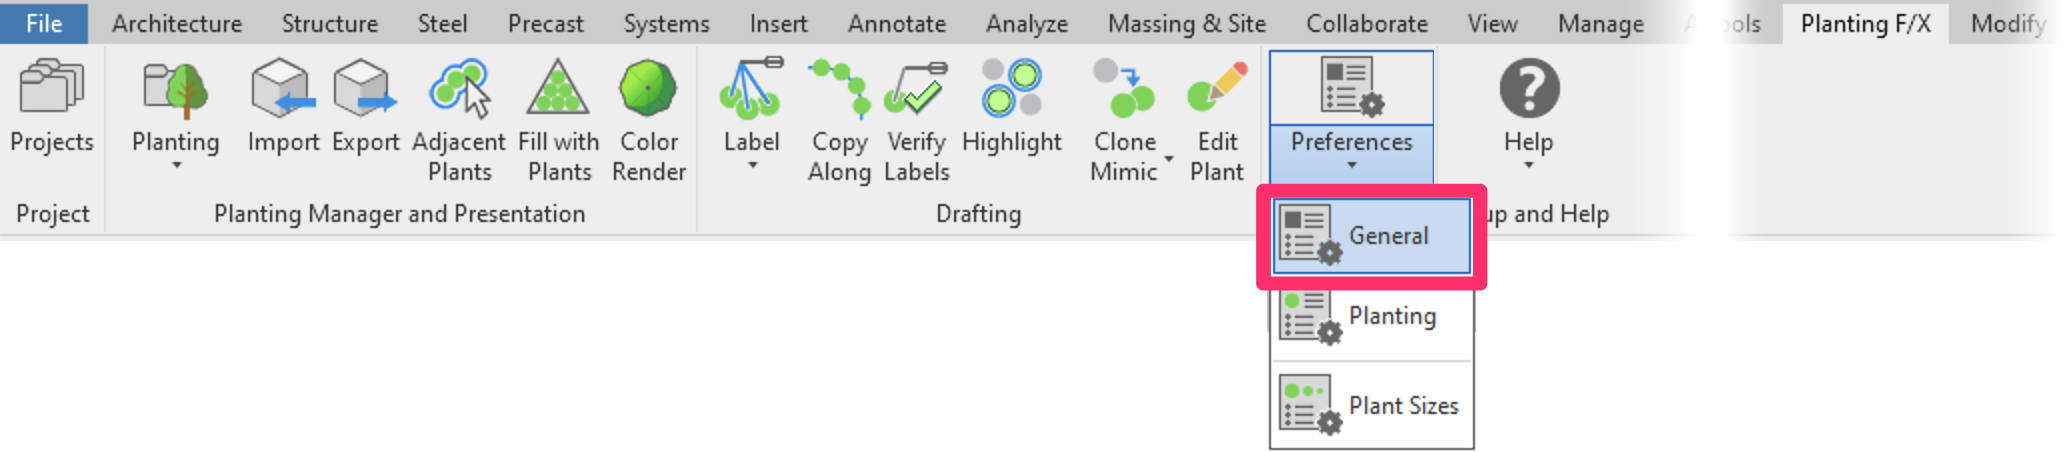
1A. Navigate to the F/X Planting ribbon after installing, and click the General flyout menu option.
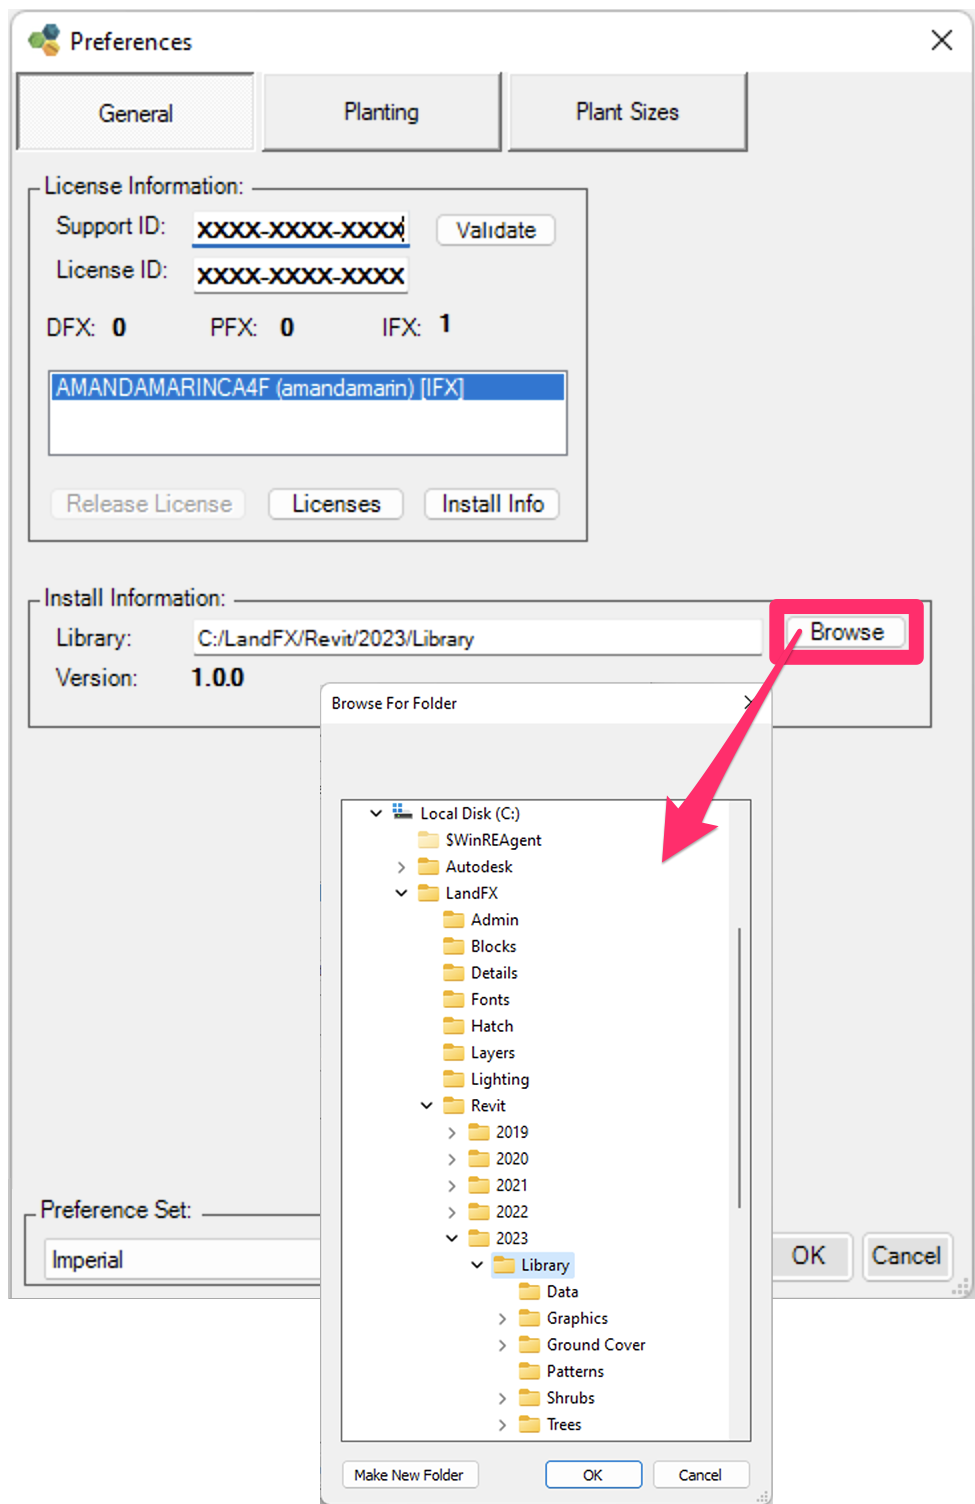
1B. In the General Preferences screen, click the Browse button and browse to the folder you plan to use as your Revit library folder. Click OK after selecting the folder.
If you haven't already, you'll need to create a library location for this Revit version's year, such as C:/LandFX/Revit/2024/Library or something similar, in an office shared folder.
Step 2: Create & Open a Project
2A. Click the Projects button on the F/X Planting ribbon.

2B. Click the New button for a new project number in your Planting F/X database.
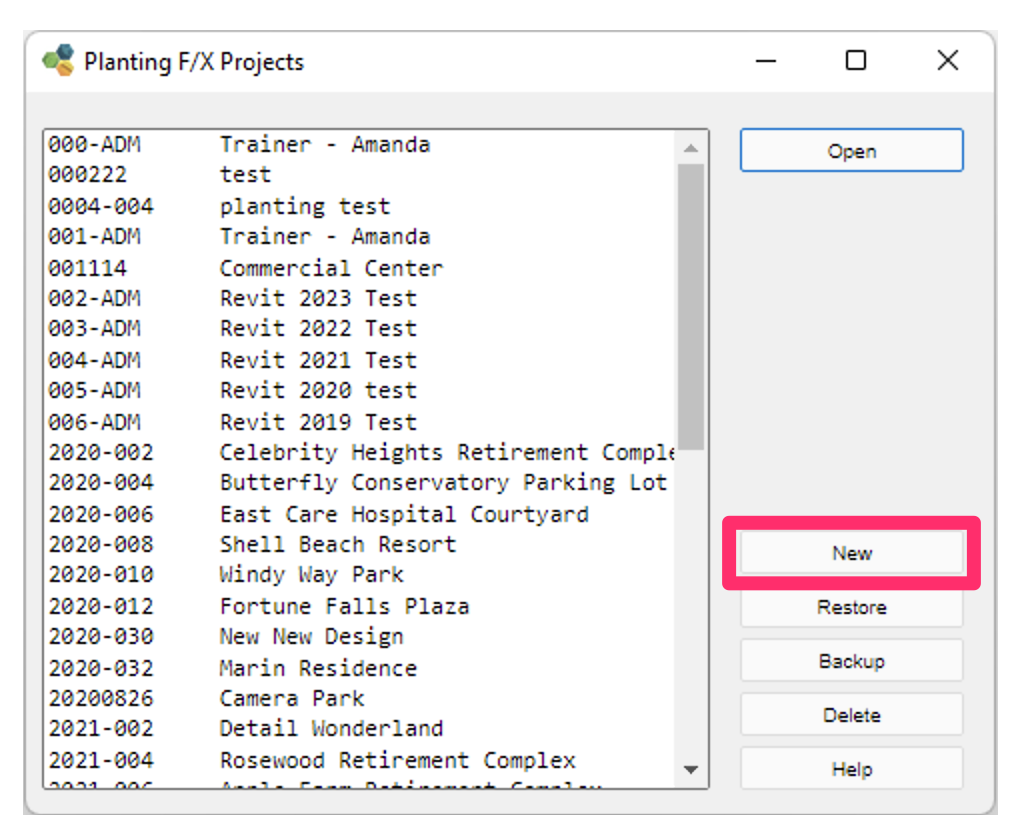
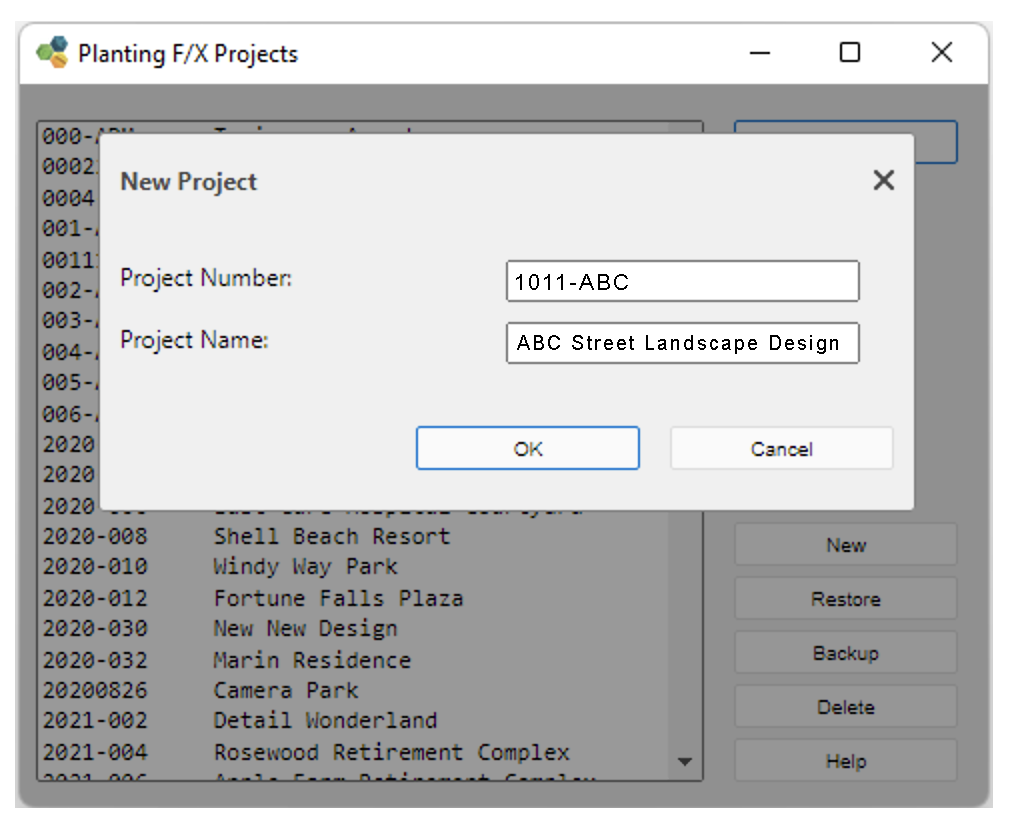
2C. Enter a number (alphanumeric and simple symbols allowed, such as 1011-ABC), and a short description name (example: ABC Street Landscape Design).
If your file is already using a Project Number in the Revit Project Information, use that number.
Click OK.
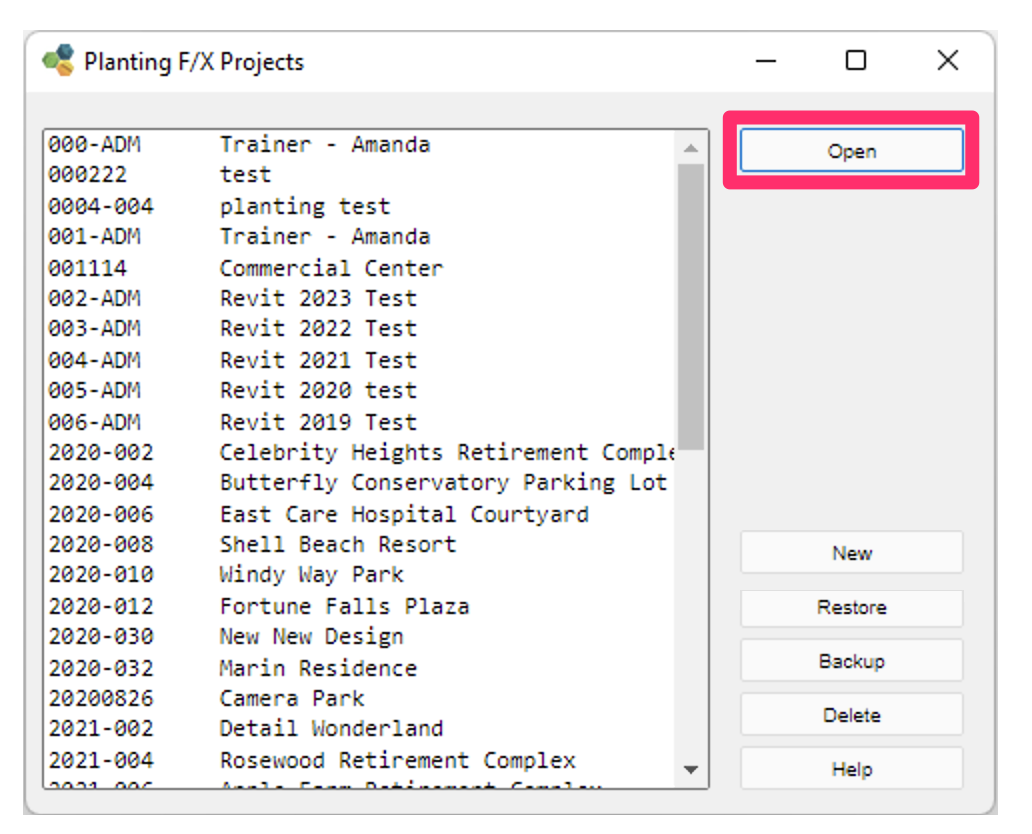
2D. Select that project number from the list, then click Open.
For more information, see our documentation on working with Land F/X projects in Revit
Step 3: Add Plants to Your Project
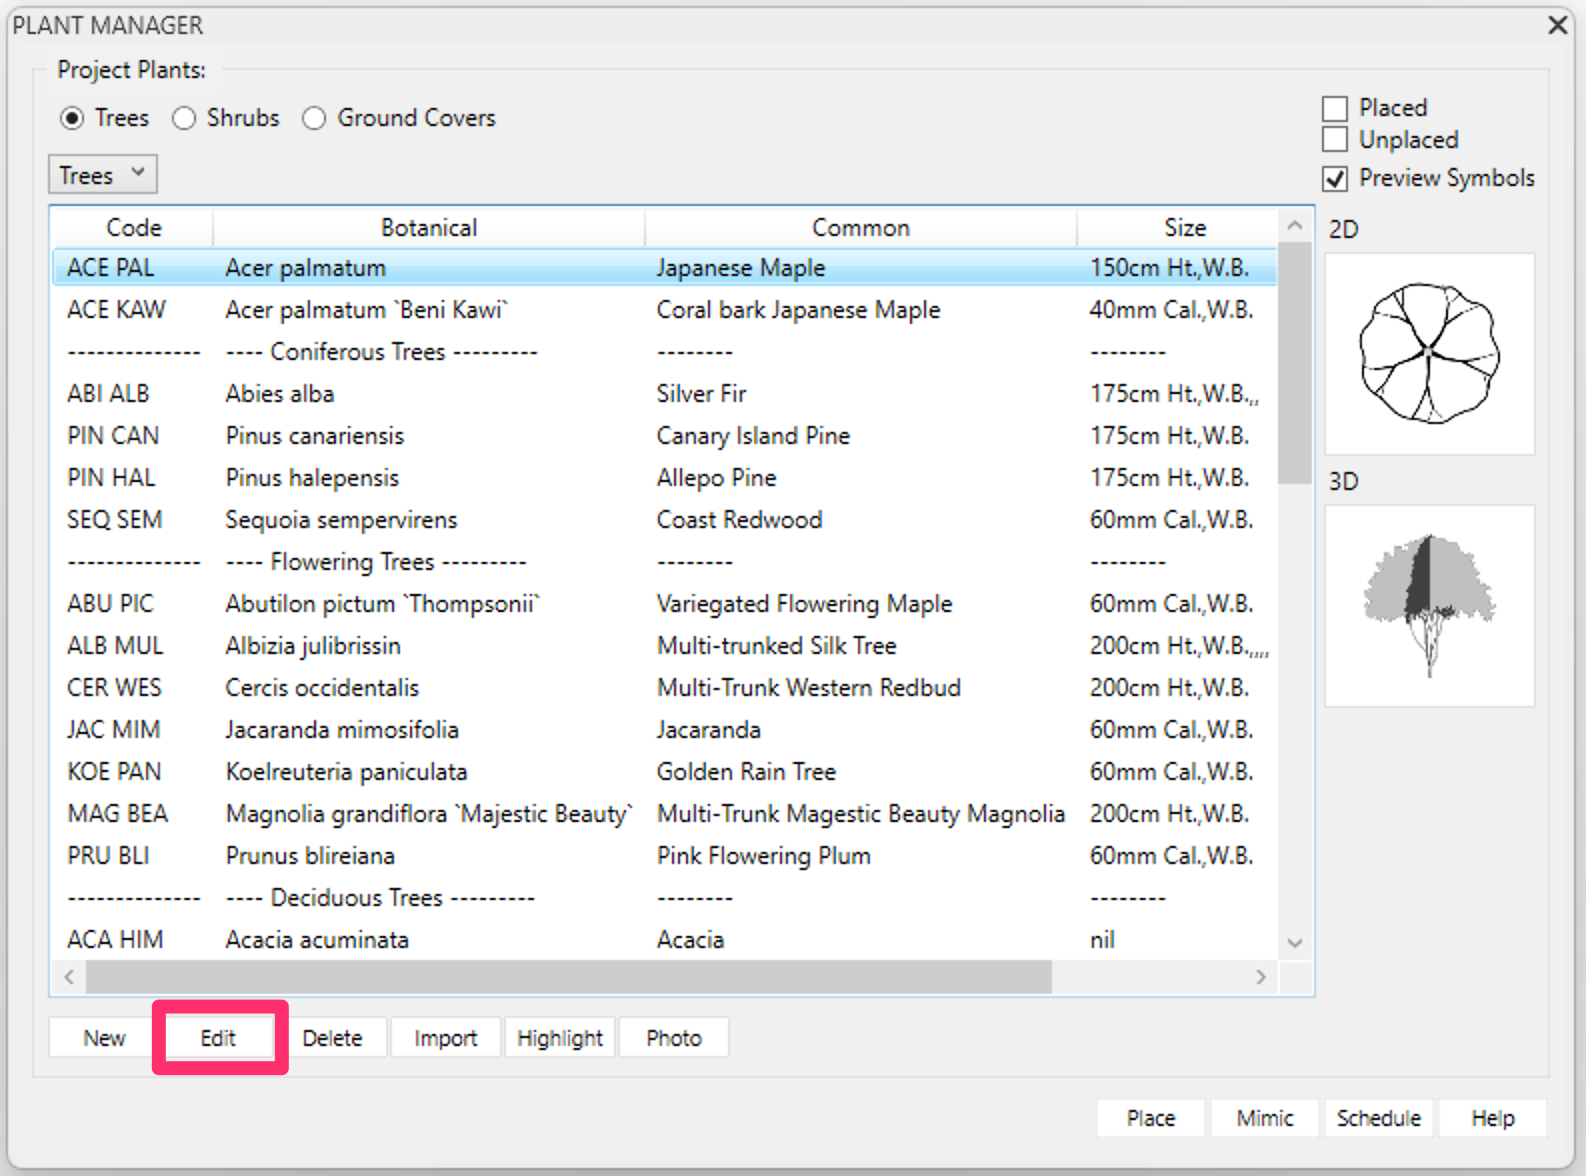
3A. Click the Plant Manager flyout menu option on the F/X Planting ribbon to open the Plant Manager.

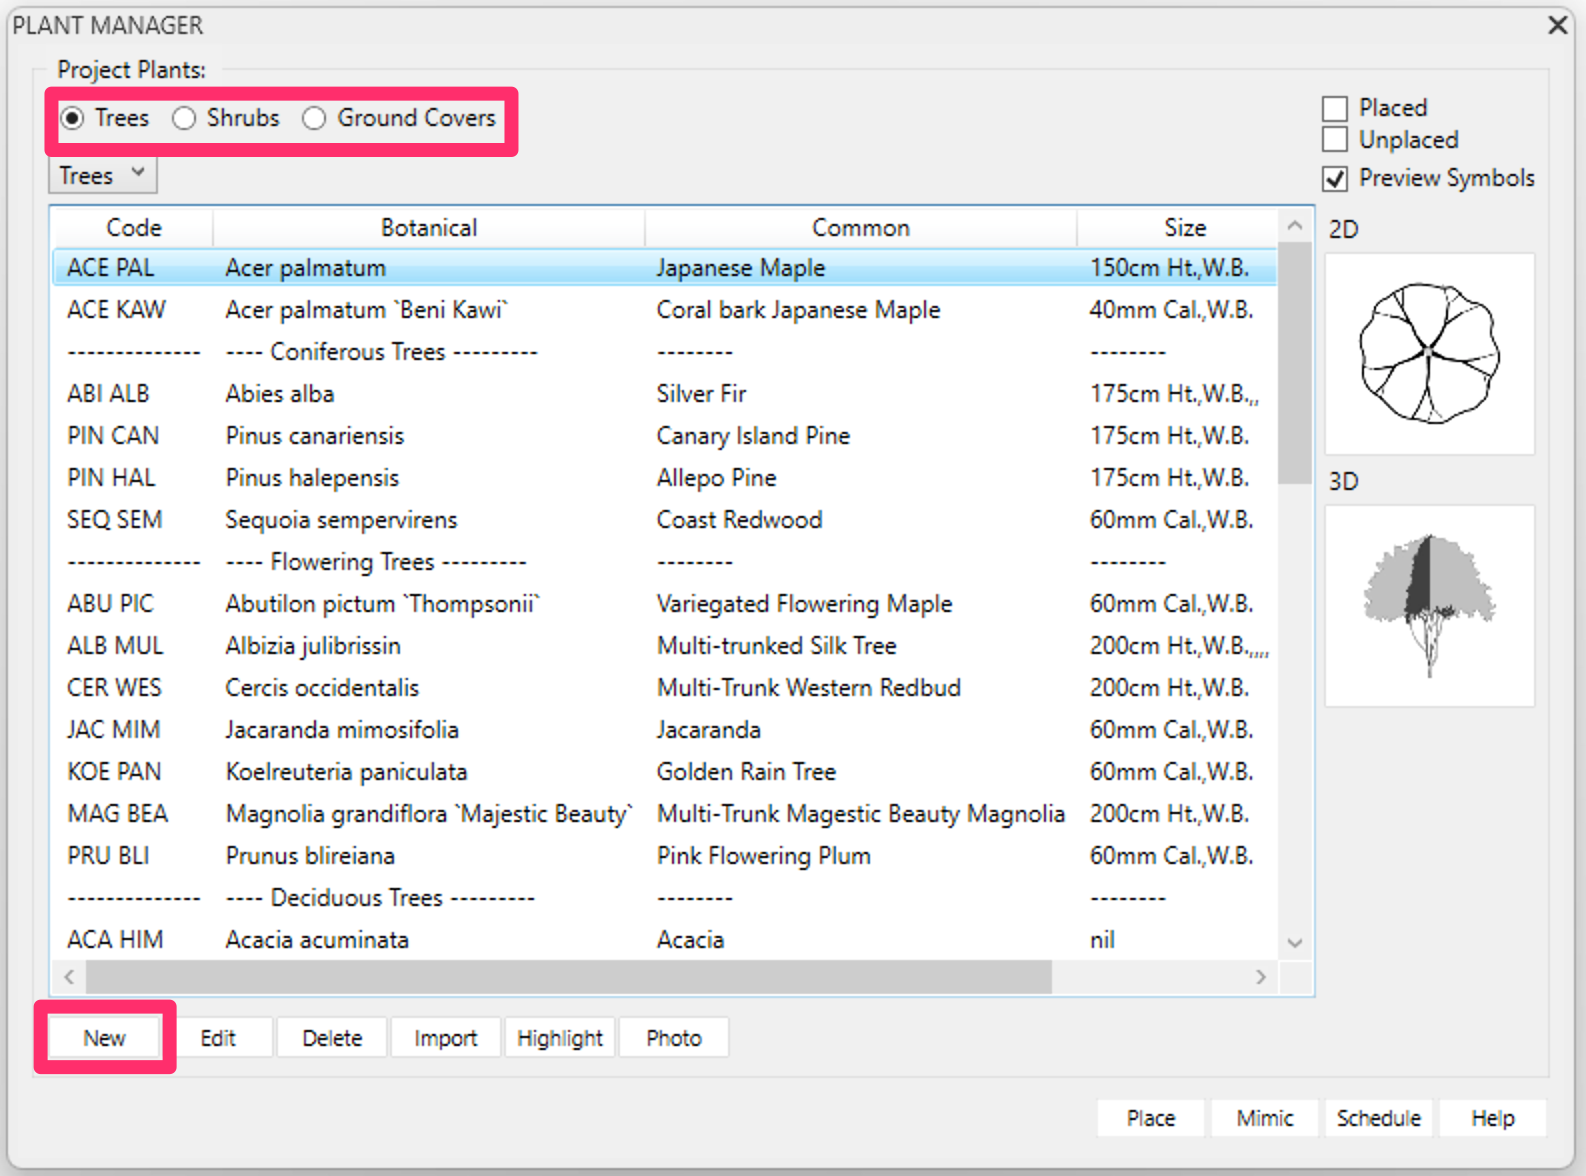
3B. To add a tree, select the Tree option, then click the New button.
3C. The master plant database of more than 48,000 species will open. Search or filter for your species.
If your exact species or variety is missing, use the New Plant button to add it to use right away, but double-check your spelling, as most genus and species information will already be present.
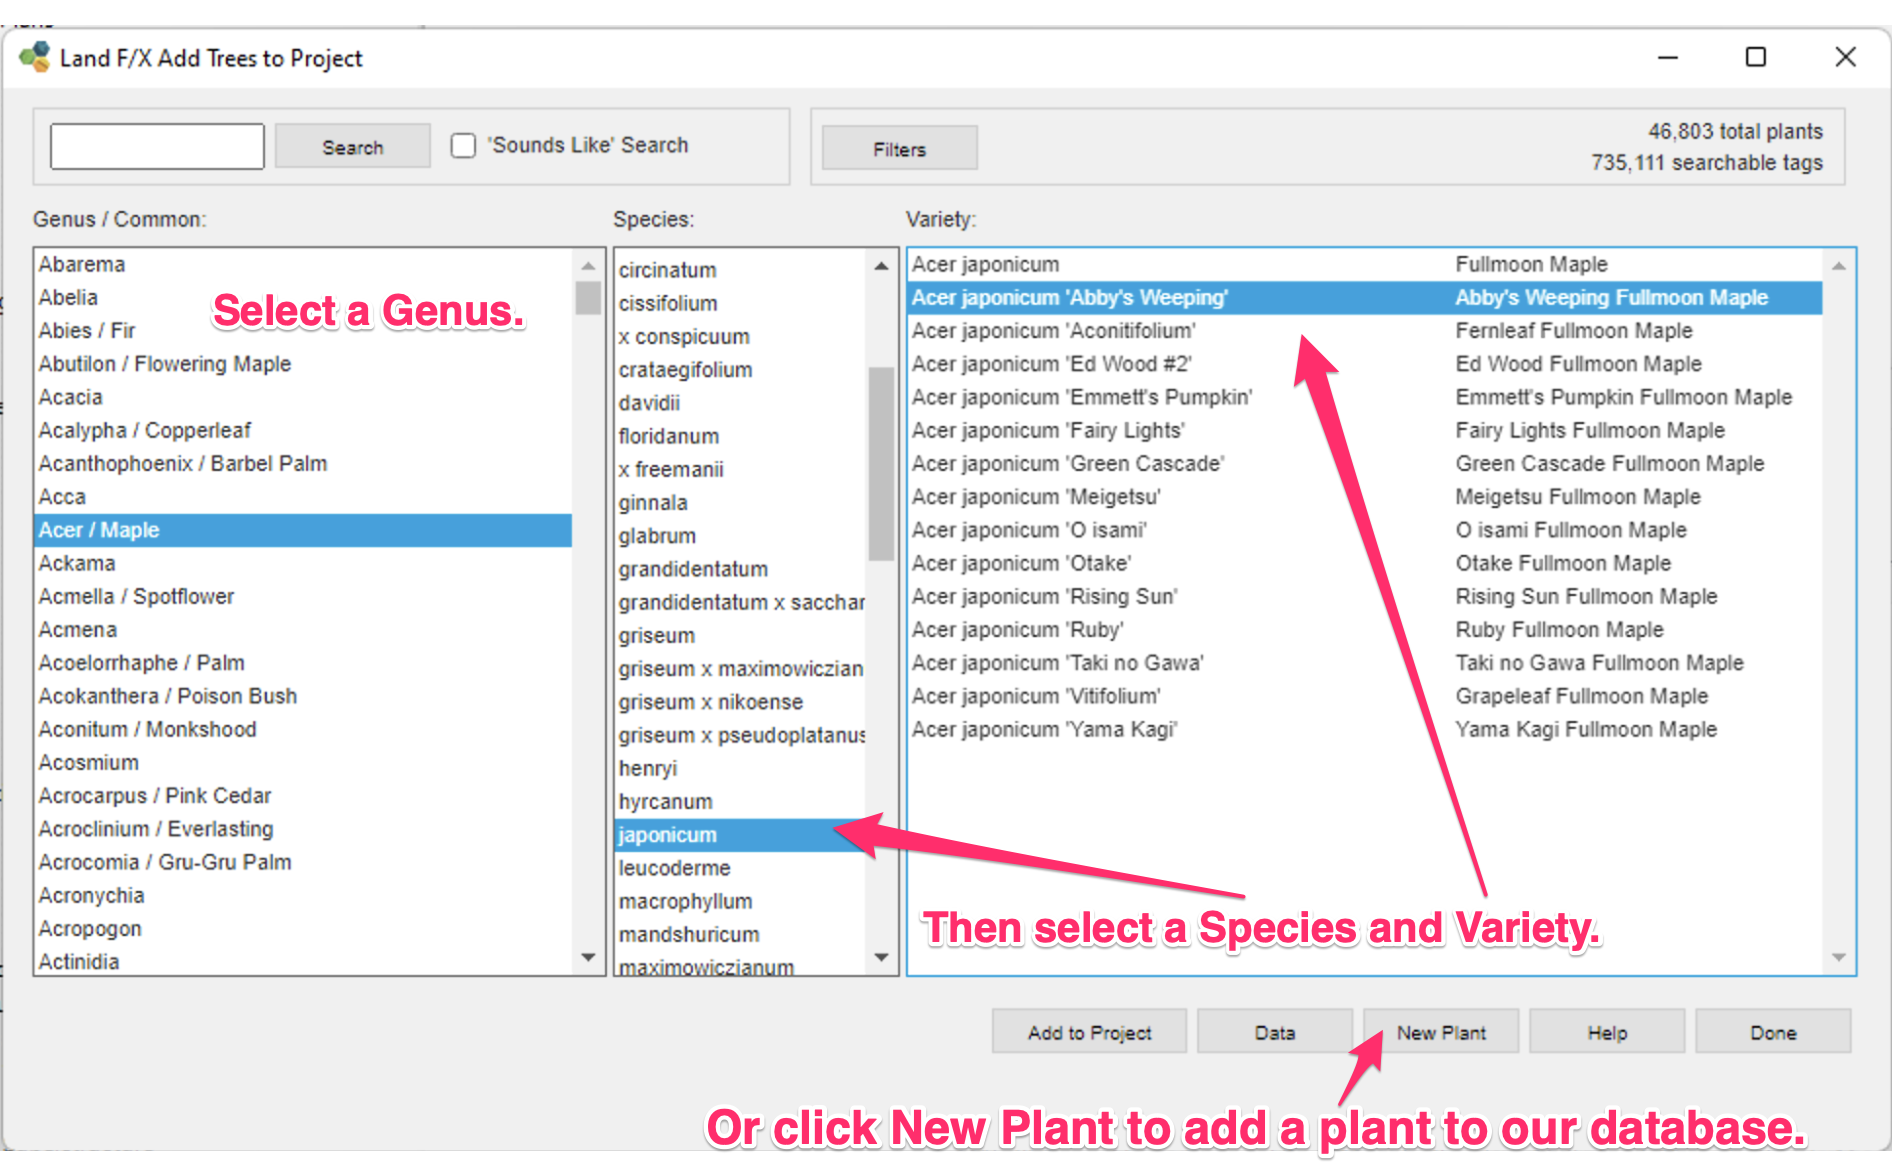
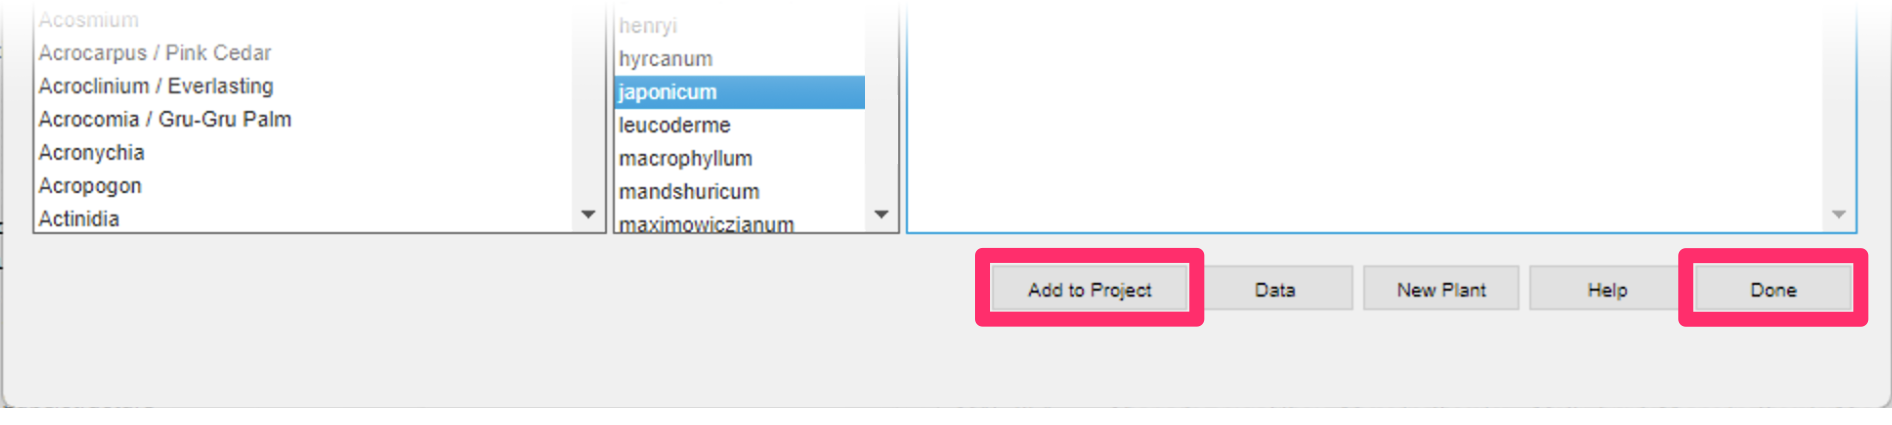
3D. Select the species you want to add, then click Add to Project.
Continue adding tree species. Click Done when you're done for now. You can return and add more to this project palette later.
For more information, see our documentation on adding plants to a project in Revit
Step 4: Edit Plants & Assign Symbols
4A. Select one species in the Plant Manager, then click the Edit button.
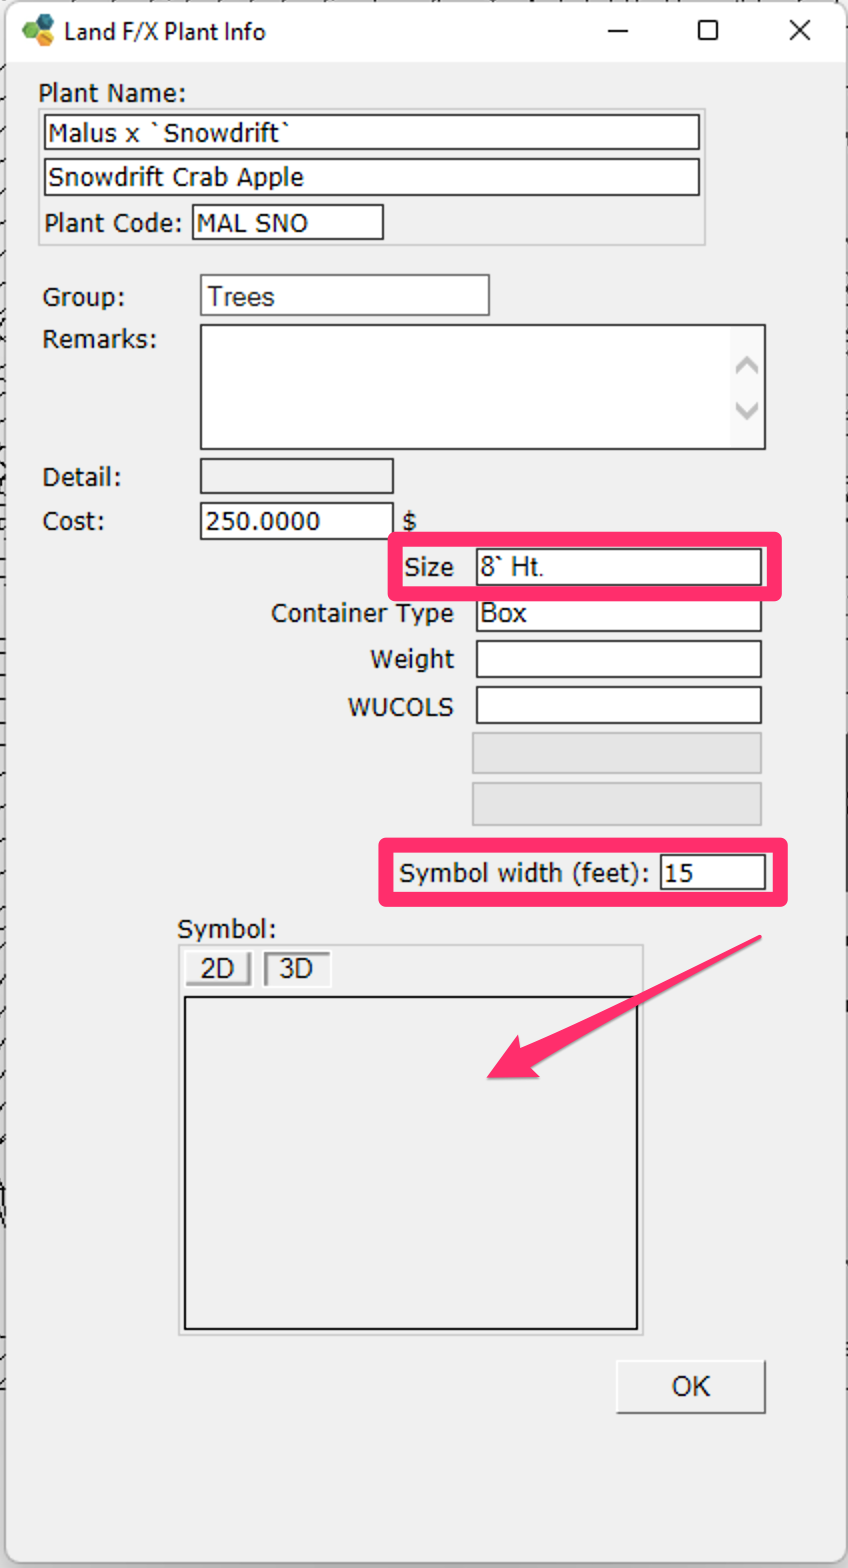
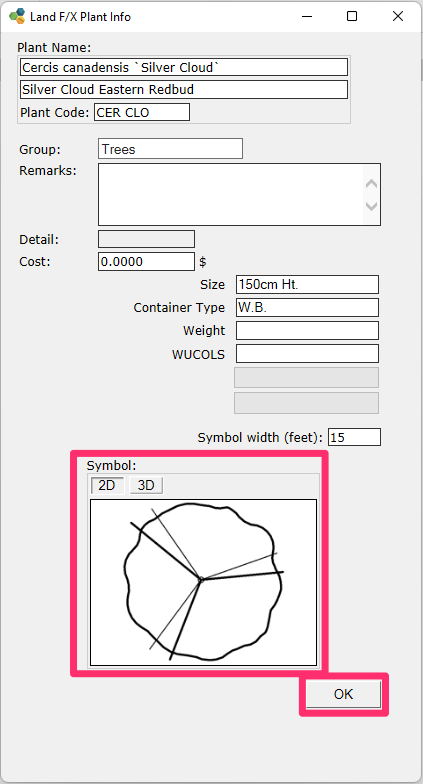
4B. The Plant Info dialog box will open.
Choose a Size and Symbol width, then click the blank box under Symbol to open the symbol selection window.
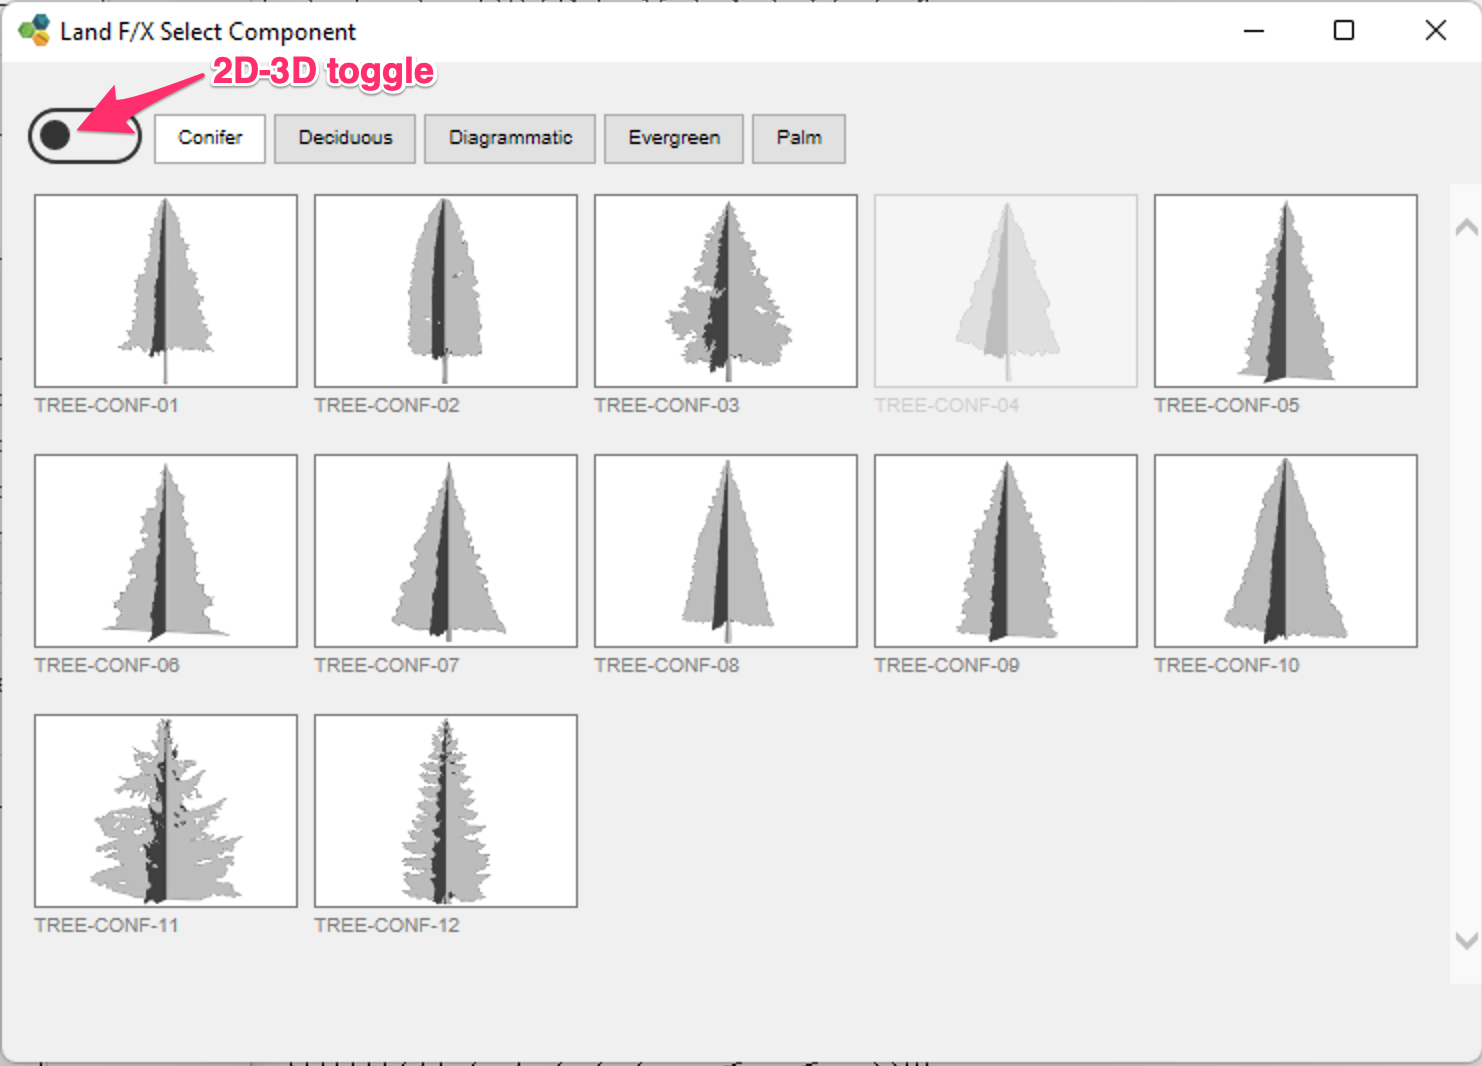
4C. In the Land F/X Select Component dialog box, use the toggles to see the 2D or 3D representations of each family.
Cycle through the symbol types (Conifer, Deciduous, Diagrammatic, etc.) at the top to review all options.
Click a symbol to assign it to the selected plant.
4D. Back in the Plant Info dialog box, the symbol will now be assigned to the plant.
Click OK to save the changes.
For more information see our documentation on editing plants and assigning symbols in Revit.
Step 5: Place Plants
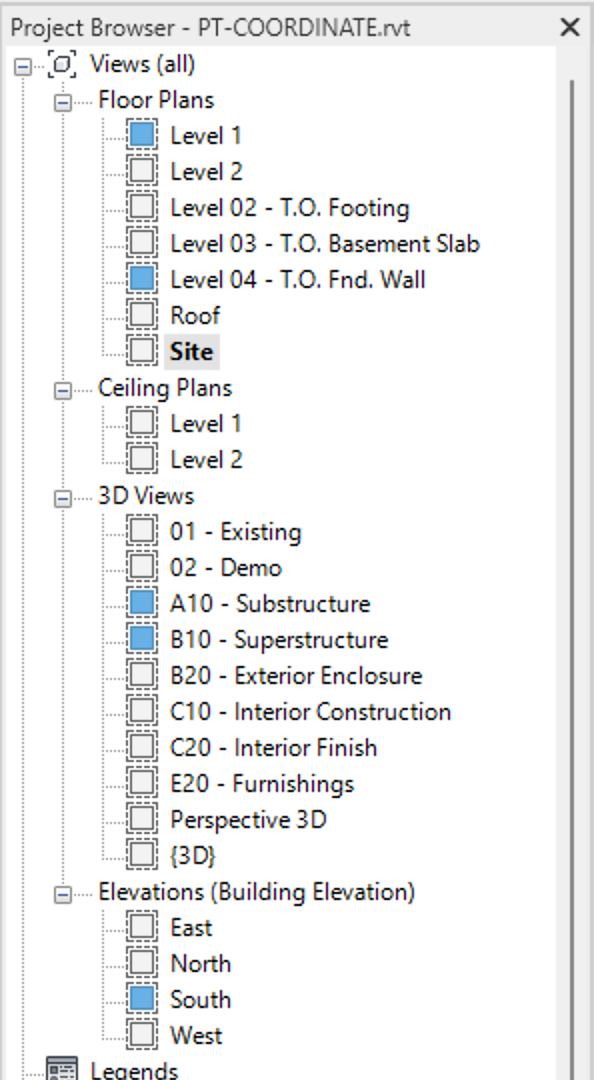
5A. Move to a 3D or Site view with Planting elements visibility turned on.
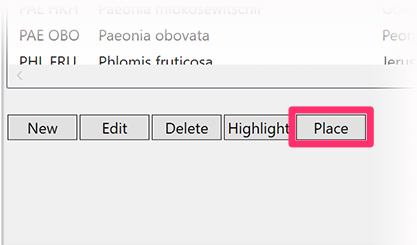
5B. Back in the Plant Manager, select the plant.
The selected symbol will show in the 2D/3D previews. Click Place at the bottom of the Plant Manager. You can now place the plant anywhere in the view. It will use the family selected and scale it to the symbol width size selected. All parameters with the plant information indicated will be assigned to that symbol.
- The Plant Manager
- Placing plants
- Specialized plant placement tools:
Step 6: Label Plants
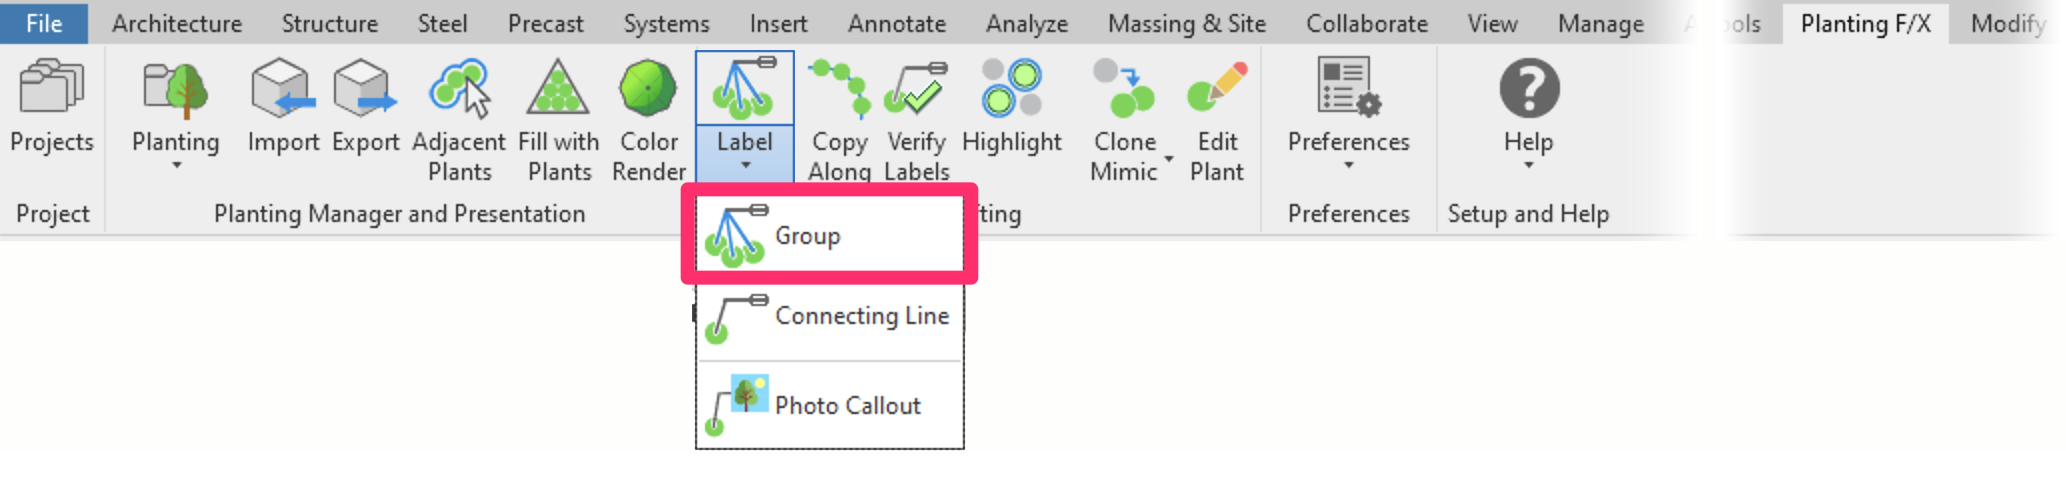
6A. To label the placed trees, select the Group menu flyout from the F/X Planting ribbon to to open our Group Label tool.
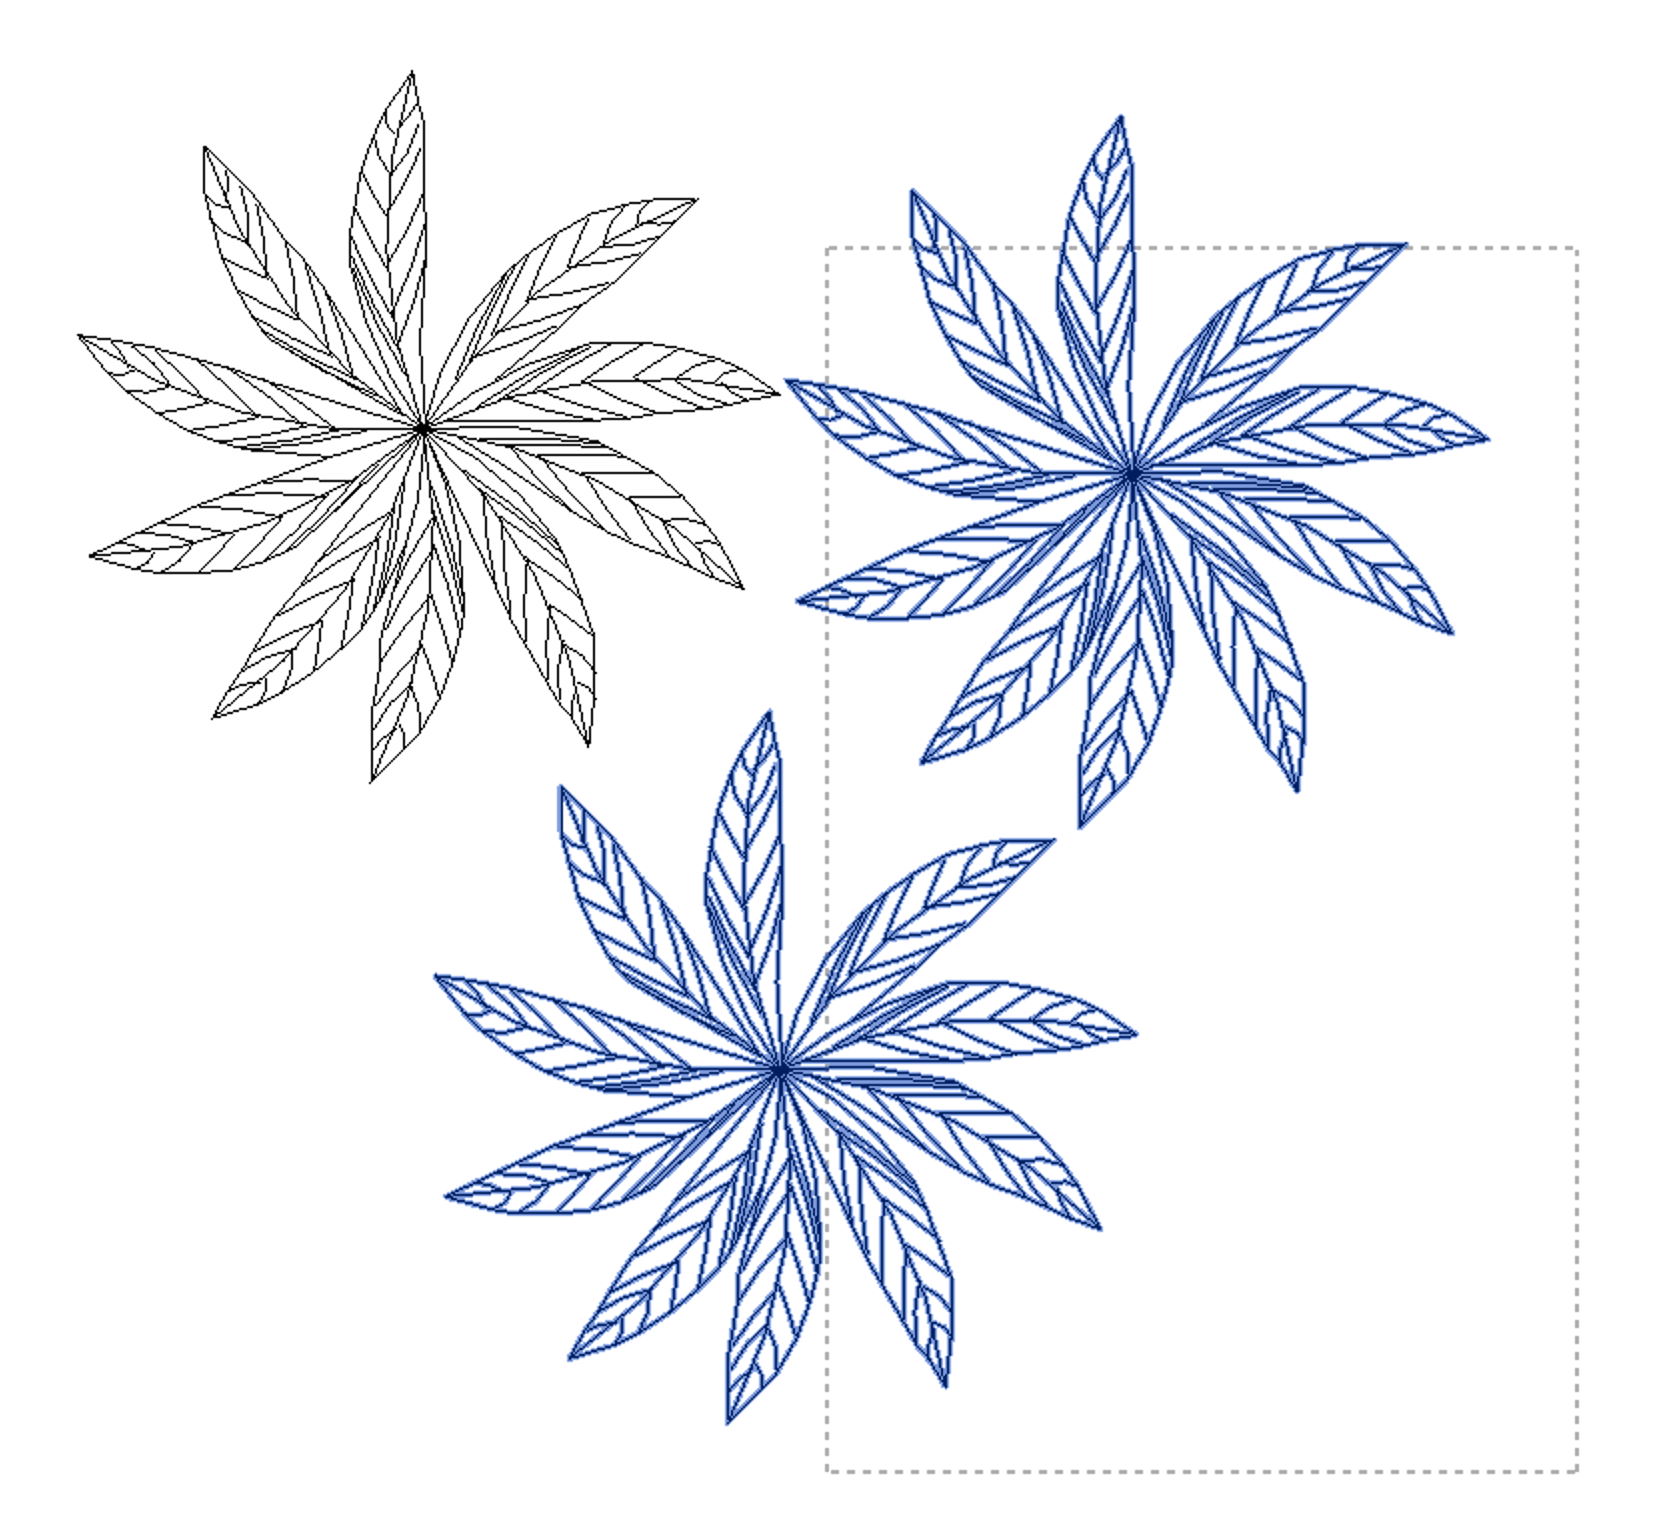
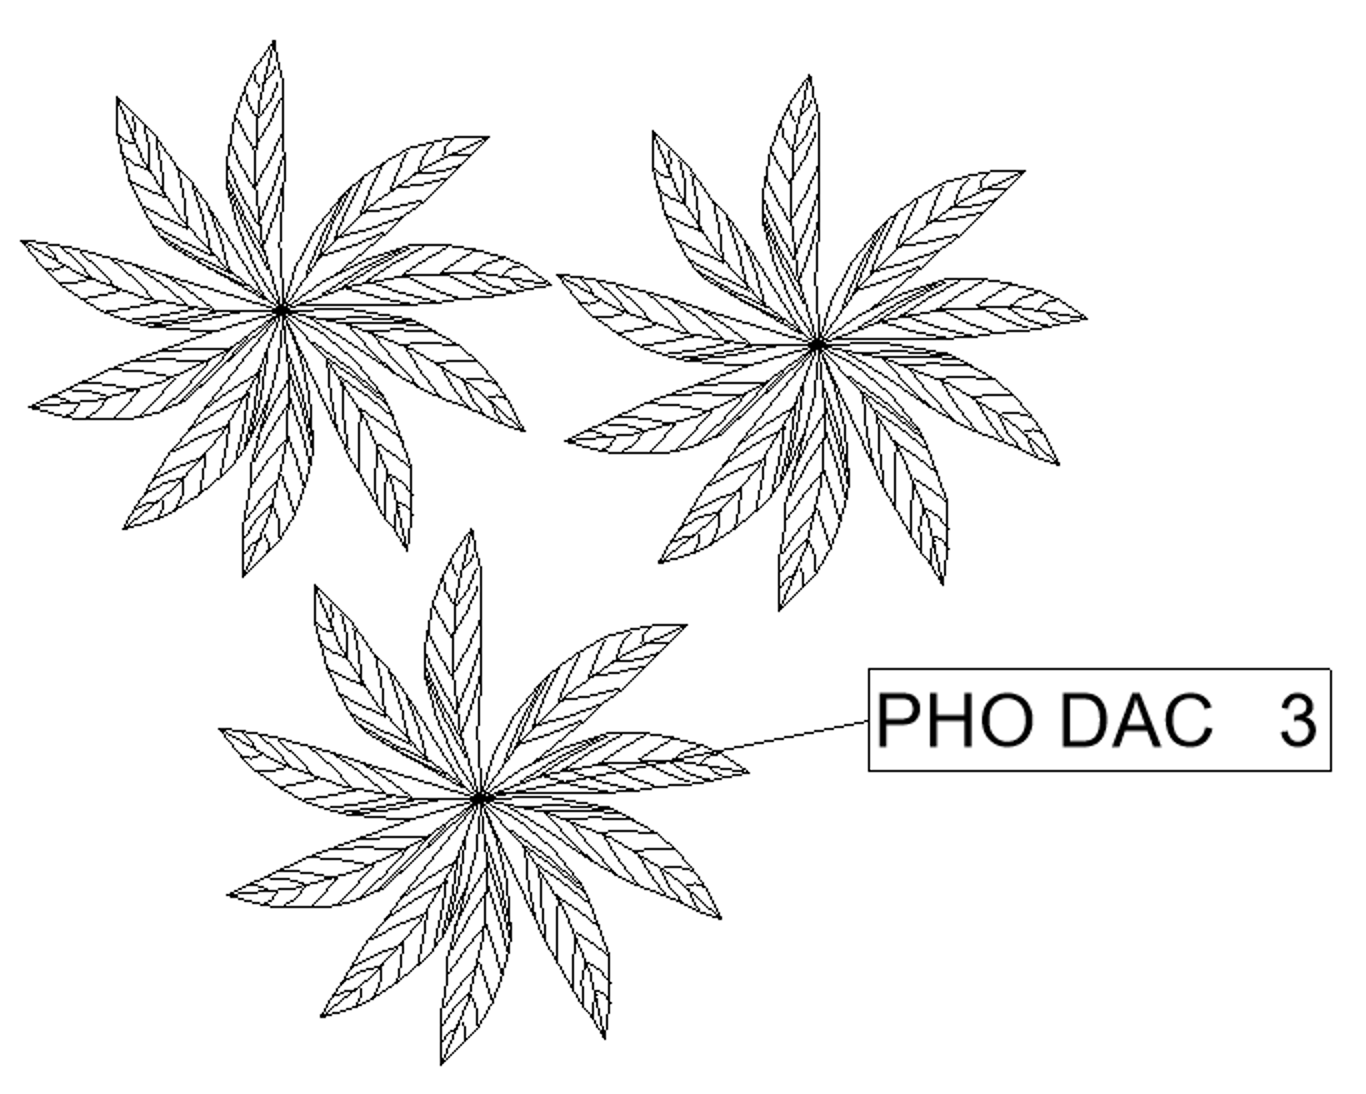
6B. Select a Planting F/X tree, then use the cursor to draw a rectangle around all of that species to label.
Then click to place the label.
For more information, see our documentation on labeling plants with tags in Revit
Step 7: Create a Plant Schedule
Use our Plant Schedule tool to create a schedule listing all the trees you placed.
You can access the Plant Schedule tool by either:
- Clicking the Plant Schedule flyout menu option in the Planting F/X ribbon, or ...

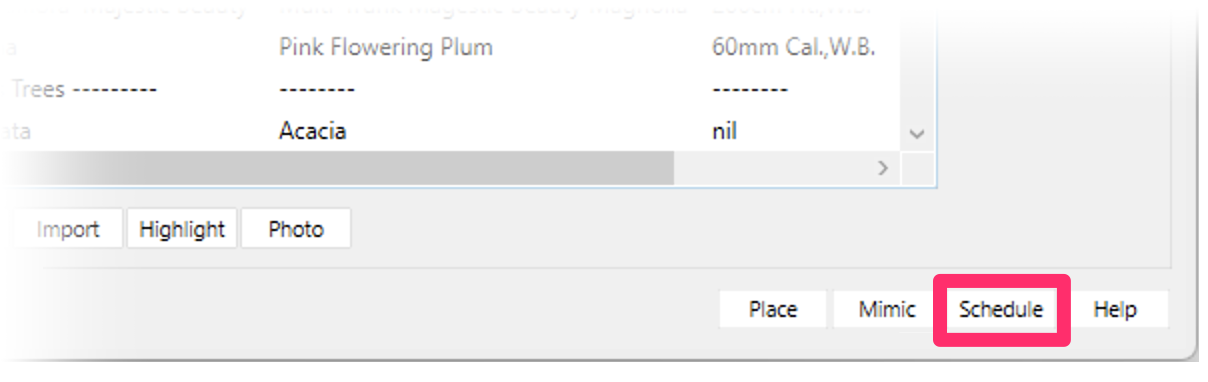
- ... clicking the Schedule button in the Plant Manager
For more information, see our documentation on Plant Schedules in Revit
Congratulations! You just placed your first tree in the species of your choice, labeled it, and scheduled it!
Learn more about any other tool in the ribbon in our our Planting F/X for Revit Plugin overview documentation section, or by hovering your cursor on the tool button and then tapping F1 to see documentation on that tool. Our extensive documentation will show you more about what's possible, including customizing the plant sizes available in the Plant Info dialog box, or using your own family symbols to expand our default library with your own graphics while still benefitting from these tools.
Need further assistance? Access technical support with any question, comment, or wishlist request by using our Support tool, located in the Help pull-down menu in the Planting F/X ribbon.

Revit® is a restricted trademark of Autodesk®.
Contact
- Land F/X


Our software tailors AutoCAD®, Revit®, and SketchUp® to the needs of landscape architects, irrigation designers, and other professionals. We automate your most tedious tasks and ensure accuracy, giving you more time to design.