Assigning a Custom Rhino Symbol to a Plant
- Selecting a Symbol
- Placement Considerations
- Saving Symbols to your SketchUp Library Folder
- Assigning Your Symbol to a Plant or Site Amenity
- Saving the Plant or Site Amenity to a Project Template
You can use custom symbols for your plants in a 3D Rhino design. Whether you've created or downloaded your Rhino symbols, you'll just need to save them into the correct folder and assign them to plants you've specified for your design.
Selecting a Symbol
Some Rhino symbols are simply better than others, and we recommend selecting your symbols carefully. Here are a couple of important considerations:
File Size & Realism
Check the file sizes of symbols you're thinking of using. In general, a larger file size equates to a more realistic Rhino symbol.
Remember to take your computer hardware into account. Larger symbol file sizes can also cause slow performance, as your hardware works to process the files. See our hardware recommendations for a properly robust CAD and Rhino workstation.
If you are downloading custom symbols, look for sources that provide the symbols in Rhino format (.3ds). If you want to use a symbol that is not yet in .3ds format, you'll need to edit the files to create a proper Rhino component.
Editing Our Default Symbols
You're free to edit our default Rhino blocks directly. If you do so, we recommend saving your edited version to a different file name and matching JPG rather than overwriting the original. This way, you'll avoid overwriting them when you download the latest Land F/X Rhino Library.
Placement Considerations
The following considerations will ensure that your symbols will be placed in the correct locations in Rhino, as well as at the correct vertical angle and horizontal rotation.
Insertion Point
For any symbol, ensure that the insertion point is at the origin (that is, at 0,0). If not, your symbol will be placed in the incorrect location when you bring your drawing into Rhino.
Symbol Axes
To ensure that your custom Rhino symbols interact correctly with your 3D model, open the symbol file and check its axes. In general:
- The X axis in CAD should line up with the red axis in top-view Rhino.
- The Y axis in CAD should line up with the green axis in top-view Rhino.
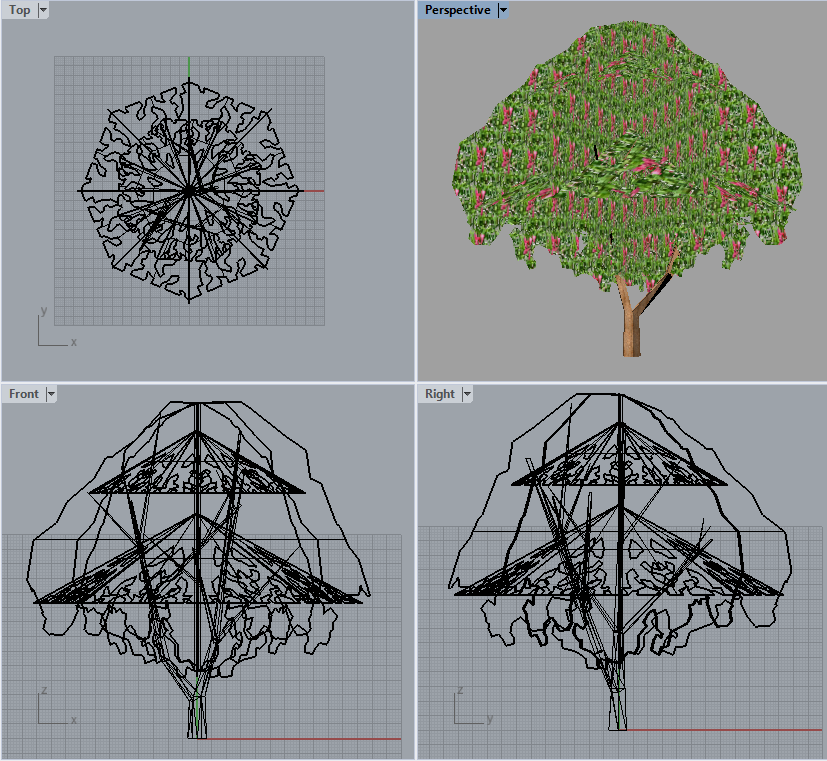
- The base of the symbol's trunk should not have a Z elevation Rhino. The front and right-view green axis in Rhino should be pointing straight up in the middle of the trunk.

If the green line in front view is oriented downward, the symbol will insert into your Rhino models upside down.
Rotation
For plant symbols, we also recommend rotating the symbol in perspective view, wireframe mode, and verifying that all axes are extending from the center of the trunk. This will ensure a properly centered symbol.
Saving Symbols to Your Rhino Library Folder
Rhino symbols need to be saved to the folder you've designated as your Rhino Library folder. The location of this folder is up to you – it's just the location where all Rhino content (such as tree and shrub symbols) will be stored.
You were required to set a Rhino Library folder location when you installed our Rhino plugin. Need to locate or change the location of this folder? See our Rhino Library Folder instructions.
Locate your Rhino Library folder, and drag your custom symbols into it. You can save your symbols directly into this folder or create your own subfolder structure within it and save your symbols into any of those folders.
Note that tree symbols are only accessible from the Library/Trees folder. In the current beta version, you cannot create additional folders in this location and must use the structure provided.
Assigning Your Symbol to a Plant
If you haven't done so already, open CAD and use our 3D Connection tool to export the plants from a Land F/X project.
Then use our Rhino Import Plants tool to import these same items into Rhino.
In the Land F/X Import dialog box, click the plant you want to assign to the custom symbol.
You'll be brought to the Land F/X Select Component dialog box. Navigate to the custom symbol file in your library folder. Click to select the symbol, then click Open.
Your symbol will be assigned to the selected plant. You should now be able to see a thumbnail image of the symbol above the name of the plant in the Land F/X Import dialog box.
If your office has a Cloud Data setup for your installation, this symbol assignment will be connected to yout plant in CAD immediately. (In the current beta version of our Rhino plugin, the Rhino symbol can't be seen in the Edit Plant dialog box in CAD.) Don't know what Cloud Data is? Check it out >
Saving the Plant or Site Amenity to a Project Template
Keep in mind that the custom symbol will only be assigned to the plant in the Land F/X project you had open when you assigned the symbol. To assign the symbol to the item on a permanent basis, follow our instructions to create a project template, making sure to include the plant with the custom Rhino symbol assigned to it.
Once you've created this template, you can import plants from that template. Whenever you need to add these items to a new project, follow our steps to:
Your custom Rhino symbol will remain assigned to the plant in the project.


