Assigning a Custom SketchUp Symbol to a Custom Site Block

- Step 1: Saving Your Custom Block into Our System
- Step 2: Creating & Placing an Amenity Reference Note
- Step 3: Export to SketchUp
- Step 4: Import the Drawing into SketchUp
- Step 5: Assign a SketchUp Symbol to the Amenity Reference Note
- Step 6: Going Back to CAD
If you want to use your custom site blocks in a 3D SketchUp model, you'll need a 3D symbol to represent each of those custom blocks. In order to assign a 3D SketchUp symbol to a custom site block, you'll first need to save it into our system and then add it to a project as an Amenity Reference Note.
You'll need to create or download any 3D site amenity symbols you want to use in your drawings. You can download SketchUp symbols from the FormFonts website. Need instructions on creating your own site amenity SketchUp symbols? Watch our Power Tip on creating an Amenity RefNote with an assigned SketchUp component (linked above).
Step 1: Saving Your Custom Block into Our System
Before you can assign a SketchUp symbol to your custom block, you'll need to save it into our block library system. If you've already done so, you can skip to the next step.
Use our Save Block tool to save your block into our system. Save the block into our Plan Graphics library.
For a guide on the locations where you can save your blocks, see the Where to Save Your Blocks section of our Save Block documentation page.
Step 2: Creating & Placing an Amenity Reference Note
Once you've saved your block into our system, follow our steps to create an Amenity Reference Note (RefNote).
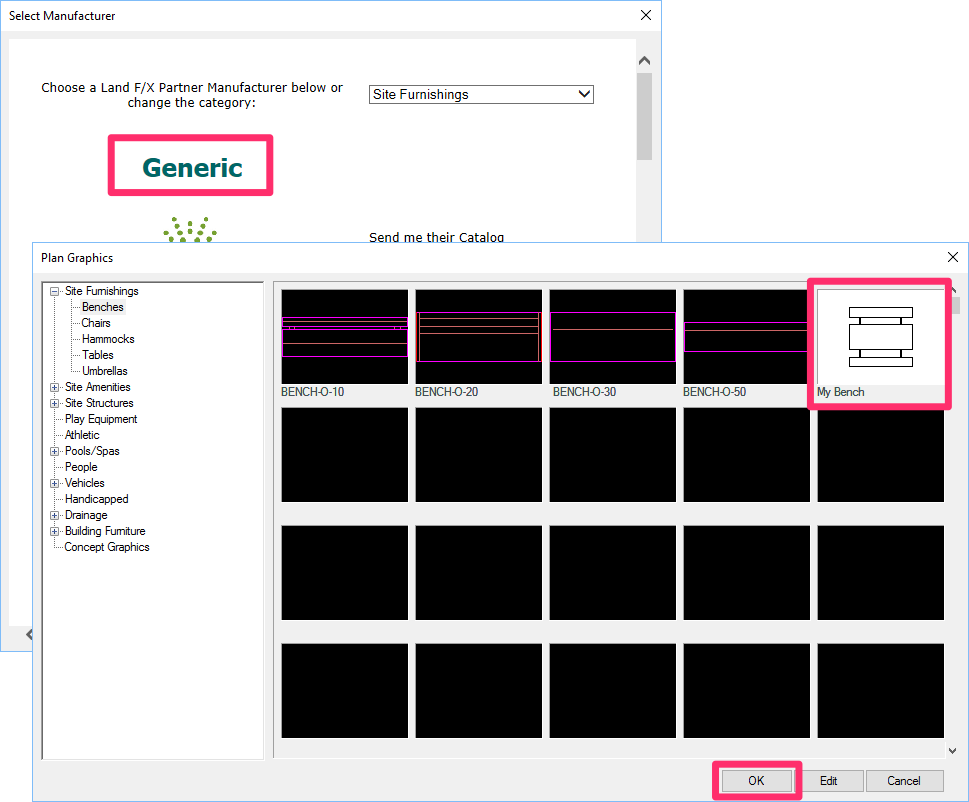
When creating the Amenity RefNote, add it as a generic amenity. Select your custom block from the Plan Graphics dialog box.
&nbsbp;
In our example, we'll select a custom picnic bench block that we've named My Bench.
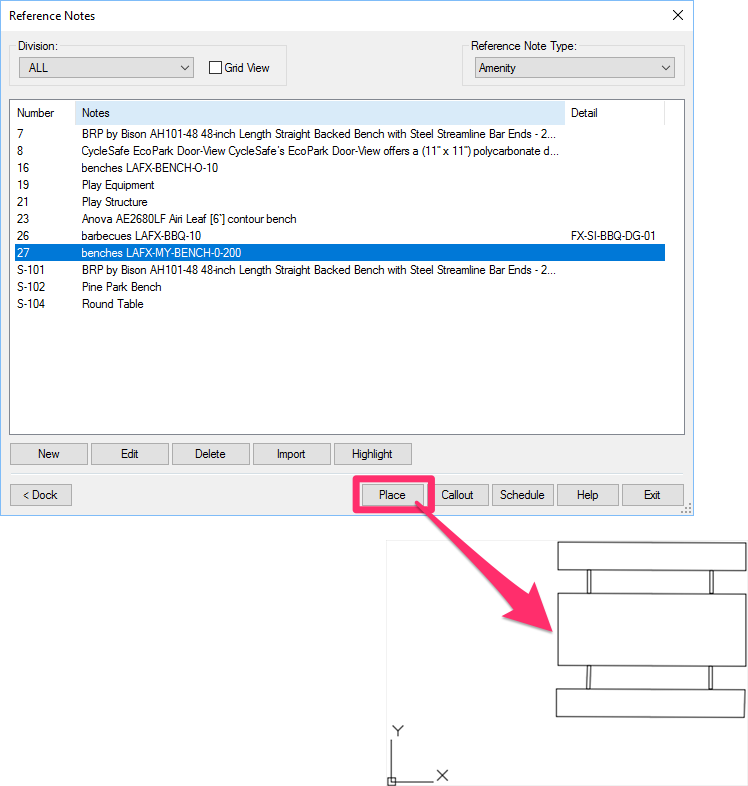
Now place that same Amenity RefNote in a drawing.
Save that drawing and keep it open. You'll be exporting it to SketchUp in the next step.
Step 3: Export to SketchUp
Use our 3D Connection tool to export the drawing to SketchUp.
Step 4: Import the Drawing and Project Data into SketchUp
Open SketchUp, and use the Projects tool to open the project that includes the Amenity RefNote.
Now use our Import tool to import your drawing into SketchUp. Allow 15 seconds (or more) for the import to complete.
Step 5: Assign a SketchUp Symbol to the Amenity Reference Note
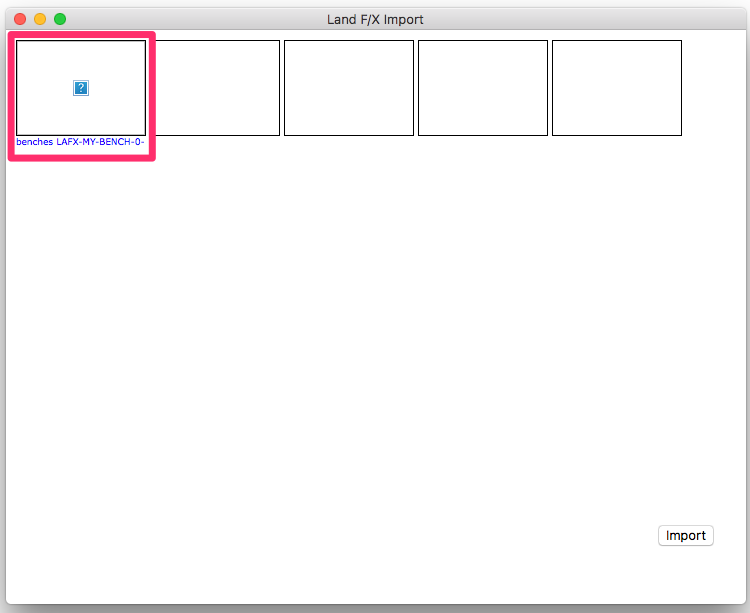
You'll see a thumbnail of the Amenity RefNote you created.
The thumbnail will be blank with a question mark symbol (?) at its center – an indication that it hasn't been assigned a SketchUp symbol.
Click the thumbnail to begin assigning a SketchUp symbol to the RefNote.
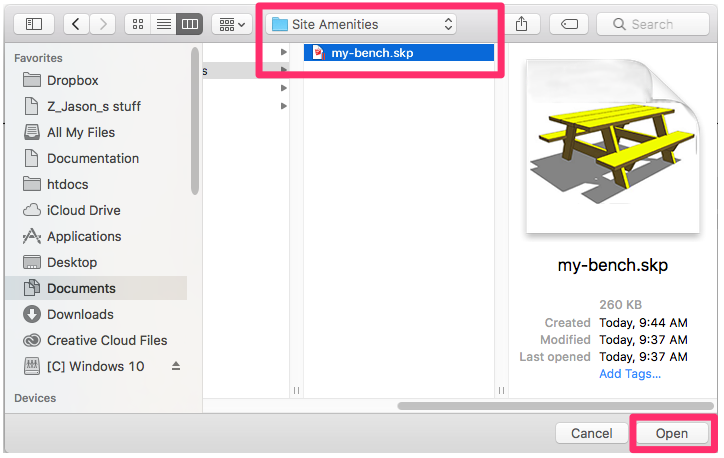
Navigate to the location where the SketchUp symbol is saved. Our symbol is saved in the Site Amenities folder within our SketchUp library.
Select the symbol file and click Open or Import (depending on your version of SketchUp).
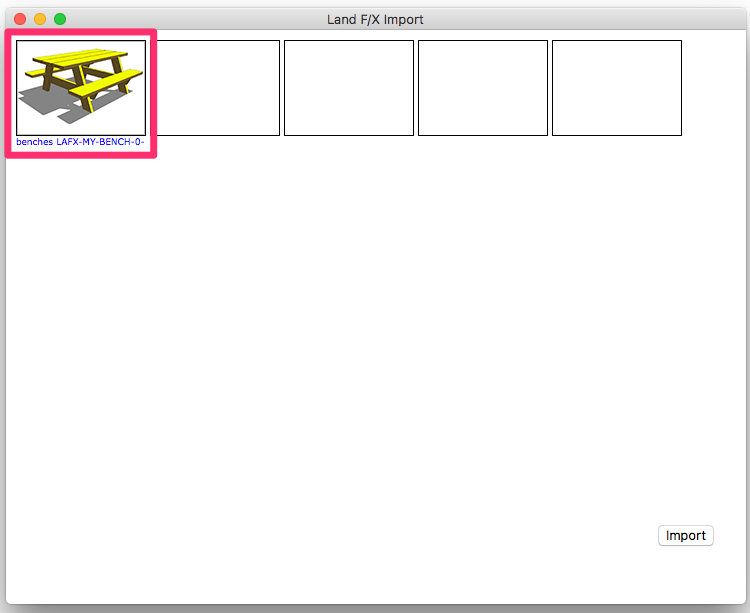
The RefNote's thumbnail preview should now include an image of the SketchUp symbol you selected.
You should also see the symbol in your SketchUp model in the location where you've placed the RefNote in your CAD drawing.
Step 6: Going Back to CAD
If you move the RefNote, or any other blocks, in your SketchUp model, don't forget to use our Export to CAD tool before going back to CAD. Exporting your SketchUp design will maintain the new placements in your CAD drawing.
Back in CAD, open the 3D Connection tool and use the Import Design feature. Any blocks you've moved in SketchUp will move to the new locations in CAD.