Mimic Object (Formerly Known as Match Properties) – Site & Hardscape
Quick video
- Mimic Object Overview
- Mimic Object and Hatches
- Mimic Object and Reference Note (RefNote) Callouts
- Turning Circles into Site Amenities or Other Blocks
- Troubleshooting
Our Mimic Object tool (formerly known as Match Properties) allows you to apply the data and symbol of a site block or hatch in your drawing to other blocks or hatches you've placed in your drawing. The "destination objects" will take on the appearance and data of the "source object" while retaining their original rotation.
Mimic is also a great ally for planting and irrigation design. For more information, see our documentation on:
Mimic Objec will only assign the properties of "smart" blocks or hatches with associated data. Therefore, only site blocks placed using our Reference Notes (RefNotes) feature can serve as the "source" object.
Mimic Object also works on generic blocks (i.e., blocks that do not have data assigned to them).
Mimic Object Overview
Open the Mimic Object tool:

F/X Site ribbon, Mimic Object flyout
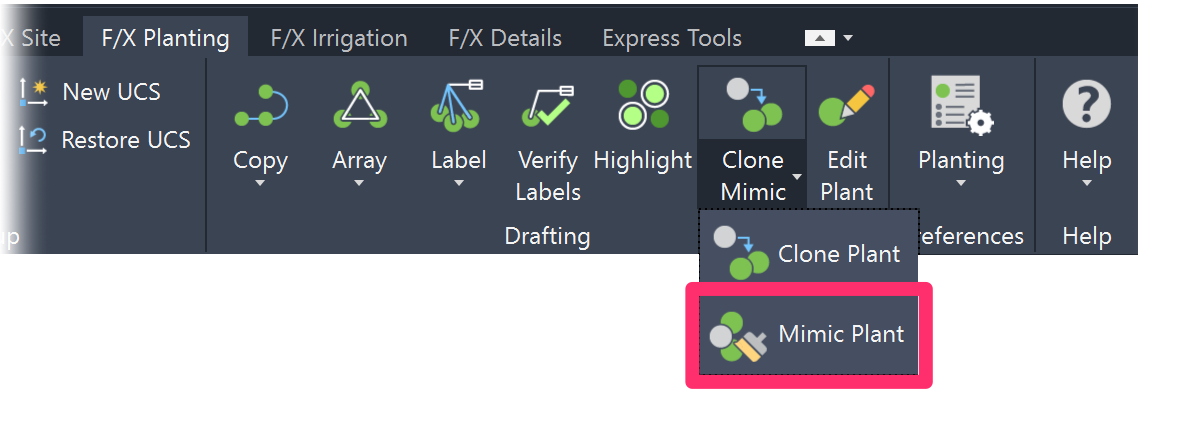
F/X Planting ribbon, Mimic Plant flyout
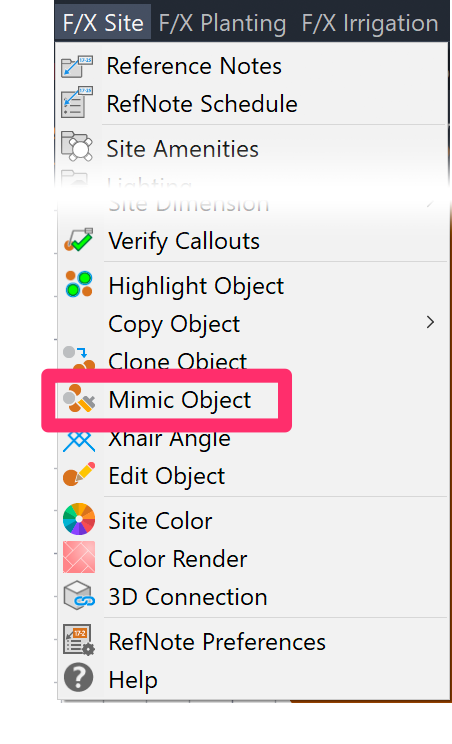
F/X Site menu, Mimic Object option
or type FX_SiteMimicObject in the Command line
The cursor will turn into a pickbox, and the Command line will prompt you to Select source object.
Click the site block or hatch whose properties you want to apply to one or more existing objects in your drawing.
In this example, we'll select one of the tables pictured to the right.

Quick video
The Command line will now prompt you to:
Select destination object(s).

Click any object in your drawing you want to replace with the source object.
In our example, we'll select one of the tables on the right side the image, which are a different model from the table we've selected as a source object.
If the destination object appears more than once in the drawing, you'll be asked whether you want to apply the change to all instances. In our example, we'll click No to only apply the change to the one table we selected.

The destination object will transform into the source object.
In our example, the table we selected as a destination object will become the source object table.
The destination object will take on all properties of the source object – including symbol, notes, and per-unit cost.

You can continue clicking additional destination objects to take on the properties of the source object. If you choose this option, you can select any object in your drawing as a destination object.

You can also select multiple destination objects at once.
To do so, draw a window around all the objects you'd like to assign with the properties of the source object.
All objects within your window that are identical to the original destination object you selected will be assigned the source object's symbol and data.
In our example, the three tables within the window have been transformed to the first model of table, while the umbrella – which was also within the window – has remained unchanged.
Note that Mimic Object will only process objects within your window that are identical to the first destination object you selected. This feature allows for the careful selection of multiple identical objects while preventing others from being changed inadvertently.

Destination objects will retain their original rotation – the angle at which they were originally placed.
If you select a block as your source object, you can select any block in your drawing as the destination object, including other "smart" blocks. You cannot, however, use Mimic Object to replace a hatch with a block or vice versa.
Mimic Object and Hatches
Mimic Object can also apply the properties of a "smart" RefNote hatch to an existing closed polyline boundary, or even another hatch. Open the Mimic Object tool as described above, then select an existing Area or Volume RefNote hatch as the source object. For more information on these specific types of RefNotes, see our Area / Volume RefNotes page.
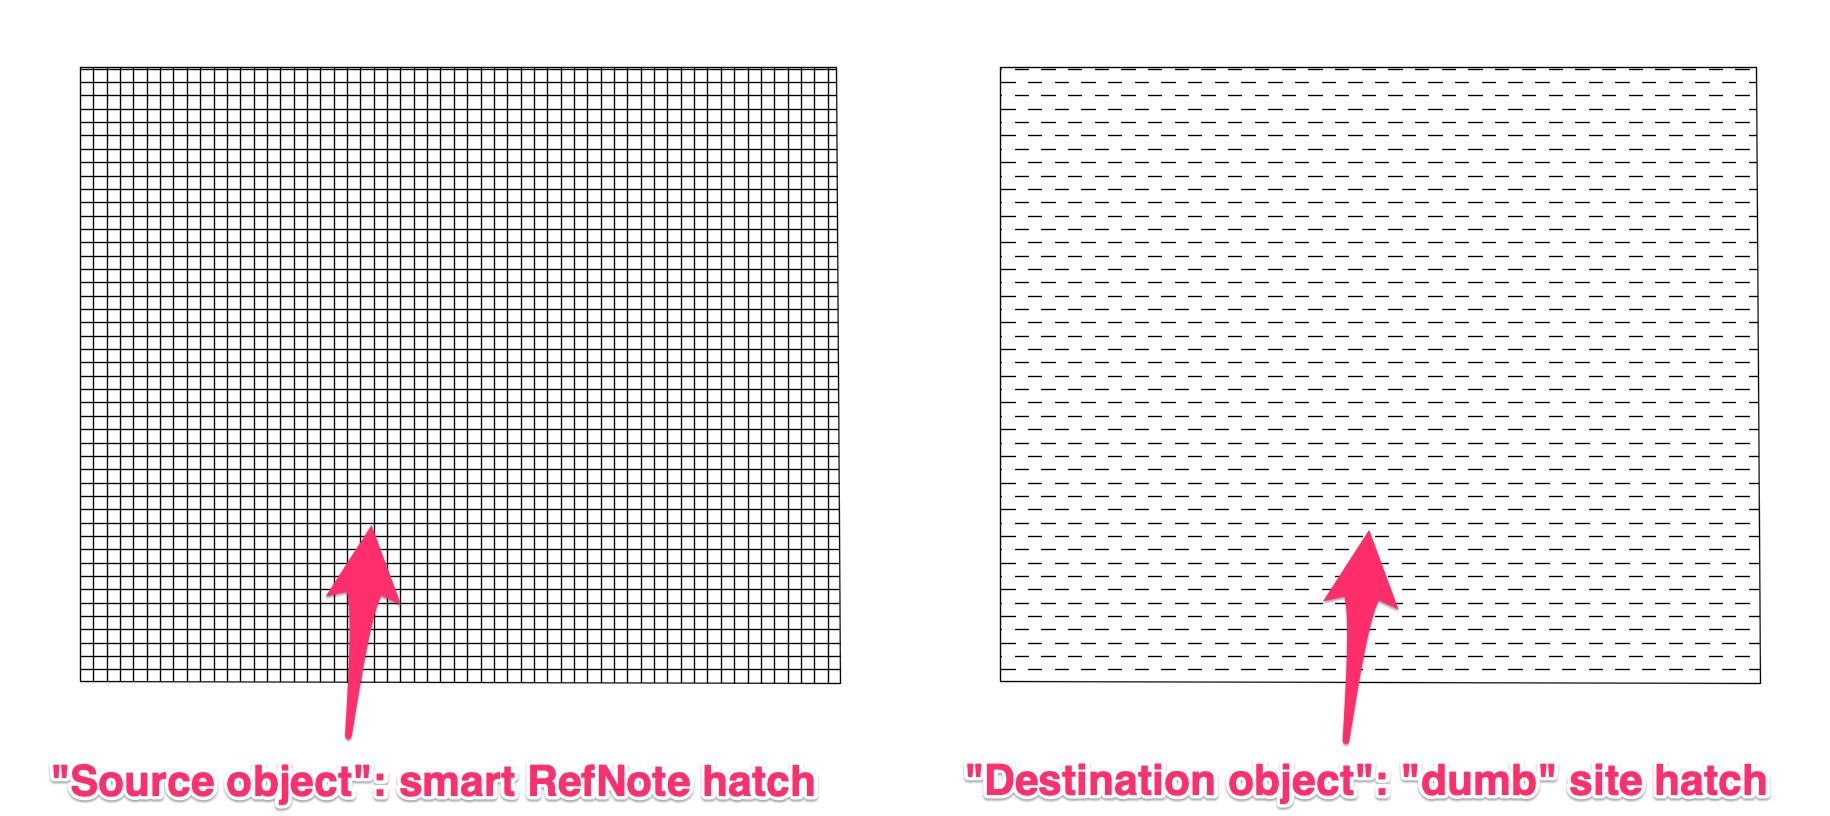
In this example, we'll apply Mimic Object using a RefNote hatch as a source object and a "dumb" site hatch (that is, a hatch without any associated data, which we've placed using our Hatch tool) as a destination object.
Once we apply Mimic Object and select the site hatch as the destination object, we've replaced it with our RefNote hatch – and assigned it with all associated data.
If you select a hatch as your source object, you can select any other hatch in your drawing as the destination object, including other "smart" hatches. You cannot, however, use Mimic Object to replace a block with a hatch.
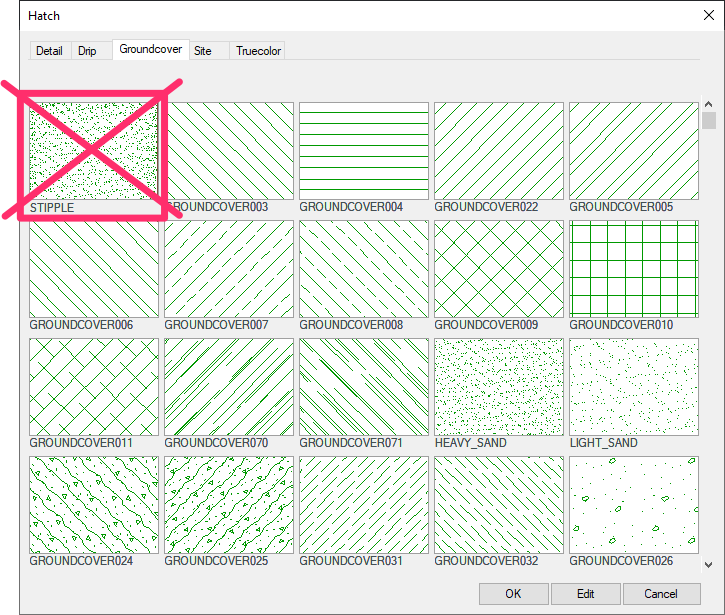
Incompatibility With the Stipple Hatch Pattern
Our Stipple hatch pattern for groundcovers is incompatible with the Mimic Object tool because each stipple hatch is actually a series of several hatches at different scales. If you plan to use Mimic Object on a hatch, use a pattern other than Stipple.
Mimic Object and Reference Note Callouts
Mimic Object also allows you to change one Reference Note (RefNote) you've placed in your drawing into a different RefNote. All data from the "source" RefNote will be applied to the "destination" RefNote.
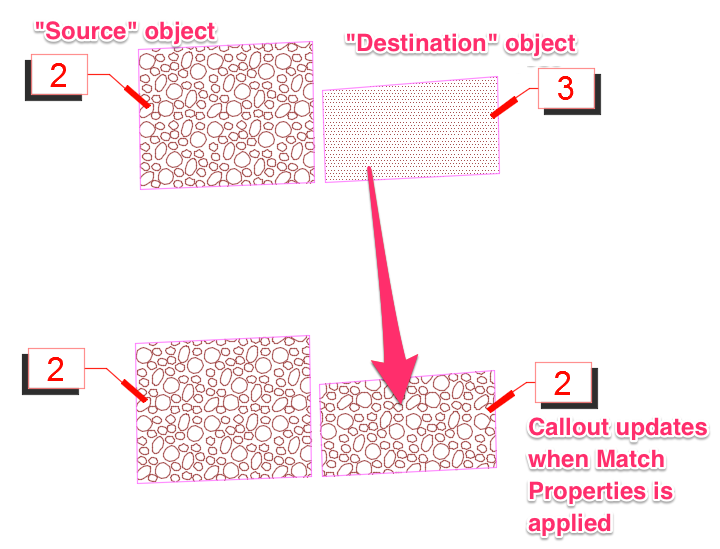
If you've already called out the "destination" RefNote, the callout will also update.
Turning Circles into Site Amenities or Other Blocks
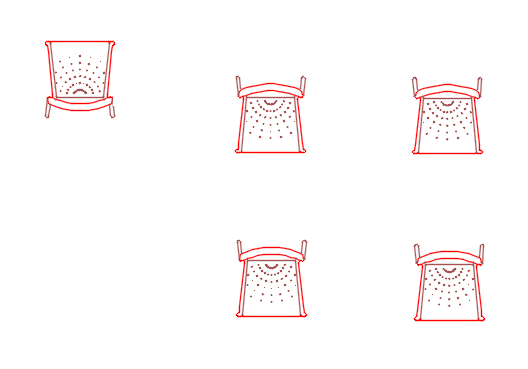
We've added the ability to transform circles in your drawing into blocks, including Amenity RefNotes or other site blocks, using Mimic Object. For example, you may have drawn several circles using the native AutoCAD Circle tool in the locations where you want to place a specific site amenity. Mimic Object makes it easy to switch out the circles for the object of your choice.
In this example, we'll turn the four circles pictured to the right into the chair placed next to them.
Open the Mimic Object tool and select the object you want to put in the place of the circles.
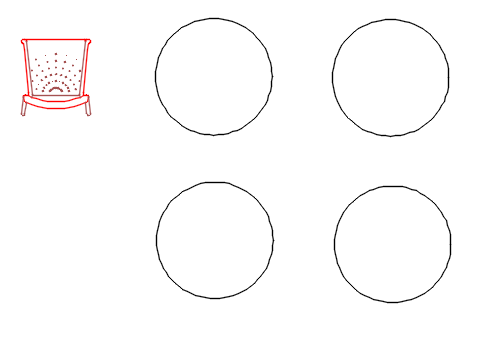
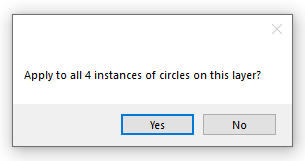
You'll be asked whether you want to apply the properties of the selected object to all circles that share a layer with the circle you selected.
Click Yes to replace all circles on the layer with the selected object, or click No to only apply the change to the circle you selected.
If you click No, you can continue to select additional circles individually as long as the tool is still active.
All circles you selected will be transformed into the object.
In this example, we clicked Yes to apply the properties of the chair to all circles on the layer.
You may need to use the Rotate command to apply your desired rotation to the copied objects. In this example, the duplicates of the copied chair placed upside down, so you would need to rotate them to your desired positions.
