Setting the Units and User Coordinate System (UCS) in CAD & SketchUp
- Setting the Units in SketchUp
- Setting the Units in CAD
- Setting a User Coordinate System (UCS) in CAD
If you start a project in CAD and export it to SketchUp (or vice versa), remember that your units in SketchUp need to match the units you set in CAD. If your units don't match between SketchUp and CAD, objects in your site design will appear excessively large or small each time you bring them back and forth between the two programs.
Setting the Units in SketchUp
Let's say you have an existing CAD drawing where the units are set to decimal feet. Before importing your drawing into SketchUp, you'll make sure you set the same units in the SketchUp project you create for that site design – in this case, decimal feet.
If you haven't already, start a SketchUp project for your site design using our Projects tool. With your project open, you can then set the units for that project.
In SketchUp, open the Window menu and select the Model Info option.


In the Model Info dialog box, select your units from the two menus next to Format.
In our example, we'll select Decimal from the first menu and Feet from the second.
Setting the Units in CAD
In CAD, you can set the units using the Units command.
Type Units in the Command line, and press Enter.
You can then set your units in the Drawing Units dialog box.
If you've already set your units to decimal feet in SketchUp, you'll need to match these units in CAD before exporting your drawing.
In our example, we'll select Decimal from the Length menu, and Feet from the Insertion Scale menu.

Setting a User Coordinate System (UCS) in CAD
Before exporting your CAD drawing to SketchUp, it's also crucial to ensure that your drawing and SketchUp model are both viewing your site from the correct angle. You can do so by setting a User Coordinate System (UCS) in CAD prior to exporting your drawing. With a UCS, you can orient your drawing to an exact angle or vantage point of your choice.
Open your CAD drawing you want to export to SketchUp, and ensure that the Object Snap (OSNAP) feature is enabled. To do so, type OSNAP in the Command line and press Enter. Then verify that Object Snap On is selected.
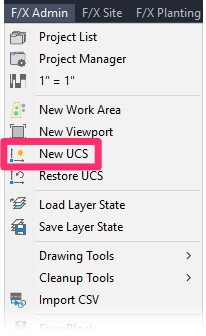
Open our New UCS tool:

F/X Admin ribbon, New UCS button

F/X Site ribbon, New UCS button

F/X Planting ribbon, New UCS button

F/X Irrigation ribbon, New UCS button

F/X Admin pull-down menu

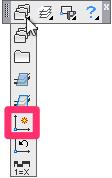
Admin Data toolbar

F/X Admin toolbar
or type FX_UCS in the Command line
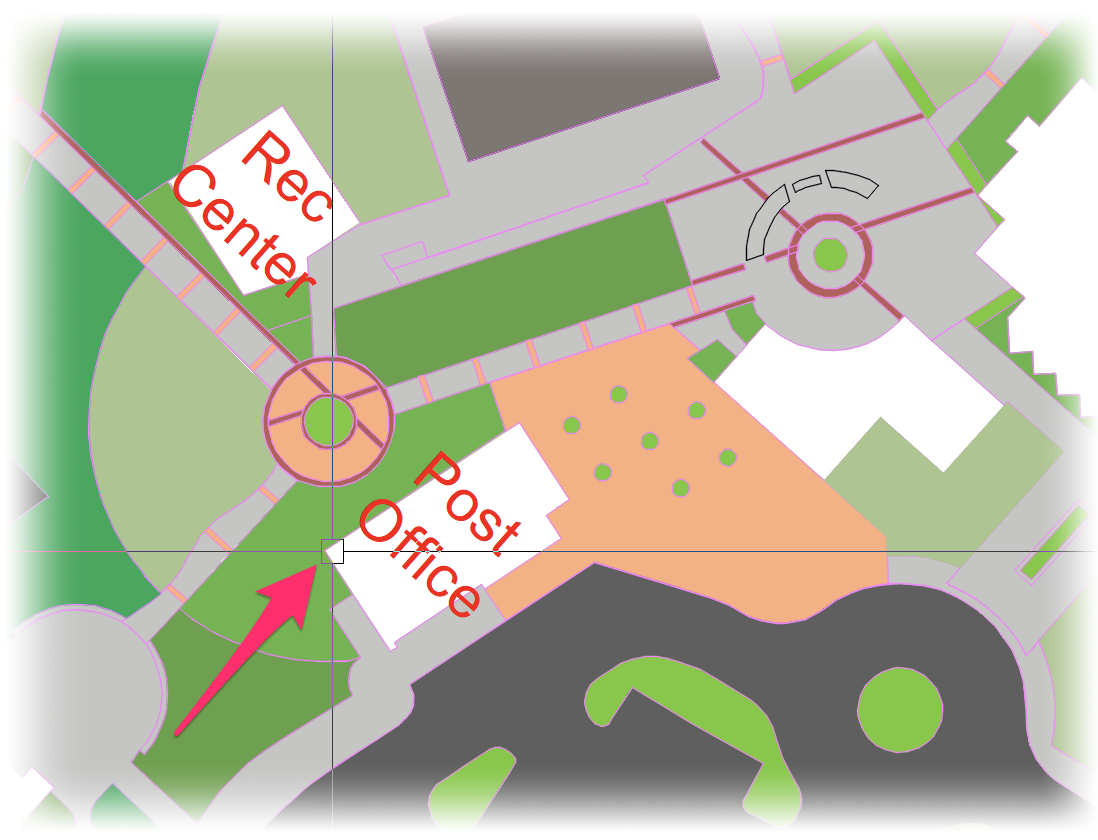
When prompted to Specify new origin point, select a point in your base file that everything in the drawing will snap to when you set your UCS.
Choose an easily recognizable spot that is also a "snappable" object.
In this example, we'll use the corner of a building.
Set your X and Y axes when prompted.
For more information on setting a UCS, see our documentation on Creating a UCS.
Give your UCS a name.
Repeat these steps in any other other drawings you’ve Xrefed in (such as planting plan) that you want to export to SketchUp.

Once you've set a UCS in your drawing, SketchUp will recognize it when you bring it in.


