
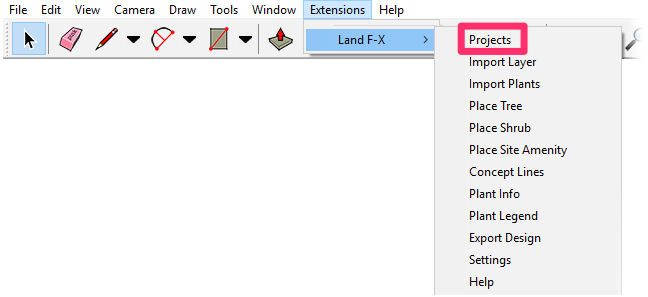
Import Layer Tool: Planting F/X for SketchUp Plugin

- Exporting a Layer From a CAD Drawing
- Importing Layers Into a SketchUp Model
- Related Videos
- Troubleshooting
With the Import Layer from CAD tool, you can bring individual layers from a CAD drawing into a SketchUp model.
Exporting a Layer from a CAD Drawing

Before importing a layer from a CAD drawing into a SketchUp model, you'll need to export the layer from CAD to SketchUp.
Step 1: Prepare the Drawing to Export Its Layers
Open the CAD drawing whose layers you want to export into SketchUp.

Important:
We recommend that you create a copy of this drawing, as you'll likely need to edit it to clean up the CAD linework first.
Prepare the drawing to import its layers into SketchUp:
- Delete all non-essential objects (hatches, blocks, plants, irrigation, lighting, mleaders, text, dimensions, etc.) from the drawing.
- Explode any blocks you want to import into SketchUp as linework instead of as an Amenity Reference Note (RefNote), such as stepping stones, building or structure footprints, walls, and sports field lines.
- Make sure all lines are joined or drawn accurately. Any points not actually touching, or incorrectly overlapping, will make cleanup in SketchUp difficult. If you import to SketchUp and the cleanup to make faces is too difficult, you might consider coming back to this step and trying again with the insight on the problem areas.
Save the drawing after completing these preparations.
Step 2: Export the Layers
We'll export layers from the CAD drawing pictured above into SketchUp. Once we've exported the layers, we can then import them into our SketchUp model.
Open our 3D Connection tool:
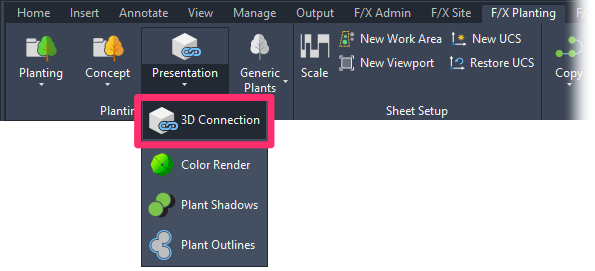
F/X Planting ribbon, 3D Connection flyout
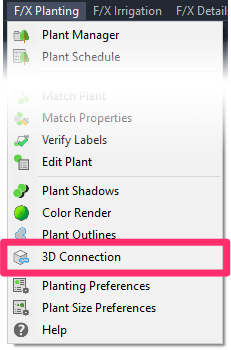
F/X Planting menu, 3D Connection option
or type FX_SITE3DEXPORT in the Command line
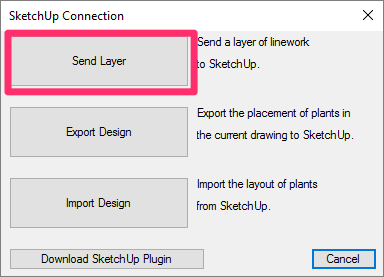
The 3D Connection dialog box will open.
Click Send Layer to export your plan into SketchUp.

Some exported objects are an extremely far distance from the origin. This can be an issue in some 3D programs. Use the New UCS tool to resolve this.
Would you like to see more information?
Did you see this error message at this point? If so, here's what to do.
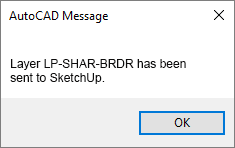
A pickbox will appear in place of the cursor. Click an object in your CAD drawing that is on the layer you would like to export to SketchUp. In our example, we'll be exporting the layer LP-SHAR-BRDR to SketchUp.
You'll see a message that the layer has been exported. Click OK.
Your layer has been exported into SketchUp, and you're now ready to import it into your SketchUp model.
You can continue to select additional layers to export from CAD. Simply press the SPACE bar to reopen the SketchUp Connection dialog box, click the Send Layer button, and select an additional layer.
Note that when you import a layer into SketchUp, the Land F/X SketchUp Connection will first delete all objects from that layer. This way, you won't have to search through your layers to see which ones you've already imported.
Importing Layers Into a SketchUp Model
Open a new or existing SketchUp model. Then open the Land F/X Projects tool:

LandFX toolbar, Projects button
Land-FX menu, Projects option
The Land F/X Projects dialog box will open.
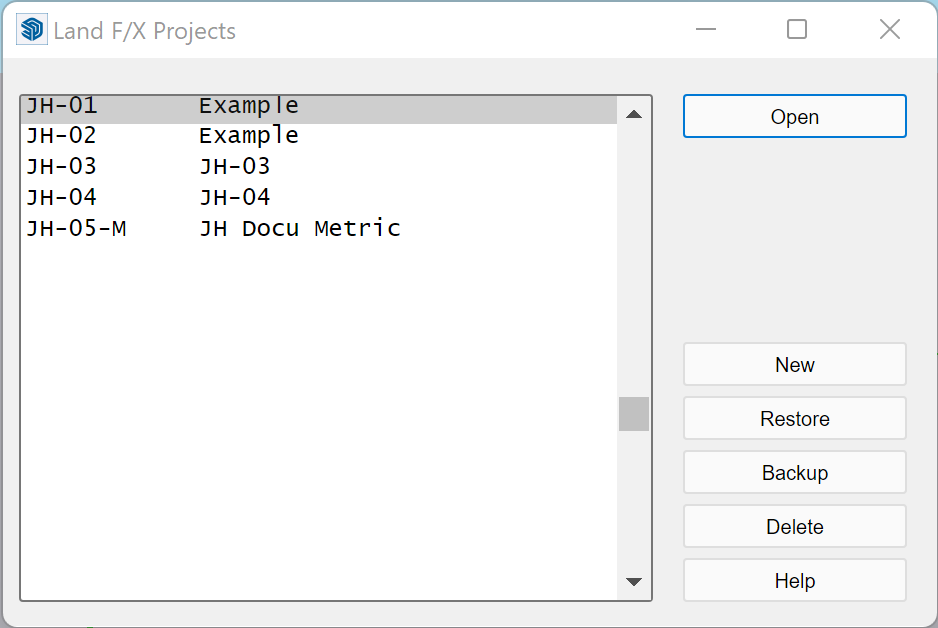
Here, you'll see a list of all Land F/X projects you've created in SketchUp, or imported from CAD into SketchUp.
This list should also include the name of the project you've just exported from CAD. Click the name of the project.
Make sure you are selecting the correct project number. In our example, the dialog box contains two projects named Tutorial 1 Metric. The project we imported from CAD is the one with the number 9010-M.
Your project will open in SketchUp, and the Land F/X Projects dialog box will close. Open the Import Layer from CAD tool:
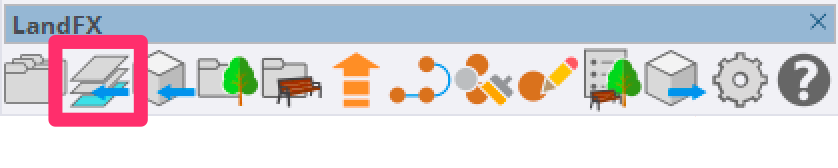
LandFX toolbar, Import Layer button
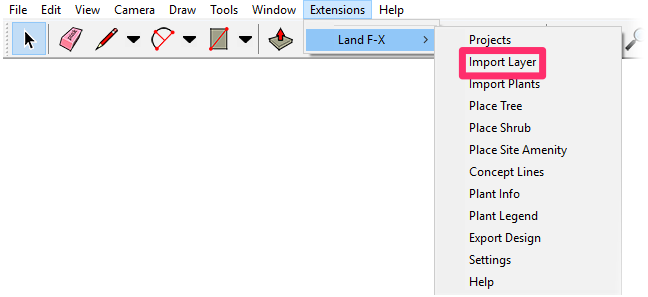
Land-FX menu, Import Layer option
The Land F/X Import Layer dialog box will open.
Here, you'll see a list of all layers you've exported from your CAD design into SketchUp.
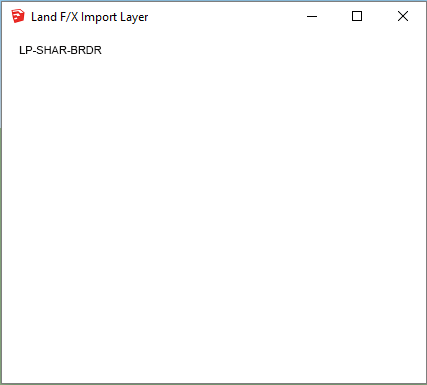
Click a layer to select it and import it into your SketchUp model. The dialog box will close, and your layer will be imported into your SketchUp model.
Be patient as the layer is imported; some layers take longer than others to import.
To import additional layers, select the Import Layer tool again, then click the layer in the Land F/X Import Layer dialog box to import it.
Your layers have now been imported into your SketchUp design.
Related Videos
Troubleshooting
Issue: Objects are appearing in the incorrect locations or backward in your SketchUp model
Issue: Our Planting F/X Plugin for SketchUp freezes or becomes unresponsive
Issue: Clicking one of the Land F/X tool buttons in SketchUp does nothing
SketchUp: Basic troubleshooting (adding, placing, importing plants)
Contact
- Land F/X


Our software tailors AutoCAD®, Revit®, and SketchUp® to the needs of landscape architects, irrigation designers, and other professionals. We automate your most tedious tasks and ensure accuracy, giving you more time to design.