Work Areas are Not Recognizing/Calculating Hatches Correctly
Quick video
Issue
In a drawing that includes Work Areas, you're noticing that a hatch is either:
- Being picked up or recognized by more than one Work Area,
- Not being picked up or recognized by any Work Areas at all (and you want it to be inside a Work Area), or
- Not being recognized or calculated correctly
This issue can occur with any type of Land F/X hatch, including:
- Area/Volume Reference Notes (RefNotes)
- Groundcover or Shrub Area hatches
- Concept Plants
- Site hatches such as Zoning hatches or Site Development/Estimator areas
- Irrigation hatches such as Schematic Irrigation zones or drip areas
Here's an example:
The image to the right shows a hatch that falls within two Work Areas.
In this scenario, the hatch could either be:
- Recognized and calculated by both Work Areas, or
- Not recognized or calculated by either Work Area

Other Work Area issues:
- Unable to create or place a Work Area at all? Solution >
-
Further issues with a Work Area in your drawing? Use our General Work Area Troubleshooting steps if you have:
- Received a message that the system cannot find the title associated with a Work Area.
- Placed a Plant or Irrigation Schedule, and the schedule is not showing the items in one or more of your Work Areas, although it is showing all other relevant items (plants, irrigation equipment, etc.) in your drawing.
- Deleted the title of a Work Area (but not the Work Area itself), and now when you try to place a schedule, the system is unable to find your Work Areas.
Cause
A Work Area will recognize a hatch if 50% or more of that hatch's vertices (the segments that make up the polyline boundary of the hatch) falls within that Work Area. The hatch causing the problem in your drawing likely has an equal number of vertices falling within two Work Areas. This issue can occur even when the majority of a hatch's area is clearly within one of the two Work Areas.
We've also seen this issue with Work Areas whose boundary coincides with the boundary of a hatch.
Why don't Work Areas recognize and claim hatches by total area rather than vertices? Because scanning by area would cause a significant slow-down in performance. Vertices are much easier to compute.
Solution
Check for the following:
- Hatches spanning more than one Work Area
- Hatches with boundaries that coincide with Work Area boundaries
Hatches spanning more than one Work Area
You have two options for correcting this issue:
Option 1: Add a Vertex to the Hatch Boundary
One way to correct this issue is to add an extra vertex to the polyline boundary of the hatch. The trick is to add the vertex within the Work Area that you want to recognize the hatch.
To add a vertex to a hatch boundary, click the boundary to select it.
Hover your mouse over one of the grip points in the closed polyline within the Work Area that you'd like to recognize the hatch.
Select Add Vertex from the menu that opens.


Click a point on the boundary to place the extra vertex.
To ensure that the extra vertex falls along the existing path of the boundary, snap to it using the "Nearest" Object Snap (OSNAP) setting.
Your hatch will now have more vertices within the Work Area of your choice, and that Work Area will recognize the hatch.
Option 2: Avoid Having Hatches Span More Than One Work Area
If a hatch only intersects with one Work Area, then only that Work Area will recognize the hatch. When you draw your Work Areas, you can prevent this issue by not drawing two Work Areas that intersect with one hatch.
If you've already drawn your Work Areas, you can correct the issue by redrawing one Work Area's boundary so it doesn't include the hatch.
Alternative method: Use our PolyDivide tool.
You can also choose to divide your hatched area into multiple regions that lie within the different Work Areas. See our PolyDivide documentation for more information.
In our example, we'll redraw the boundary of Area 1 (the Work Area on the left) so it doesn't include our hatch.
To redraw a Work Area, first click its boundary to select it.
Hover the mouse on one of the grip points in the boundary.
Then select Add Vertex from the menu that opens.


An extra vertex will be added to the Work Area boundary. Click a point on the boundary where you want the vertex to end.
In our example, we've moved the vertex to a point where our Work Area won't include the hatch causing the issue.
Finally, clean up your Work Area boundary as necessary.
In our example, we still have a vertex extending from our intended boundary down to the original grip point we selected.
In this case, we can hover over the grip point again and select Remove Vertex from the menu.


Our Work Area now has a new boundary that does not intersect with the hatch.
Hatches with boundaries that coincide with Work Area boundaries
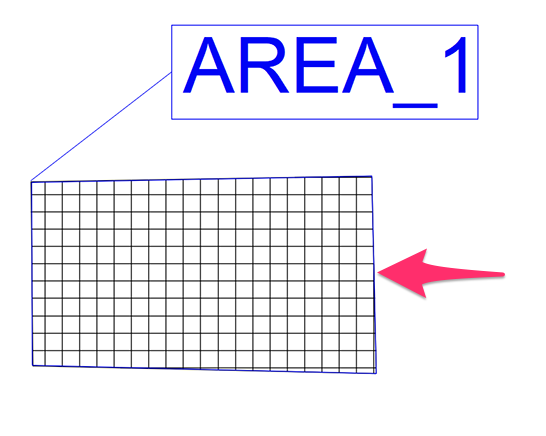
Check for Work Areas that appear to have the same boundary as a hatch.
In this example, a Work Area appears to have been created with a border in the exact location as a hatch boundary.
Even one coinciding boundary can cause an issue, however.


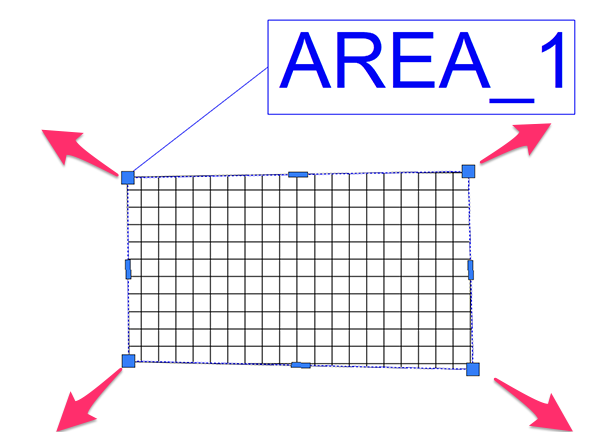
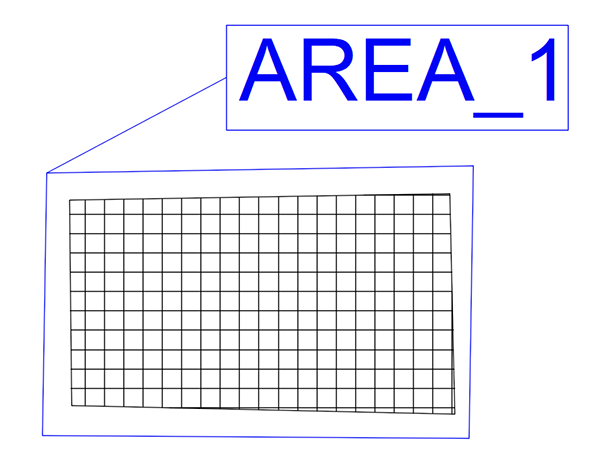
To correct this issue, grab the Work Area boundary by its grip points and offset it outward from the hatch border.

For an in-depth look at Work Areas and how to implement them into your drawings, see our Using Work Areas webinar.


