Change a Single-User Land F/X Installation to a Multi-User Installation (Local Data, Office Server)
Here are concise steps for backing up an installation of our software on your single-user computer and restoring the data on your new server:
Step 1: Prerequisites
Before completing these steps, make sure that:
You have Local Data – not Cloud Data.
You have admin permissions on both your old computer and your new server.
You have a USB drive handy.
Nobody in your office is currently using Land F/X.
Step 2: Back up your Land F/X data
Complete this step on your old computer.
2A. Download the Land F/X Local Data Migration tool using the link below.
Save the downloaded file to a location where you can easily find it, such as your desktop.
2B. Locate the file LocalDataMigration.exe, which you just downloaded, and drag it into your LandFX folder. In most cases, this folder will be at the location C:/LandFX on your server.
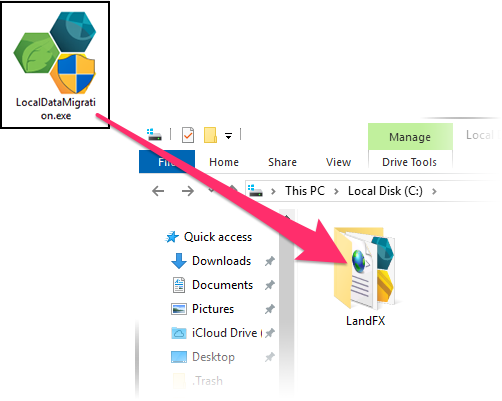
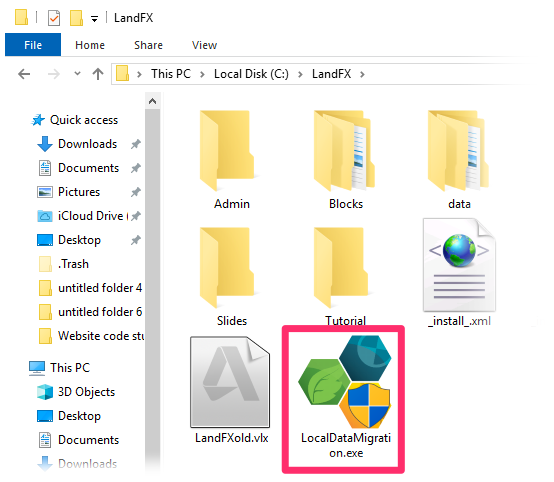
2C. Run (double-click) the file LocalDataMigration.exe in your LandFX folder.
2D. If asked whether you want to allow this app to make changes to your device, click Yes to begin using the Local Data Migration Tool.
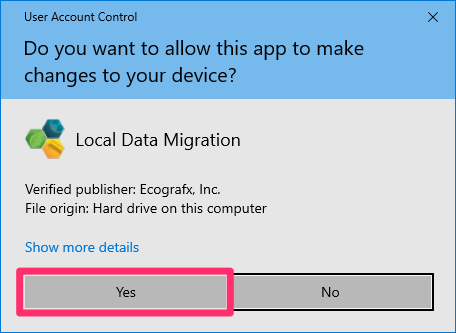
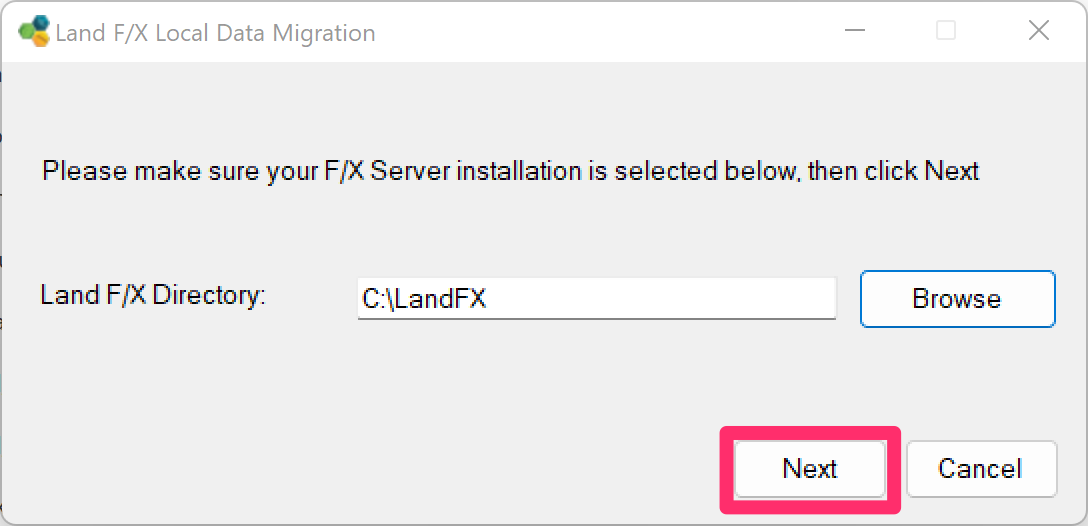
2E. In the screen that pops up, ensure that the LandFX Directory field is pointing to your LandFX folder. If not, click Browse, then browse to and select your LandFX folder.
Once you're sure the location of your LandFX folder is listed correctly, select the option to Backup Land F/X content and click Next.
In most cases, your LandFX folder will be at the location C:/LandFX.
2F. In the next screen, you'll be asked whether you're backing up a Multi-user Land F/X installation that's accessed by multiple users at once. Click No.

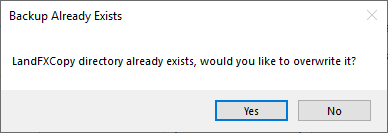
If you see the message LandFXCopy directory already exists, would you like to overwrite it?, click Yes.
2G. In the next screen, click Backup to back up your Land F/X database.

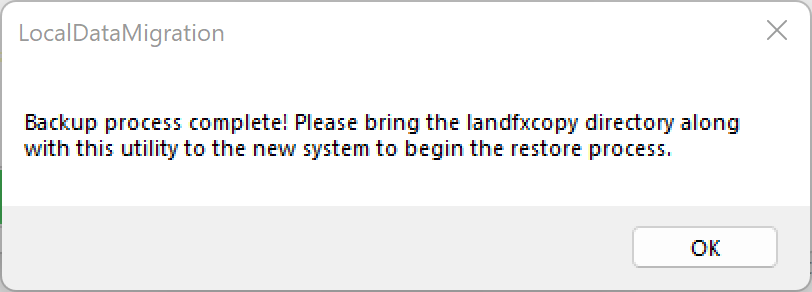
2H. If the backup was successful, you'll see the following message:
Backup process complete! Please bring the landfxcopy directory along with this utility to the new system to begin the restore process.
Click OK.
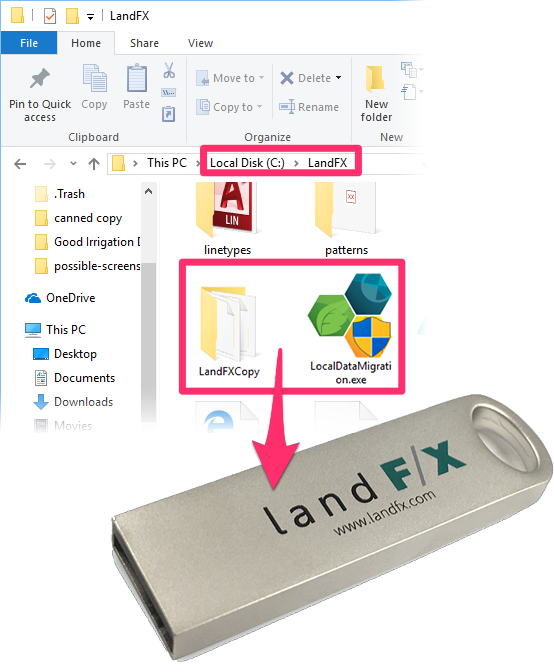
2i. Open the LandFX folder on your old computer, and locate the following items within that folder:
- A folder named LandFXCopy
- A file named LocalDataMigration.exe
Copy both of these items onto a USB drive.
Once you've copied the folder LandFXCopy and the file LocalDataMigration.exe onto your USB drive, move on to the next step.
Step 3: Install Land F/X software on your new server
Follow our install Multi-User Land F/X on your new server.
Your installation process will send an automatic notification to unlock your Support ID.
Step 4: Copy the backups to your new server, and restore
Complete this step on your new server.
4A. Drag the following items from your USB drive into the LandFX folder on your new server.
- The file LocalDataMigration.exe
- The folder LandFXCopy
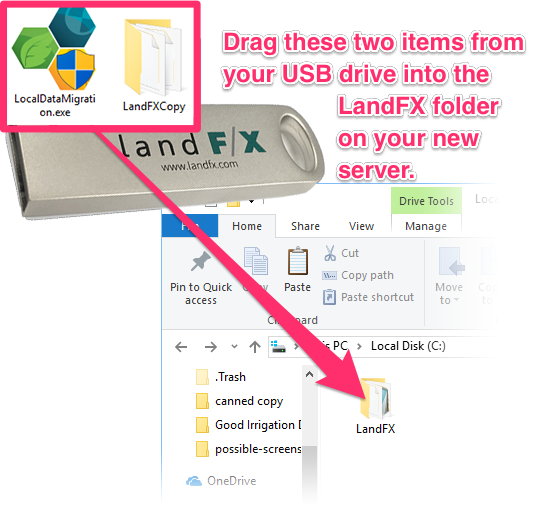
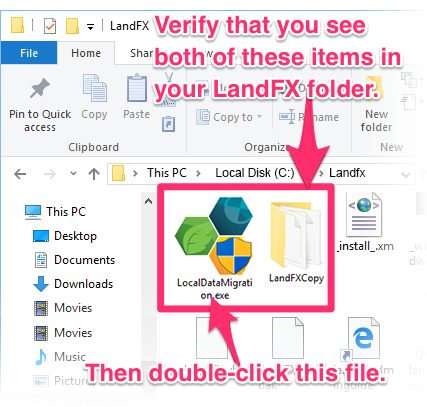
4B. Verify that the LandFX folder on your new server contains the following two items:
- A file named LocalDataMigration.exe
- A folder named LandFXCopy
Double-click the file LocalDataMigration.exe from within the LandFX folder.
Don't see these items in the LandFX folder? They may not have copied correctly from your USB drive. Try dragging them from your USB drive into the LandFX folder again. Once both items are in the LandFX folder, double-click the file LocalDataMigration.exe.
4C. If asked whether you want to allow this app to make changes to your device, click Yes to begin using the Local Data Migration Tool.

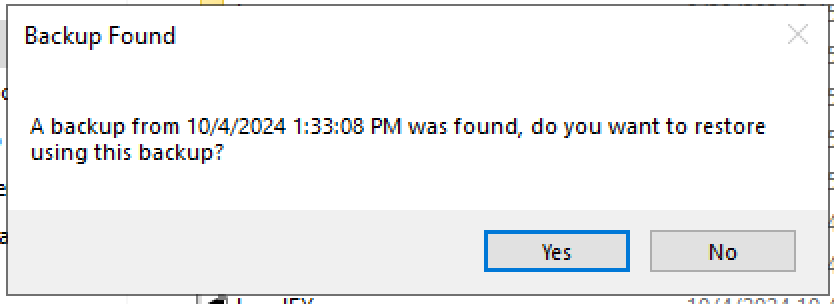
4D. You'll see a Backup Found message. Verify that the message is referencing the correct backup – it will be identified by the date the backup took place – then click Yes to begin the migration.
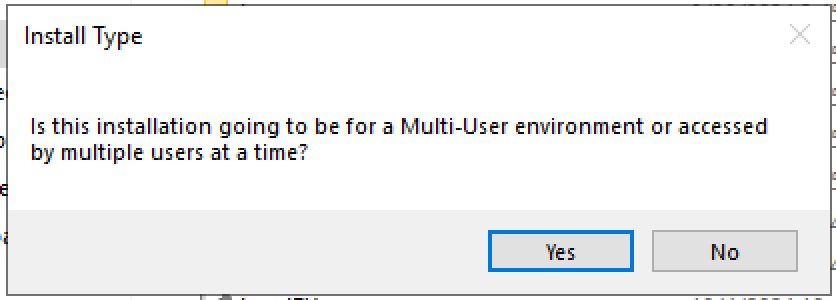
4E. You'll be asked Is this installation going to be for a Multi-User environment or accessed by multiple users at a time?.
Because you are changing Single-User installations to a Multi-User installation, click Yes.
4F. You'll be asked Is this your destination or new system?
Verify that you are currently on your new server where you plan to house Land F/X, then click Yes.
4G. In the next screen, verify that the LandFX Directory field is pointing to the LandFX folder on your server. If not, click Browse, then browse to and select your LandFX folder.
Once this field is pointing to your LandFX folder, click Next.
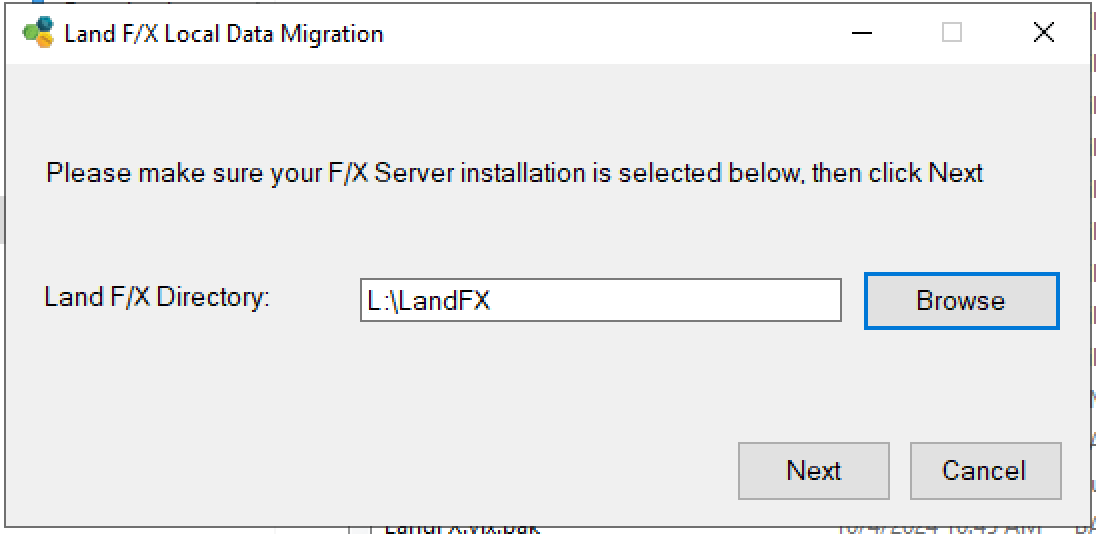
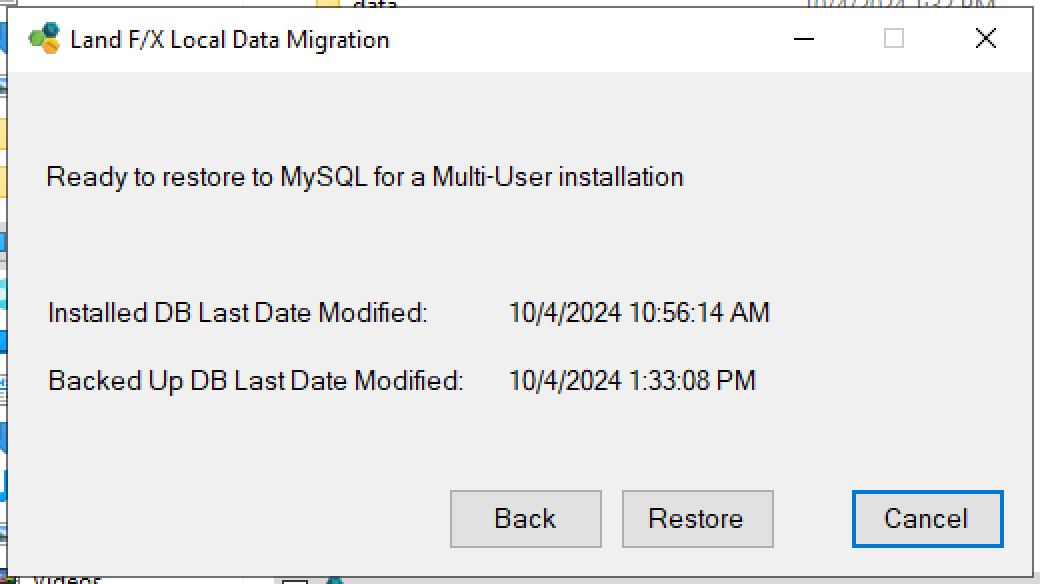
4H. You'll see the message Ready to restore to MySQL for a Multi-User installation
Click Restore to restore your Land F/X data.
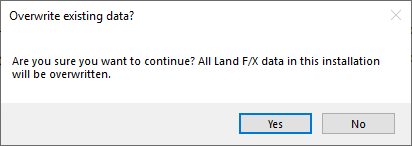
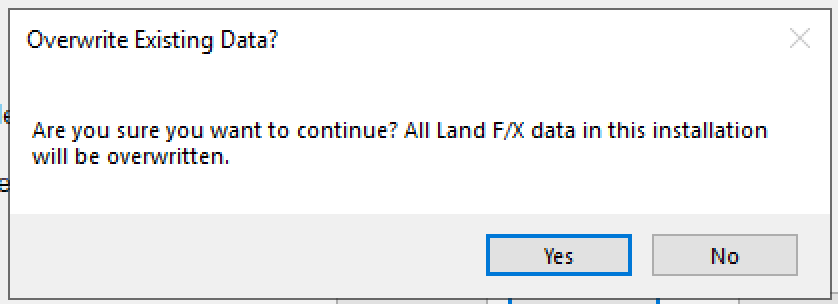
4i. You'll be asked Are you sure you want to continue? All Land F/X data in this installation will be overwritten.
Click Yes to continue with the restoration and overwrite the existing Land F/X data on your new server.
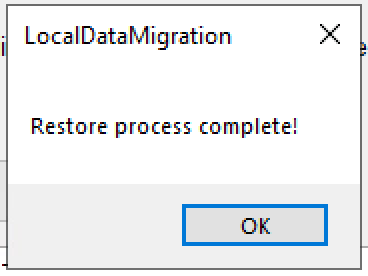
4J. If the restoration was successful, you'll see the message Restore process complete!
Click OK.
You've successfully restored your Land F/X data on your server.
Step 5: Uninstall Land F/X software from the Single-User computer, and reconfigure it
5A. Using the Control Panel on your computer, uninstall F/X Server and F/X Workstation.
5B. Follow our steps to map a drive to the server LandFX folder as specified in the server setup steps.
5C. Install the Land F/X Workstation component:
- 64-bit systems: Run our latest Workstation installer (setup_FXWorkstation.exe) from your LandFX folder. Download link and instructions >
- 32-bit systems: Follow our manual workstation installation steps.
5D. Open CAD to see whether the Land F/X menus and toolbars are present. If not, follow our steps to load your Land F/X menus.
Step 6: Configure the Land F/X workstations
When you open CAD, the License Management screen will open. Here, you will assign all Land F/X licenses to the server. Each workstation user will then check out a license when he or she opens CAD and needs to use our software.
For information on how to assign and check out licenses, see our License Management page.
Step 7 (if applicable): Copy details, blocks, and other custom content to the server
If your office has created custom blocks, details, hatches, or other content, you'll want to copy that content onto the LandFX folder on your server. Navigate to the apppropriate folders on the LandFX folder on a workstation where you have this content saved. Then copy the appropriate folders into the LandFX folder on your server, replacing the existing folders of the same names.
For example, if you have custom details, copy the folder LandFX/details from the workstation into the LandFX folder in your shared location, replacing rhe details folder that's already there. Repeat this step with the appropriate folders for any other custom content. Blocks are stored in the folder LandFX/Blocks hatches in the folder LandFX/Hatches, etc.


