Error: Not a Plant, or Empty Plant Leader (Labeling Plants)
Issue
When attempting to label a plant in your drawing, you experienced one of the following two issues:
- You saw the error message "Not a Plant" ...

or ...
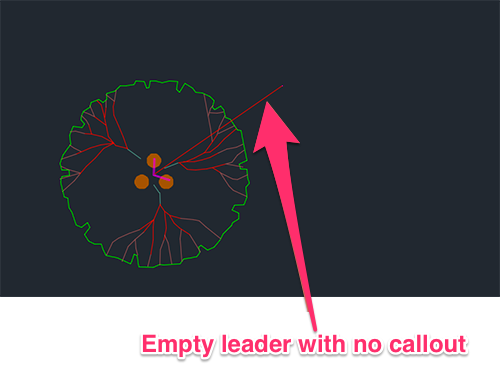
- An empty plant label leader appeared, but the plant callout itself did not (as pictured below).

Cause
This issue can result from one of the following scenarios.
- The plant you're attempting to label is not in the project you currently have open.
- The Shrub Area or groundcover you are trying to label has had its boundary deleted.
Solution
Step 1: Make sure the plant you are trying to label is in the currently open project.
First, verify that you have the correct Land F/X project open. If you're in the wrong project, open the correct project and attempt to label the plant again.
Still getting the error, and you're certain that you have the correct project open? Time to move on to Step 2.
Step 2: Verify that the plant is listed in the Plant Manager.
Open the Plant Manager, and look for the plant. Do you see it listed in the Plant Manager?
- Yes, and the plant is a Shrub Area or Groundcover: The polyline boundary of your planting area has likely been deleted. Move on to Step 4.
- No: Your plant has likely been removed from your project. Continue to Step 3.
Step 3: Reassociate your plant with the corresponding symbol(s) in your drawing.
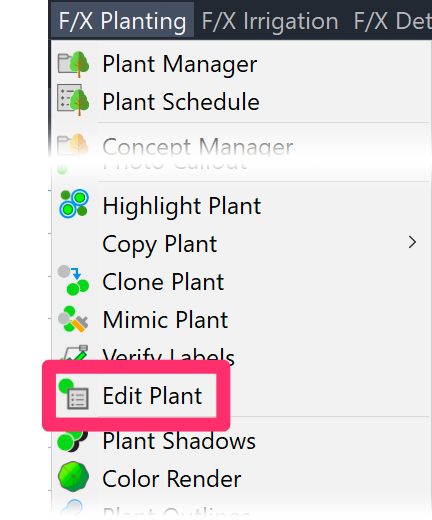
Open our Edit Plant tool:

F/X Planting ribbon, Edit Plant button
type FX_PlantInfo in the Command line

F/X Planting menu, Edit Plant option
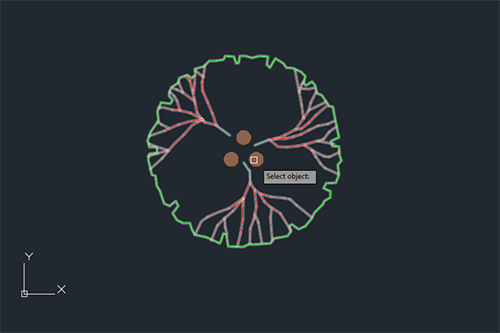
The cursor will turn into a pickbox, and the Command line will prompt you to Select object. Click the plant symbol in your drawing that caused the error.

You'll now see the following error message:
Unable to access plant data. Accessing project plant palette to re-associate it.

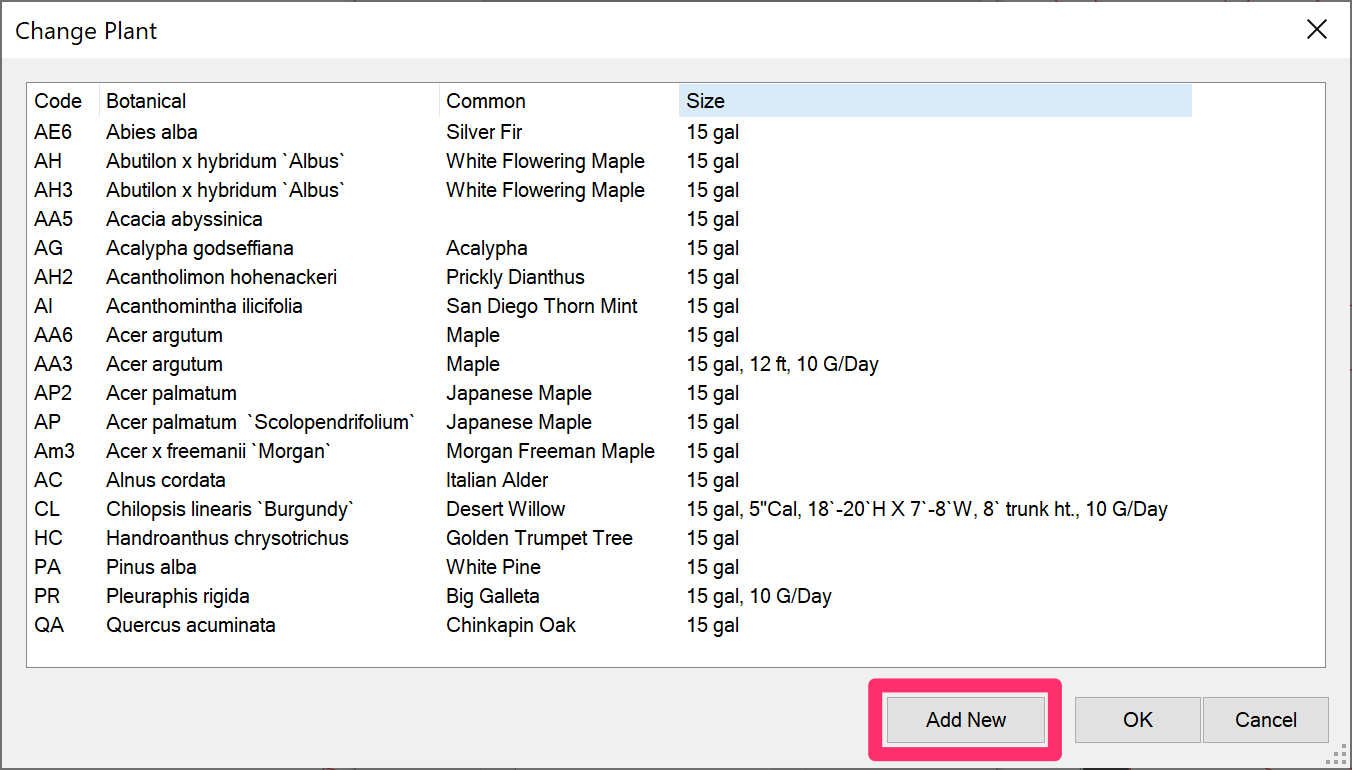
Click OK to begin re-associating the symbol with a plant. The Change Plant dialog box will open. Click Add New to add the plant back to your project.

The Add Plants dialog box shown will open. Navigate to the Genus, Species, and Variety of the plant you attempted to label. Select the plant Genus, Species, and Variety. Then click Add to Project

The symbol selection dialog box will open. Locate and select the symbol you attempted to label in your drawing. Click OK to associate the symbol with the selected plant.

The Plant Info dialog box will open. Fill in all the necessary information for your plant, including Cost, Container/Rootball Size, etc. Click OK when finished. (You may need to click OK twice to close this dialog box.)

The plant will now be reassociated with the symbol in your drawing, as well as all other instances of the symbol in your drawing. You should now be able to label the plant successfully.

Step 4 (only necessary for groundcovers or Shrub Areas still shown in the Plant Manager in Step 2):
Re-create a Boundary for Your Planting Area(s).
Right-click a hatch representing the problematic groundcover or Shrub Area. This will open the menu shown below. Select the Generate Boundary option.

Repeat this step for the rest of the hatches in your drawing that are generating the Not a Plant error.
If your hatches contain "islands" (items you don't want to hatch), you may want to use a different CAD hatch boundary tool that works better with hatch islands. If so, follow our steps to Create a Closed Hatch Boundary.


