Create a Macro in MS Excel for a Schedule
Quick video
Issue
You want to create a macro in MS Excel to format schedules created with our software. For example, you may need a way to calculate the percentage of your total plants used in a project that are of a particular species. After creating your macro, you'll be able to export your schedules to Excel and run any necessary formatting and calculations automatically with the click of a button.
You can create macros for any or all of the following schedule types:
- Plant Schedules
- Irrigation Schedules
- Site schedules such as Reference Notes Schedules
Solution
Step 1: Create & record your macro
1A. In CAD, run the type of schedule you want to format with your macro – for example, a Plant Schedule.
When creating the schedule, select the formatting options you're likely to want in this type of schedule the majority of the time – for example, which columns you generally like to include in this type of schedule, plant code format, etc.
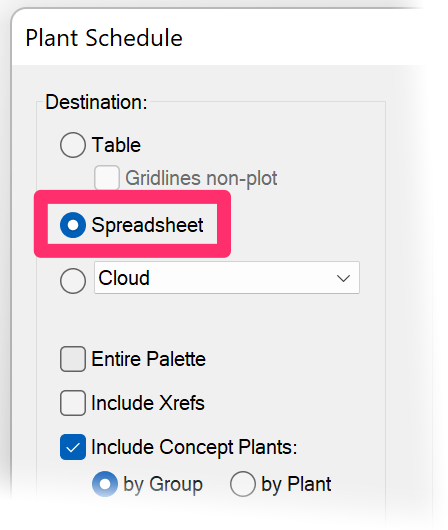
Select the option to send the schedule to a spreadsheet.


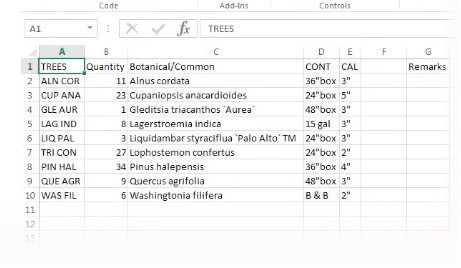
1B. Open the schedule file in MS Excel.
In this example, we'll use the schedule pictured to the left as a basis to create and record a macro.
1C. Select the DEVELOPER tab.
Then click the Record Macro button.


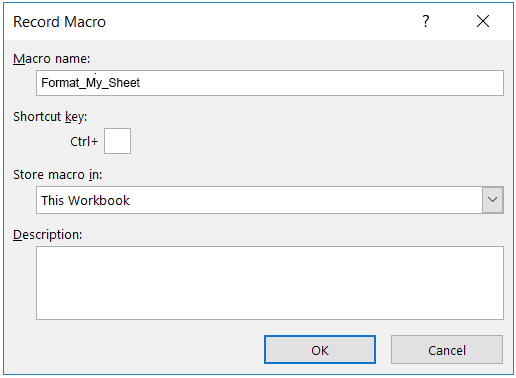
1D. In the Record Macro dialog box, enter a name for your macro and, if you want, a description. Then click OK.
1E. Create your macro by formatting your schedule exactly how you want it.
For example, you may want to use the Conditional Formatting tool to apply formulas to specific columns. You can apply a specific font and point size to text, highlight certain columns in a specific color, and carry out any number of other formatting changes.


In our example, we've formatted the column titles and used the Conditional Formatting tool to add a Perc. (percentage) column that calculates the percentage of the total plant count occupied by each variety, as well as Unit Value and Total Units columns that also run calculations.
1F. When finished creating your macro, stop the recording by clicking the Stop button in the bottom left corner of your Excel interface.

You've created your macro and are ready to use it on a schedule. You can create different macros for different types of schedules, different clients, etc.
Step 2: Run your macro on a schedule

2A. In CAD, run the type of schedule you want to format with your macro – for example, a Plant Schedule.
Select the option to send the schedule to a spreadsheet.
2B. With your schedule open in Excel, select the DEVELOPER tab, then click the Macros button.


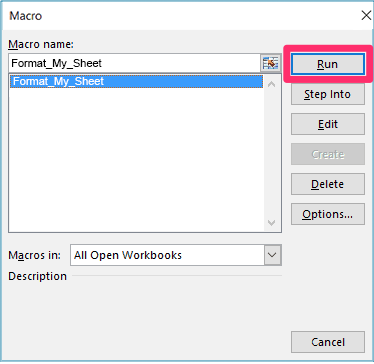
2C. In the Macro dialog box, select the macro you want to run on the schedule.
Click Run to run the macro.
The macro will run on the schedule.
In our example, the macro has applied the stylistic and conditional formatting from the macro to a Plant Schedule we've exported from CAD.


