Detail Enlargement Tools
Quick video
- Detail Enlargement Tools Overview
- Placing a Custom Enlargement of a Detail Component
- Enlargement With Hatches & Colors
- Related Webinars
- Troubleshooting
When building details, you'll often find yourself needing to provide a close-up view of a detail component that shows a more intricate and detailed view of that component. One of the biggest challenges in creating these enlarged sections lies in maintaining the same dimensions between the main object in the detail and its close-up component. Our Detail Enlargement tools make this process quick and foolproof.
Detail Enlargement Tools Overview
Both of our Detail Enlargement tools creates a closed boundary for your detail component. This boundary serves two purposes:
- It provides a visual boundary between the component and the rest of the detail.
- More importantly, it includes an automatic scaling capability that keeps the exact dimensions of objects in the main detail and applies them to the scaled-up components in the enlarged section contained in the boundary.
Our software includes two Detail Enlargement tools: Polyline Enlargement and Circle Enlargement. These two tools work in the same essential way; the only difference lies in the shape of the boundary you want to create.
Polyline Detail Enlargement
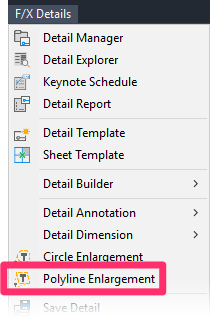
With the Polyline Detail Enlargement tool, you can enclose the enlarged detail component within a custom closed polyline shape. Open Polyline Detail Enlargement:

F/X Details ribbon, Polyline Detail Enlargement flyout

F/X Details menu, Polyline Enlargement option
or type FX_DetailEnlargementPolyline in the Command line
Circle Detail Enlargement
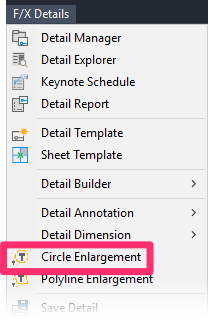
The Circle Detail Enlargement tool encloses the enlarged detail component in a circle. Open Circle Detail Enlargement :

F/X Details ribbon, Circle Detail Enlargement flyout

F/X Details menu, Circle Enlargement option
or type FX_DetailEnlargementCircle in the Command line
Placing a Custom Enlargement of a Detail Component
Before you can use one of the Enlargement tools, you'll need to place a Detail Template in your drawing. You can either place the template around the objects you want to include in your detail, or place the template first and either draw or place the objects you want to include.
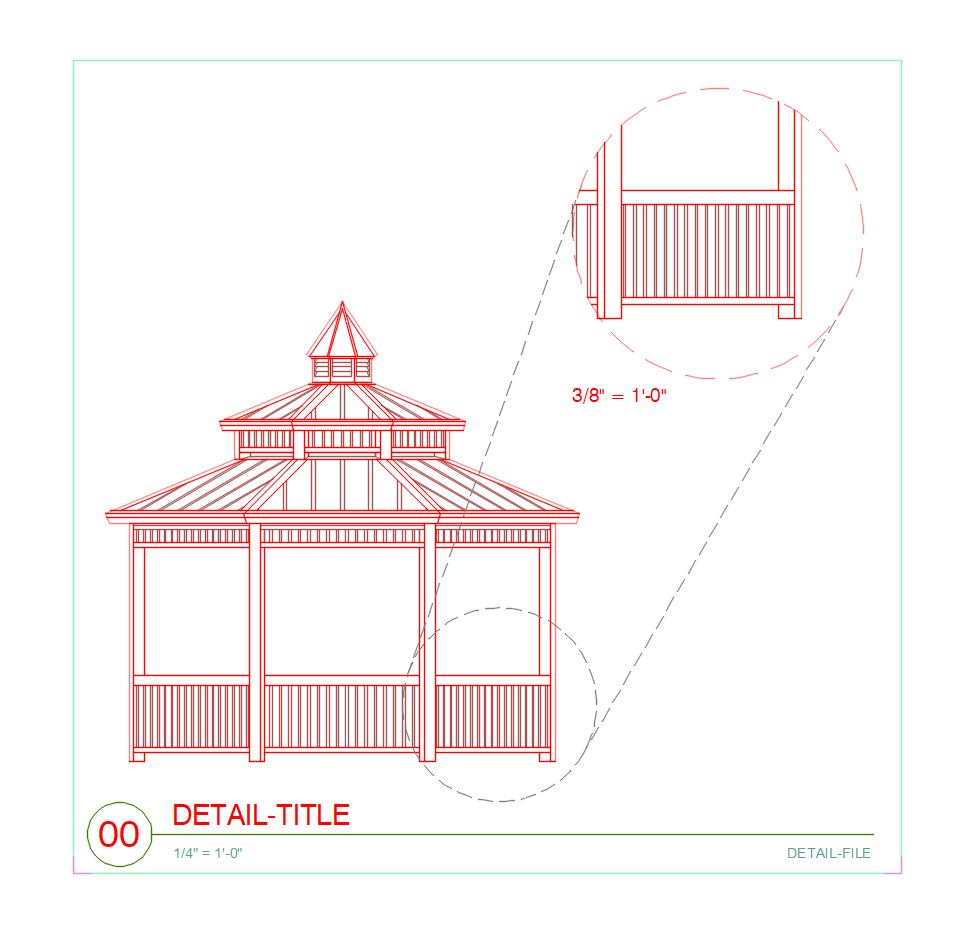
In this example, we'll show you how to create and place an enlarged close-up of a small section of the gazebo in the detail pictured to the right.
Note that the scale of our detail is 1/4" = 1'0", or one-quarter inch equals one foot. This scale will factor into the scale we choose for the enlarged section.

Select either Polyline Enlargement or Circle Enlargement as described in the Overview section above. In our example, we'll select Circle Enlargement.
If you have multiple details in your drawing, you'll be prompted to select the boundary of the detail where you want to create the enlargement. If the drawing only includes one detail, you can simply begin drawing the enlargement section as described below.

You'll be prompted to draw a polyline or circle boundary around the portion of the detail you want to enlarge.
In our example, we'll draw a circle around a small section of our gazebo to enlarge.
If you were to select Polyline Enlargement at this point, you'd draw a closed polyline rather than a circle to house your detail component.
Once you've completed the boundary, you'll see an enlarged version of that boundary that contains the portion of the detail you enclosed when drawing the boundary. The scale of the enlarged section will appear beneath it.
In our example, the enlarged section contains the corner of the gazebo we enclosed, and its scale is 3/8" = 1'0".


You can toggle between scales for your enlarged section using the Q and E keys. Type Q to toggle to the next smaller scale, and E to toggle to the next larger scale.
In the example to the left, we've typed E to toggle to 1/2" = 1'0", which is the next largest scale.
Once you've toggled to the scale you want for the enlargement, click to place it.
In our example, we've pressed Q to toggle back to the scale 3/8" = 1'0".
That's it! You've placed your enlarged section.


Note that despite the different scales, the actual dimensions remain the same between the detail and the enlargement.
In our example, we've placed linear dimensions from our Site Dimension tools on both the main detail and the enlargement. The height of the railing remains 36 inches on both the enlargement and the detail itself.
Enlargement With Hatches & Colors
If you create an enlargement of a section of a detail that includes colors or hatches, the enlargement may pick up more of the detail than you'd like. You can quickly correct this issue using the Trim command.

In the example to the left, we've turned on the Site Color tool to add some color to our gazebo.
When we attempt to create an enlargement of another portion of the gazebo, note that the Circle Enlargement tool has grabbed some portions that lie outside our circle boundary.
To correct this issue, type Trim in the Command line and press Enter
Select the circle boundary, then begin clicking elements of the enlargement that lie outside the boundary, starting at the outside.
Once you've trimmed away all the exterior objects, your enlarged section will appear correctly.

Reshooting a Detail Thumbnail Preview Slide
Our Save Detail tool automatically shoots a thumbnail preview slide of each detail you save. You can reshoot a detail preview slide at any time if you're unsatisfied with it.
Related Webinars
- Saving your Detail Library to Land F/X: We'll go over the best practices for saving your firm's standard details into our system. This webinar will help you make decisions that will save time and money in the long run. (1 hr)
- Detail Tips And Tricks: Learn some advanced techniques and best practices to create details that communicate your design intent clearly, including how to batch save details. (59 min)
- Design F/X Setup: Join us for a complete demonstration on how our software helps you manage and use construction details. We’ll provide an overview of our entire system, from creating your detail drawings to compiling your detail library. (53 min)
- Creating a Detail from Scratch: Land F/X provides all the tools you need to draft your own details quickly and efficiently. Learn how our details tools will help turn you into a detail virtuoso. You’ll also pick up some recommended techniques for drawing up a detail from the ground up. (1 hr)
- Getting Started with the Detail Tools: We'll show you the basic tools you need to familiarize yourself with on the F/X Details ribbon, including setting your Details Preferences. (58 min)
- Detail Tips And Tricks: Learn some advanced techniques and best practices to create details that communicate your design intent clearly, including how to load a layer state, save a custom detail block, and place a detail template. (59 min)
- Details and Specifications: Tyson Carroll of Urban Tree Foundation queried industry leaders in the creation of landscape architectural details and specifications that satisfy the best possible construction documentation standards. Join us for an exciting look at his project. (46 min)
Troubleshooting
Issue: You saw a "Not a valid detail boundary" message when attempting to use the Detail Enlargement tools


