Insert & Adjust Pipe Hops Manually
Quick video
- Inserting a Pipe Hop
- Adjusting the Size of a Pipe Hop
- Deleting a Pipe Hop
- Related Webinars
- Troubleshooting
Our Pipe Hop tool allows the manual insertion of a hop or arc in your piping system. This tool can come in handy when one pipe conflicts with another pipe, head, or other equipment in your drawing.
Remember: Our Verify Laterals tool provides pipe hops automatically. The manual Pipe Hop tool is intended for extremely specific situations.
Inserting a Pipe Hop
Open our Insert Pipe Hop tool:
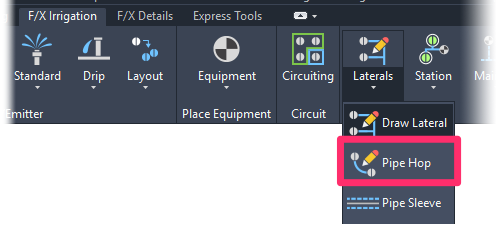
F/X Irrigation ribbon, Insert Pipe Hop flyout
Type PipeHop in the Command line

F/X Irrigation menu, Pipe Hop option
The cursor will turn into a pickbox, and the Command line will prompt you to Select Pipe.
Using the pickbox, click the pipe where you want to place a hop.
The hop will appear with its center at the location where you clicked.


The pipe hop will be inserted at the point where you clicked.
Point(s) selected are not within pipe segment.
Getting this error message? If so, one or more of the pipe hop points you tried to place were outside selected the pipe segment. Take care that both points you select to place the pipe hop are within the pipe segment where you want to place the hop.
Adjusting the Size of a Pipe Hop
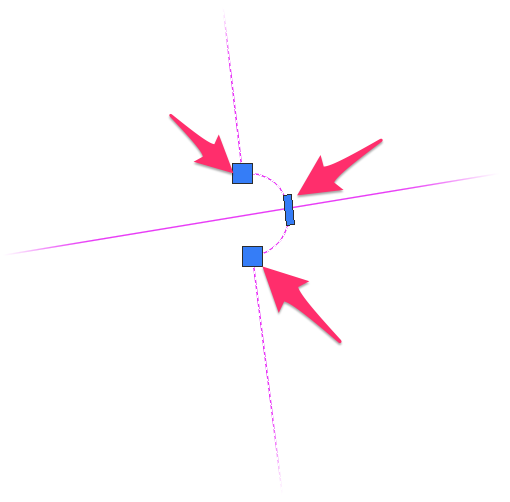
If you want to adjust the size of a pipe hop, click on it.
You'll see three pick points, as pictured to the right. You can move these points to your liking.
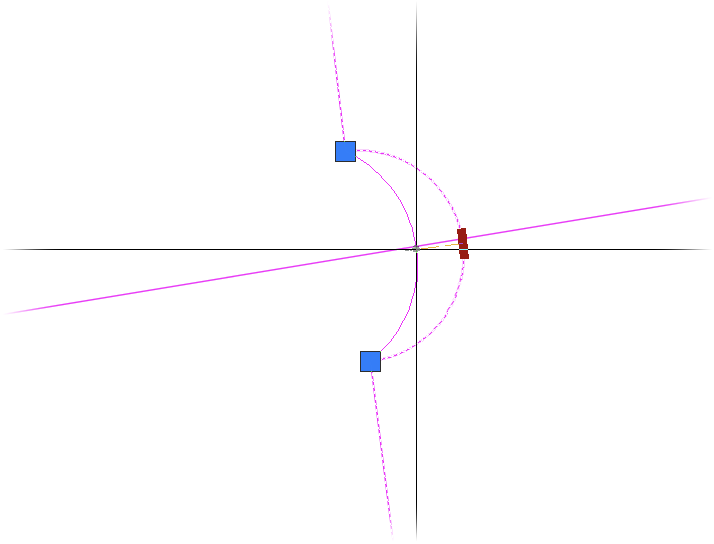
For example, if you want to make the pipe hop less pronounced, you can drag the top point inward.
If you hover the cursor on one of the pick points, you'll see a menu like the one pictured to the right.
You can select one of these options to adjust the hop. For example, you can select Stretch.
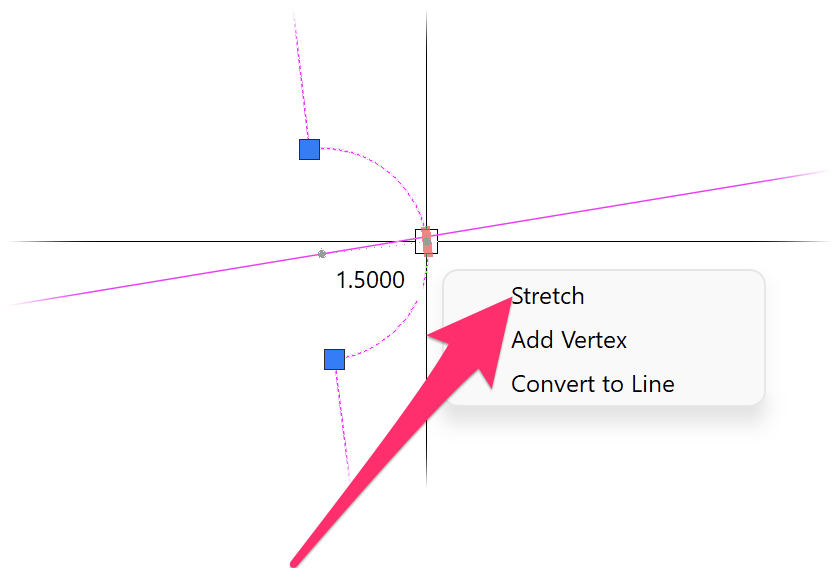
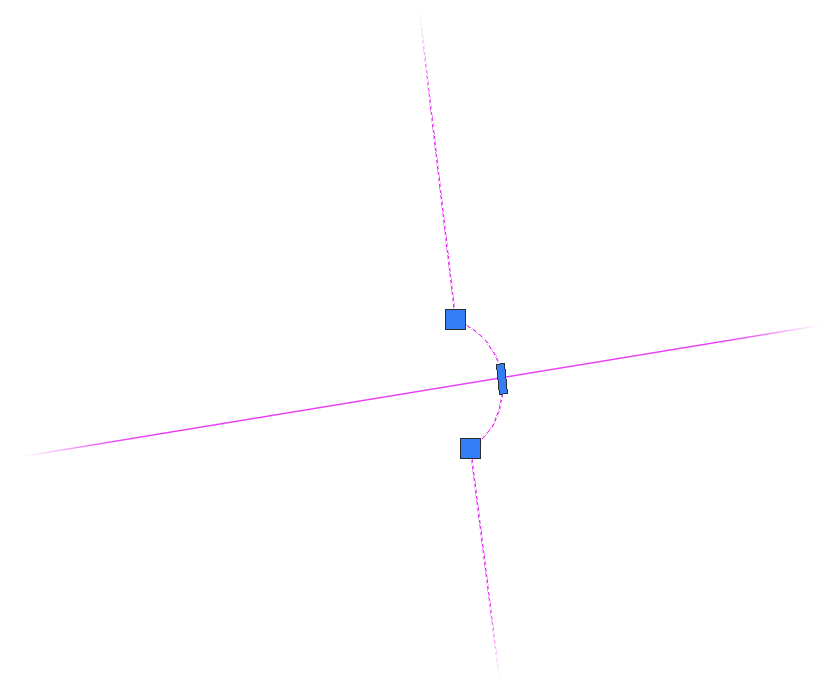
In this example, we'll stretch the vertex inward to make the pipe hop narrower.
Keep adjusting the pick points until the pipe hop is the size you want.
Deleting a Pipe Hop
To delete a pipe hop, select the Pipe Hop tool, then click the pipe where you want to delete the pipe hop.
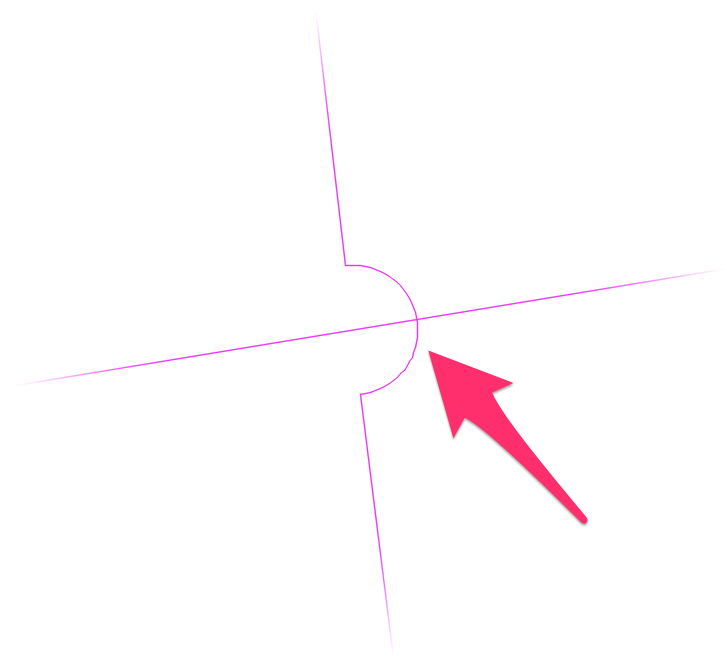
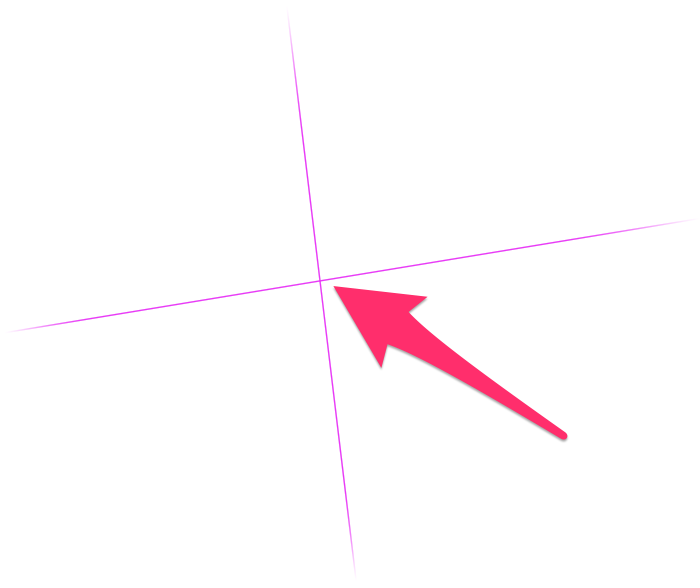
The hop will be deleted, and the pipe will revert back to a straight pipe.
Related Webinars
- Irrigation for Beginners: We'll show how to navigate through the Irrigation ribbon and build a familiarity with our conceptual-level tools. You'll also learn the basics of adding equipment to a project, placing, piping, sizing, and scheduling. (1 hr 45 min)
- Irrigation Tools – What You Need to Know: We'll show you the ins and outs of basic irrigation setup using our software. You'll also learn the essentials of placing equipment such as drip, sprays, and rotors. (1 hr 6 min)
- Irrigation Tips & Tricks: We'll show you some advanced tools you may or may not know about. You'll also learn techniques and best practices that will help speed up your workflow. (1 hr 3 min)
- Existing Irrigation: Learn the techniques, tools, and tricks you'll need to expand an existing system, including how to use a pipe cap to account for existing flow and add new valves to an existing mainline. (56 min)
- Advanced Irrigation Troubleshooting: Learn to think like a Land F/X irrigation troubleshooter. We'll show you why your symbols don't match, why you would see the message "Error accessing equipment data" (and how to fix these issues, as well as tips on pressure losses and precip rates, pipe caps, system monitors, and flow zones. (1 hr 3 min)
Troubleshooting
Issue: How can I account for future expansion of my system design?
Issue: When I pipe to a head, the "snap" point is wrong
Issue: CAD becomes extremely slow, or cursor lags or becomes jumpy, during piping


