Convert Concept Plants to Project Plants
After developing a conceptual design, you may decide to convert your Concept Plants to project plants ("smart" blocks) for the production document phase with the help of our Block Data/Edit Plant tool.
Generic Plants vs. Concept Plants vs. Project Plants
We offer three basic ways of placing plants in your drawings, each with its own specific purpose in the design phase:
- Generic Plants are “dumb” plant blocks (that is, they have no data attached to them). Designing with Generic Plants is like designing the old way – just putting plant symbols in your drawing without assigning them to plants from a database. Essentially, they serve as placeholders until you’re ready to replace them with actual plants from our database using our Mimic Object tool (formerly known as Match Properties).
- You can use Concept Plants to complete a high-level conversation plan with the client before locking into your final plants. You can replace them with actual plants from our database (the steps on this page) when ready.
- The Plant Manager is for when you know the exact plants you want to use.
Converting Concept Plants to Project Plants
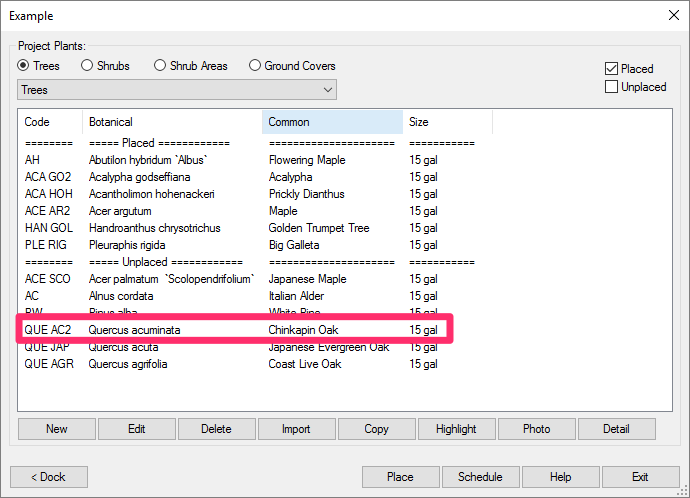
Before converting Concept Plants in your drawing into project plants, you'll need to ensure that your project already includes the plants you want to convert them into. For example, you might want to convert several trees you've placed as Concept Plants into the tree Quercus acuminata.
Open the Plant Manager, and check whether you've added this tree to your project.
If not, follow our steps to add the tree as a project plant.

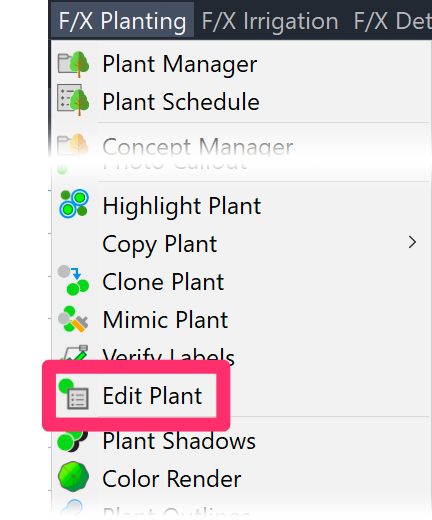
Then open our Edit Plant/Block Data tool:

F/X Planting ribbon, Edit Plant button
type FX_PlantInfo in the Command line

F/X Planting menu, Block Data option
The cursor will turn into a pickbox, and the Command line will prompt you to Select Object.
Click a Concept Plant you've placed in your drawing to select that plant.
The Concept Plant Info dialog box will pop up. Click Transform.


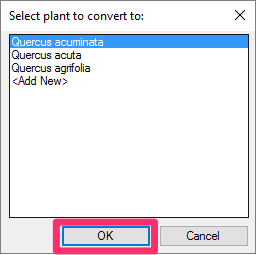
You'll now see a dialog box listing all plants currently included in the selected Concept Plant's design Group. Select the plant you want to replace it with, and click OK.
This list will only show plants that have been added to the Concept Design Group palette. If this list is empty, you’ll need to populate the Concept Design Group palette by adding all the plants that this Concept Plant might turn into.
The Command line will once again prompt you to Select object.
Select the plants you want to convert by using the AutoCAD selection window, crossing, or individual selections.
After selecting the plants to convert, right-click.
If your project already includes the plant you've selected and has a symbol attached to it, that symbol and plant type will replace those selected.
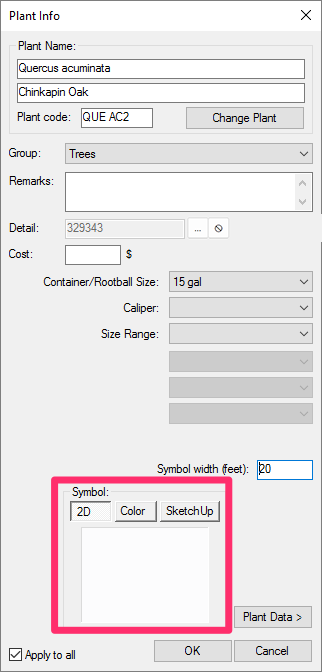
If you haven't yet assigned a symbol to the plant, the Plant Info dialog box will open.

Click the Symbol thumbnail, and select a symbol for the plant.
You can also make any other necessary changes to items such as Remarks, Container / Rootball Size, etc.
Click OK when finished. The selected Concept Plants will be replaced by the Project Plant.
An Important Note on Plant Symbols
When converting a Concept Plant into a project plant, you should strongly consider selecting a new symbol for the plant. Selecting a new symbol will allow you to tell the difference between the Concept Plants and project plants in your drawing in the event of an error.
Related Webinars
- Concept Planting Tools: Learn all about this valuable set of tools, which allow you to set up an initial planting plan – even before you’ve built your palette. (1 hr 1 min)
- Modular Planting Design: If you’re trying to design with plant communities, have you tried using the plant mix tools in our Concept Plant Manager? Tune in to see how these tools simplify this planting design process dramatically – including the details. (1 hr 1 min)


