Plant Shadows
- Plant Shadows Overview
- Turning Shadows On and Off
- Plant Shadows and Plant Schedules
- Plotting Plant Shadows
- Related Webinars
You may have a finished planting plan with simple symbols and a machined construction document look. Now you want to create a presentation with more of an illustrious feel and then transform that new presentation back into a construction document upon its approval. Our Plant Shadows tool adds a third dimension to a drawing and helps bring it to life. You can use Plant Shadows on both trees and shrubs, or on one or the other of these plant types.
Plant shadows are a great tool for a designer making a presentation for illustrative purposes. We recommend leaving plant shadows off of final construction documents, as they have a tendency to cloud plans. They can also make it difficult for the contractor to interpret overlapping information during construction.
You can now apply Plant Shadows to generic blocks, such as Generic Plant symbols.
Plant Shadows Overview
Open the Plant Shadows tool:
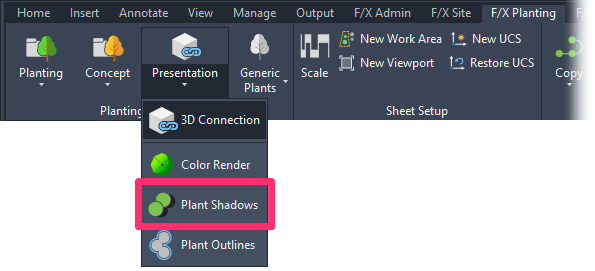
F/X Planting ribbon, Plant Shadows flyout
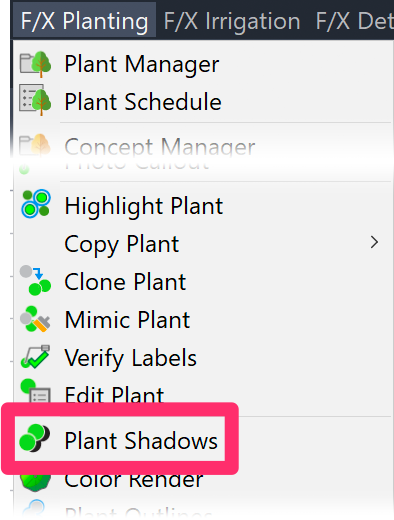
F/X Planting menu, Plant Shadows option
or type FX_PlantShadows in the Command line
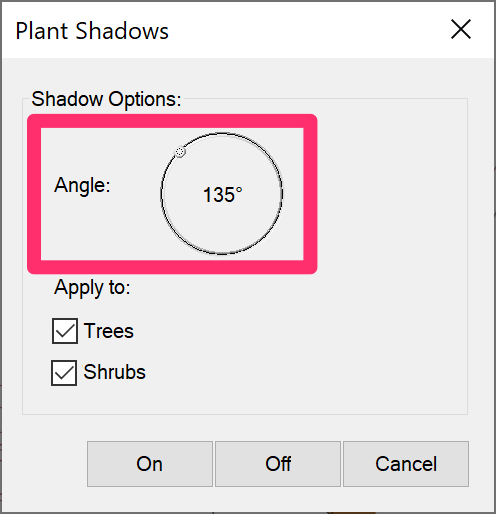
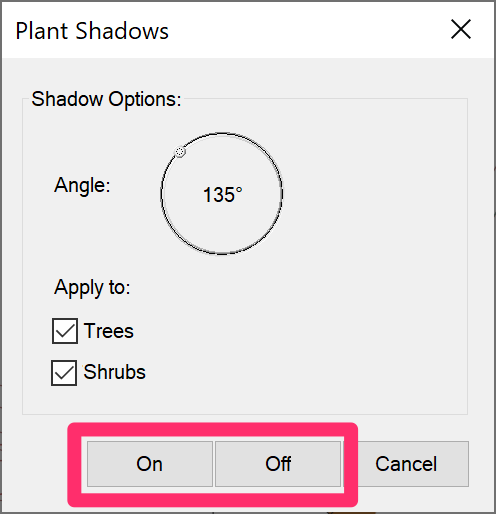
The Plant Shadows dialog box will open.
Use the Angle circular slider to set an angle for your plant shadows. The default angle is 135 degrees.
To apply the Plant Shadows to your drawing, just close the dialog box.
Our convention for angles is the same as AutoCAD’s, starting at 0° to the right along the X axis and the angles increasing counterclockwise.

In this example, tree and shrub shadows are inserted at a 45-degree angle.
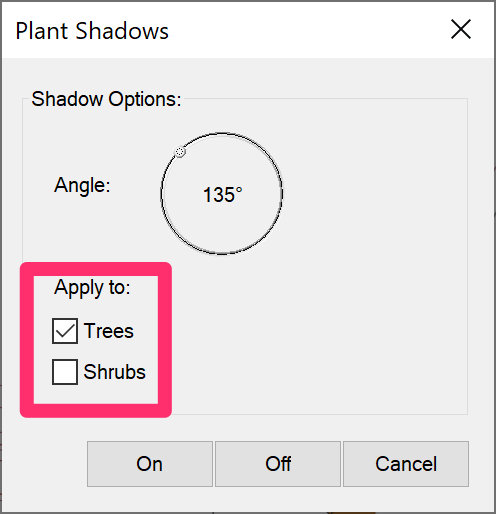
You can choose to apply shadows to both trees and shrubs, or to only one of these two plant types. Just check or uncheck the corresponding box.
In this example, we've unchecked the Trees box to only apply shadows to shrubs.
You can run the Plant Shadows tool as many times as you want, specifying different angles each time, to determine the best effect of the shadows you want to achieve.
The shadows are created on layers with prefixes that include the identifier -SHAD. These layers' names will depend on the symbol selected. Examples include:
- LK-TREE-SHAD-SM30
- LK-SHRB-SHAD-SM50
You can make any desired changes to these layers in the AutoCAD Layer Properties Manager.
A Note on Plant Shadows and Alphanumeric Plant Symbols
Plant Shadows do not play well with our Alphanumeric plant symbols, in that:
- The symbols' coding causes them to ignore the shadows' rotation angle, and
- The shadows have a negative effect on the scale of the symbols and callouts.
As a result, these symbols currently do not include the capability for Plant Shadows.
We do not recommend customizing Alphanumeric symbols to have more robust shadows like our other symbols, but it is possible to customize or create an alphanumeric symbol to have a thicker, darker line along one edge to achieve your desired emphasis for the symbol.
Turning Shadows On and Off
To turn the shadows on and off, open the Plant Shadows dialog box and click On or Off.
If the shadows are failing to turn on or off, your setting for the shadow layers in the General Preferences is most likely not matching the names of the layers in the blocks. You can adjust these layer settings by following our steps to edit layer information.
Plant Shadows and Plant Schedules
When Plant Shadows are turned on, they'll also be included in the Plant Schedule.
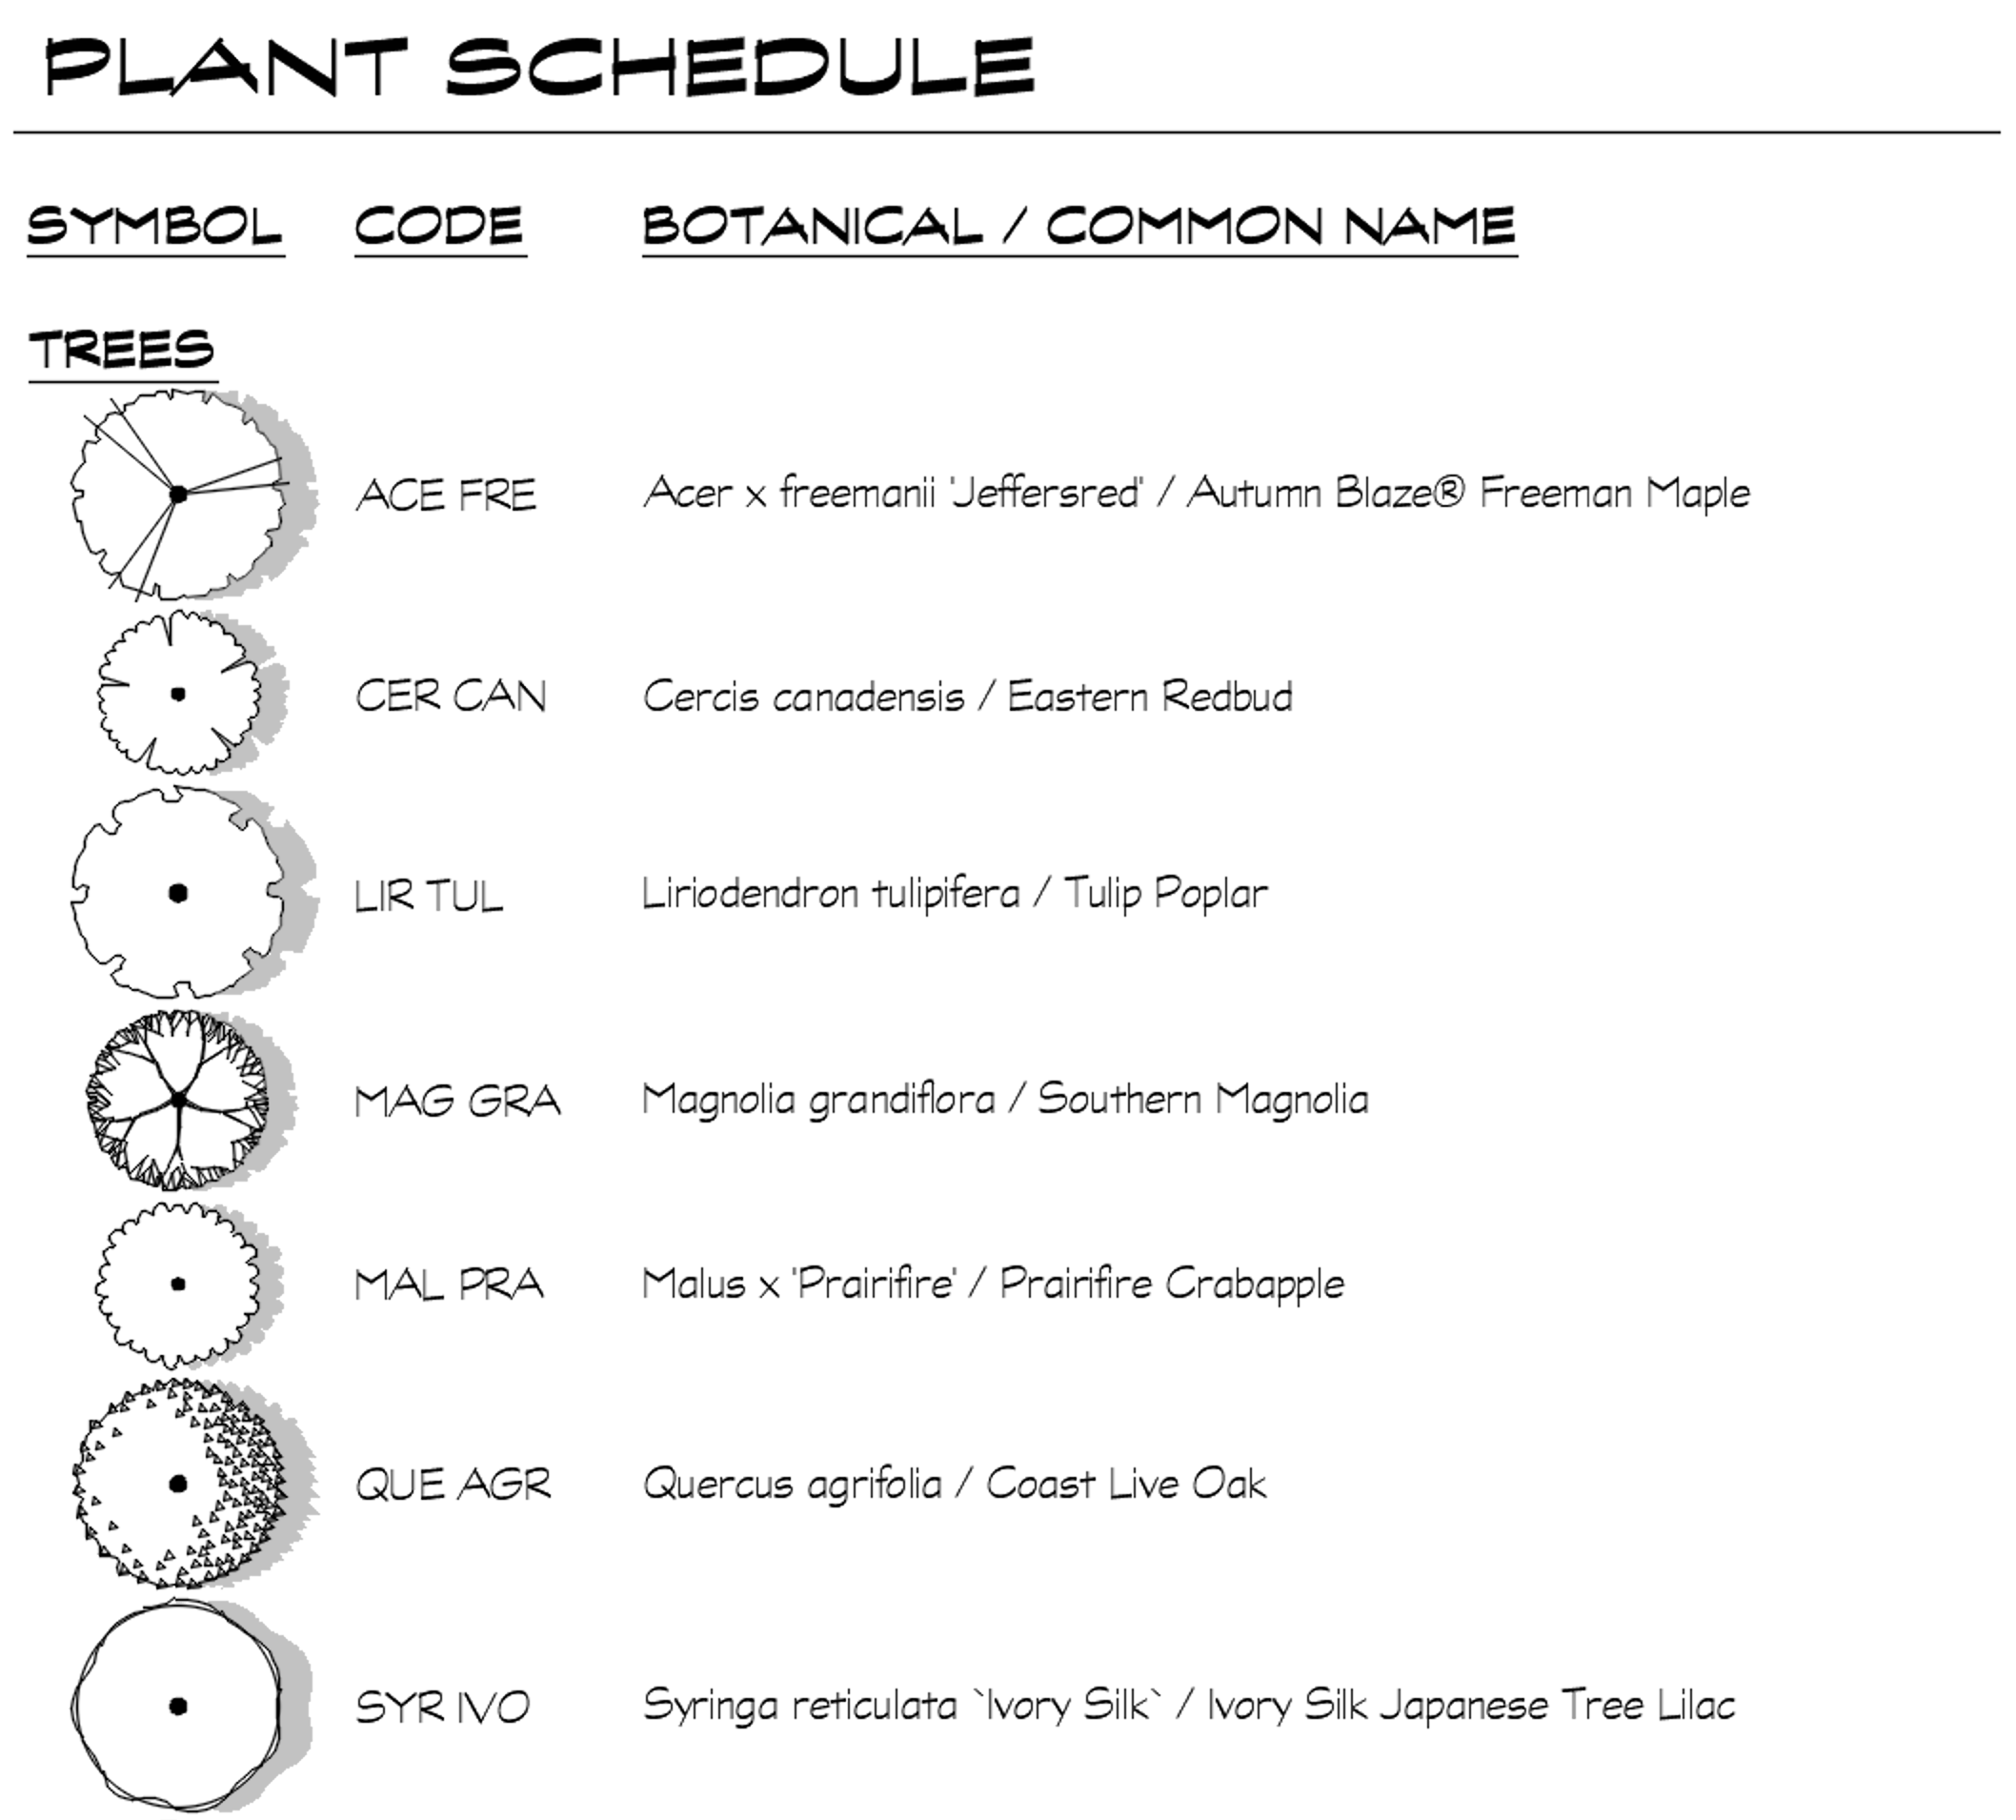
If you want the look of Plant Shadows displaying in your design but not in the schedule (as pictured below), we recommend using viewport level layer controls.
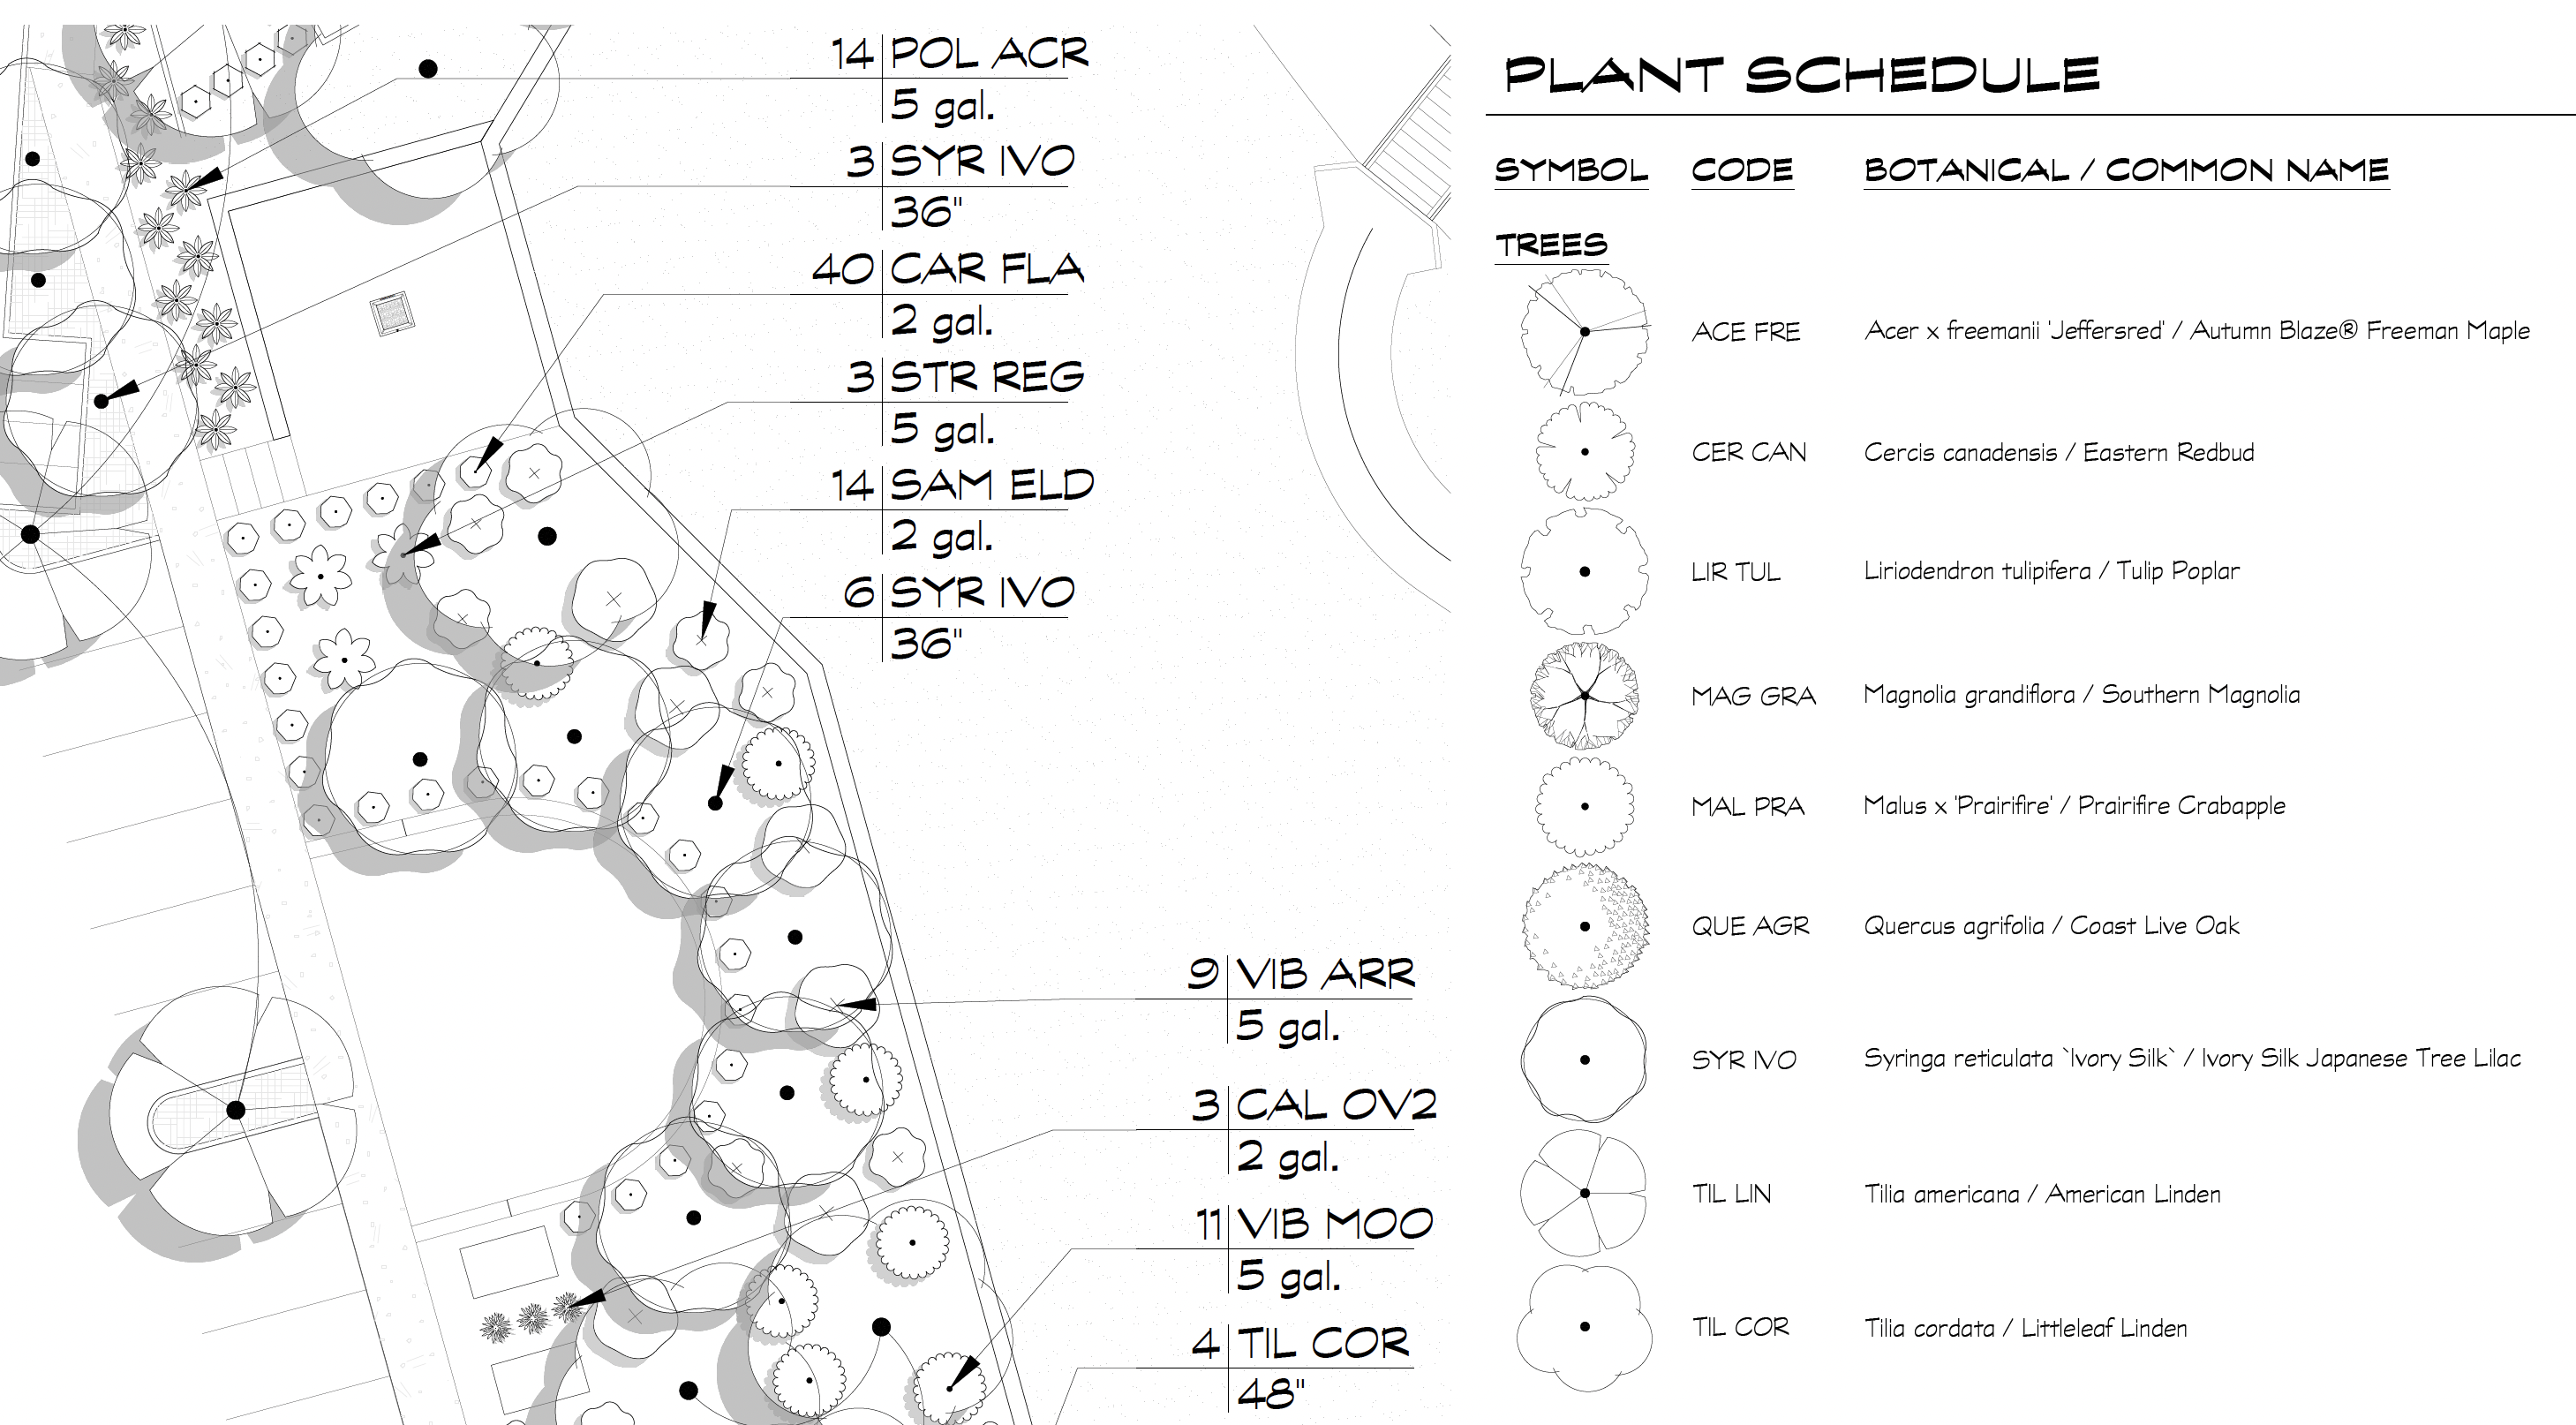
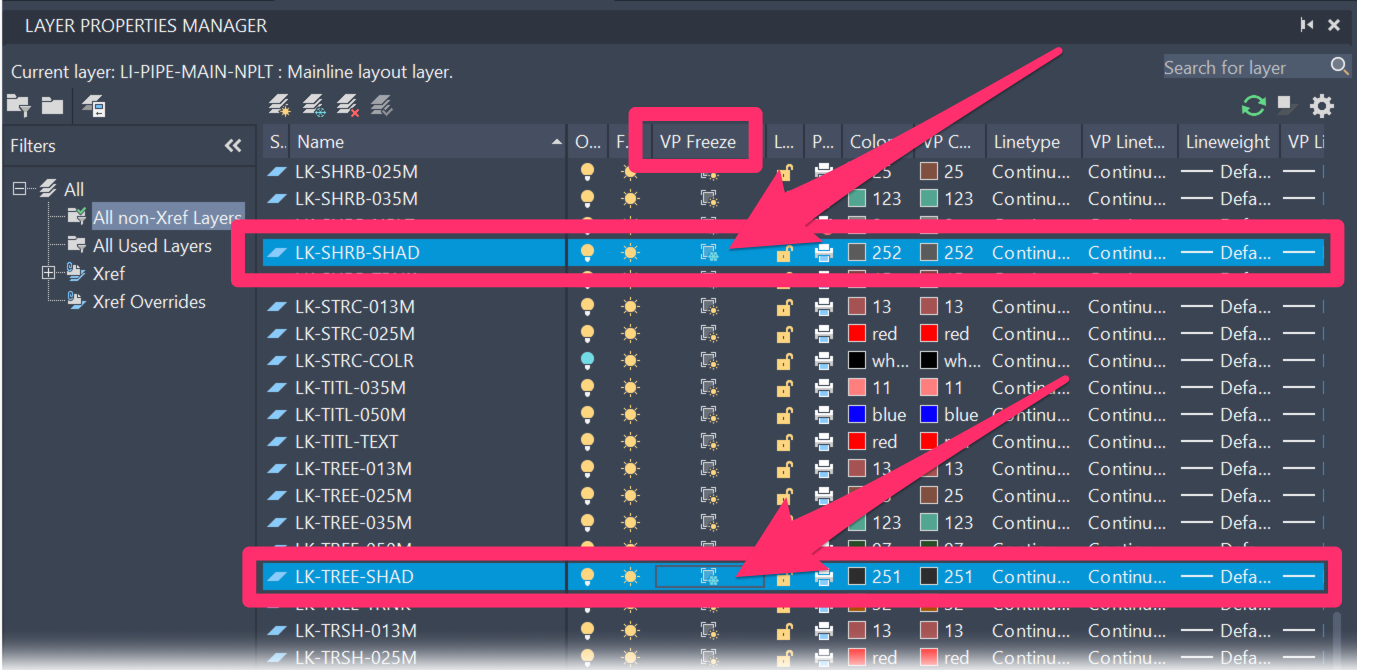
To do so, you'll need to place your Plant Schedule in Model Space and display it on your layout through a viewport.
With your Plant Schedule viewport active, apply a VP Freeze to the following layers in your Layer Properties Manager:
- LK-SHRB-SHAD
- LK-TREE-SHAD
Plotting Plant Shadows
When you plot with Plant Shadows turned on, it may be best to format your printer settings to Lines Merge.
In the following example, the plotter is set to Lines Merge. Note that when a shadow falls onto a line, that line is visible.

In the following example, the plotter is set to Lines Overwrite. Note that the shadows often overwrite the lines with which they intersect.

Related Webinars
- Getting Started with Planting F/X: We'll give you a full tour of our F/X Planting ribbon, covering everything from adding, placing, and labeling plants to error checking, scheduling, and turning on our quick render tools. (1 hr)


