P-Hatch (PHATCH)
Quick video
- Modify an Existing Hatch
- Paint a New Hatch from Scratch
- Keyboard Commands
- Create a New Custom Brush
- Related Webinars
- Troubleshooting
Have an existing hatch in a drawing you need to enlarge, reshape, or otherwise modify? Or do you want to create your own custom hatches by "painting" them on the fly? Our P-Hatch tool allows you to do both!
With P-Hatch (short for "paint hatch"), you can choose from a collection of "brush" shapes to:
- Paint outside the lines of an existing hatch and expand the hatch boundary, and
- Create hatches from scratch using the brush
In addition, you can create your own custom brush shapes and use them with P-Hatch.
See P-Hatch in action! Check out our Design F/X Overview webinar. The P-Hatch demonstration starts at 5:18 in the video.
Modify an Existing Hatch
In a drawing or detail that includes a hatch area you want to modify, open the P-Hatch tool:

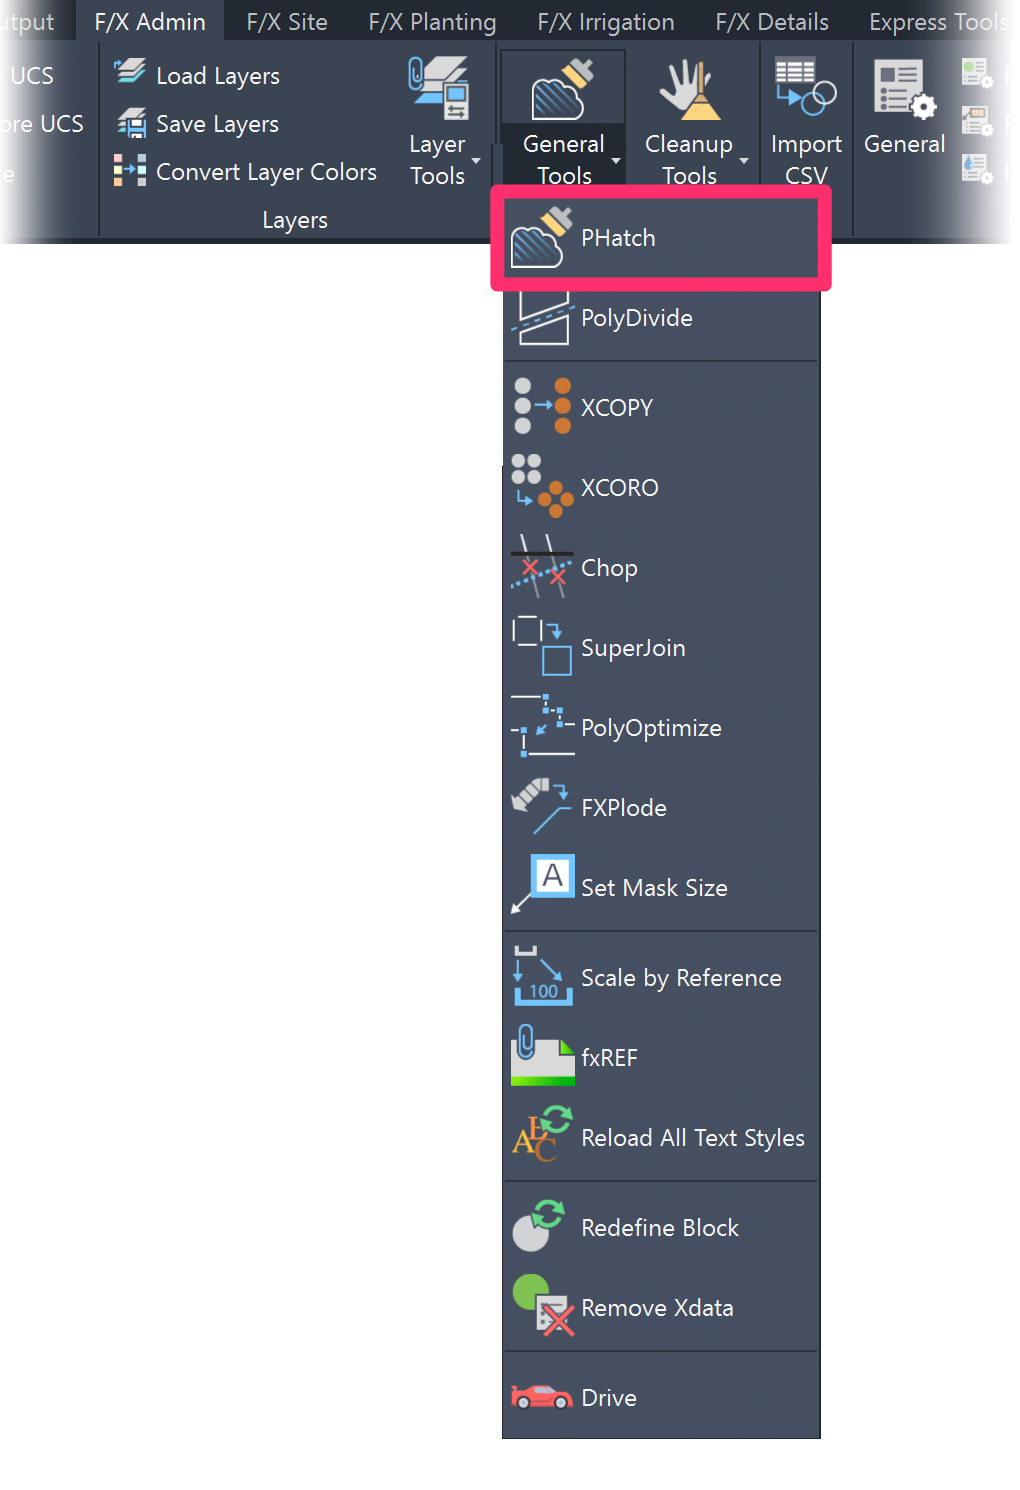


Any of the F/X ribbons, PHatch flyout

Any of the F/X menus, PHatch option (F/X Admin menu shown as an example)
or type PHATCH in the Command line
The cursor will turn into a pickbox, and you'll be prompted to Select hatch.
Select a hatch area you want to modify in your drawing or detail.
In this example, we'll modify the rectangular hatch area pictured to the right.
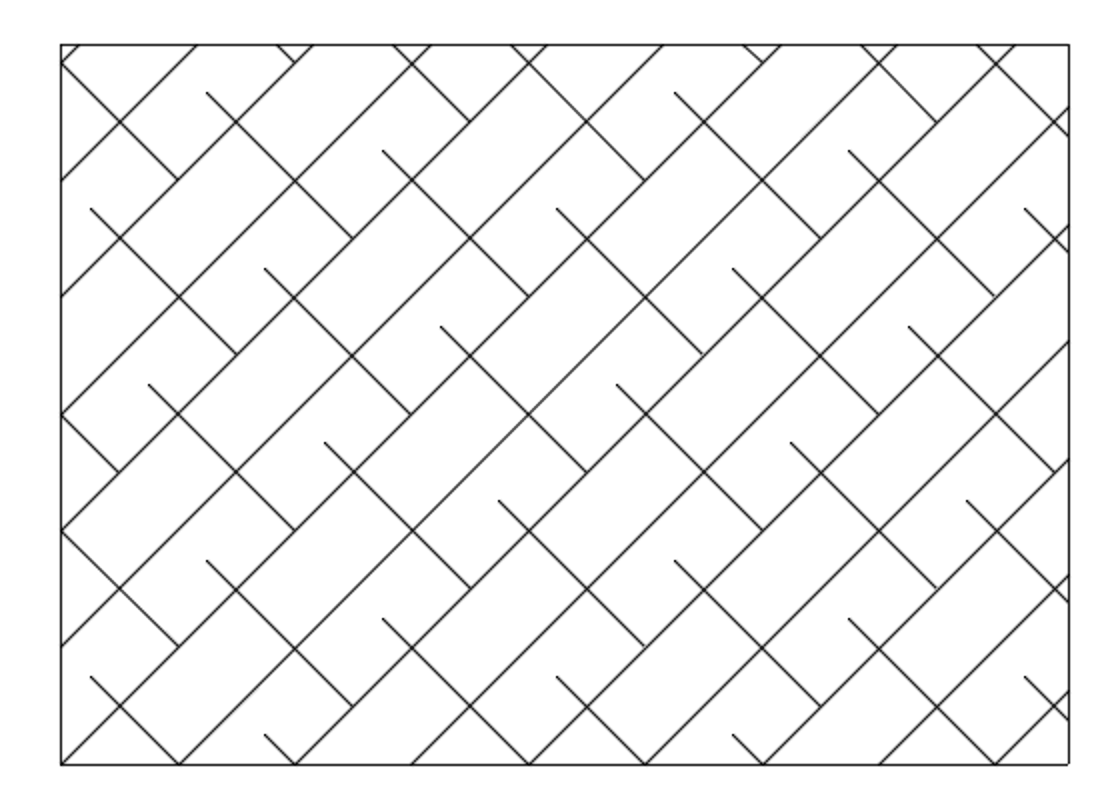
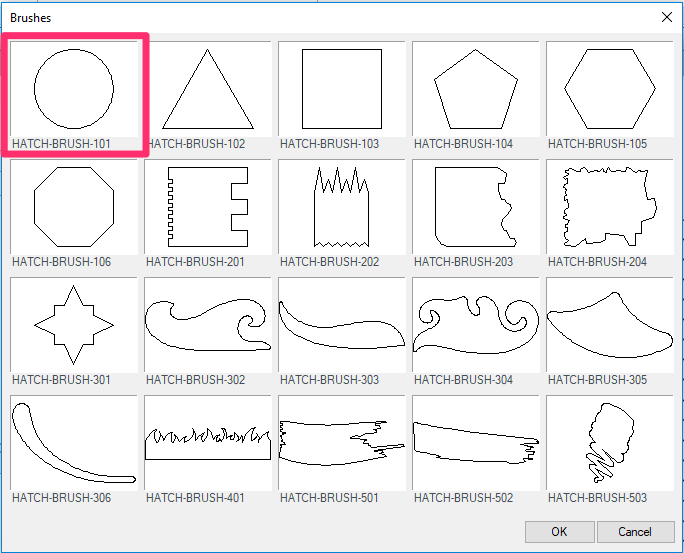
The first time you use P-Hatch in a drawing and select a hatch, you'll see a dialog box with previews of each possible brush style you can use. Choose a brush style and click OK.
If you've already used P-Hatch in this instance of CAD, the brush shape will default to the one you selected previously.
In our example, we'll select the circular brush.
Click on the outskirts of the existing hatch.
Make sure the brush intersects with the hatch when you click.
You need to click on the hatch edges in order for the tool to work. It will not work if you click completely inside the hatch or completely outside the hatch.
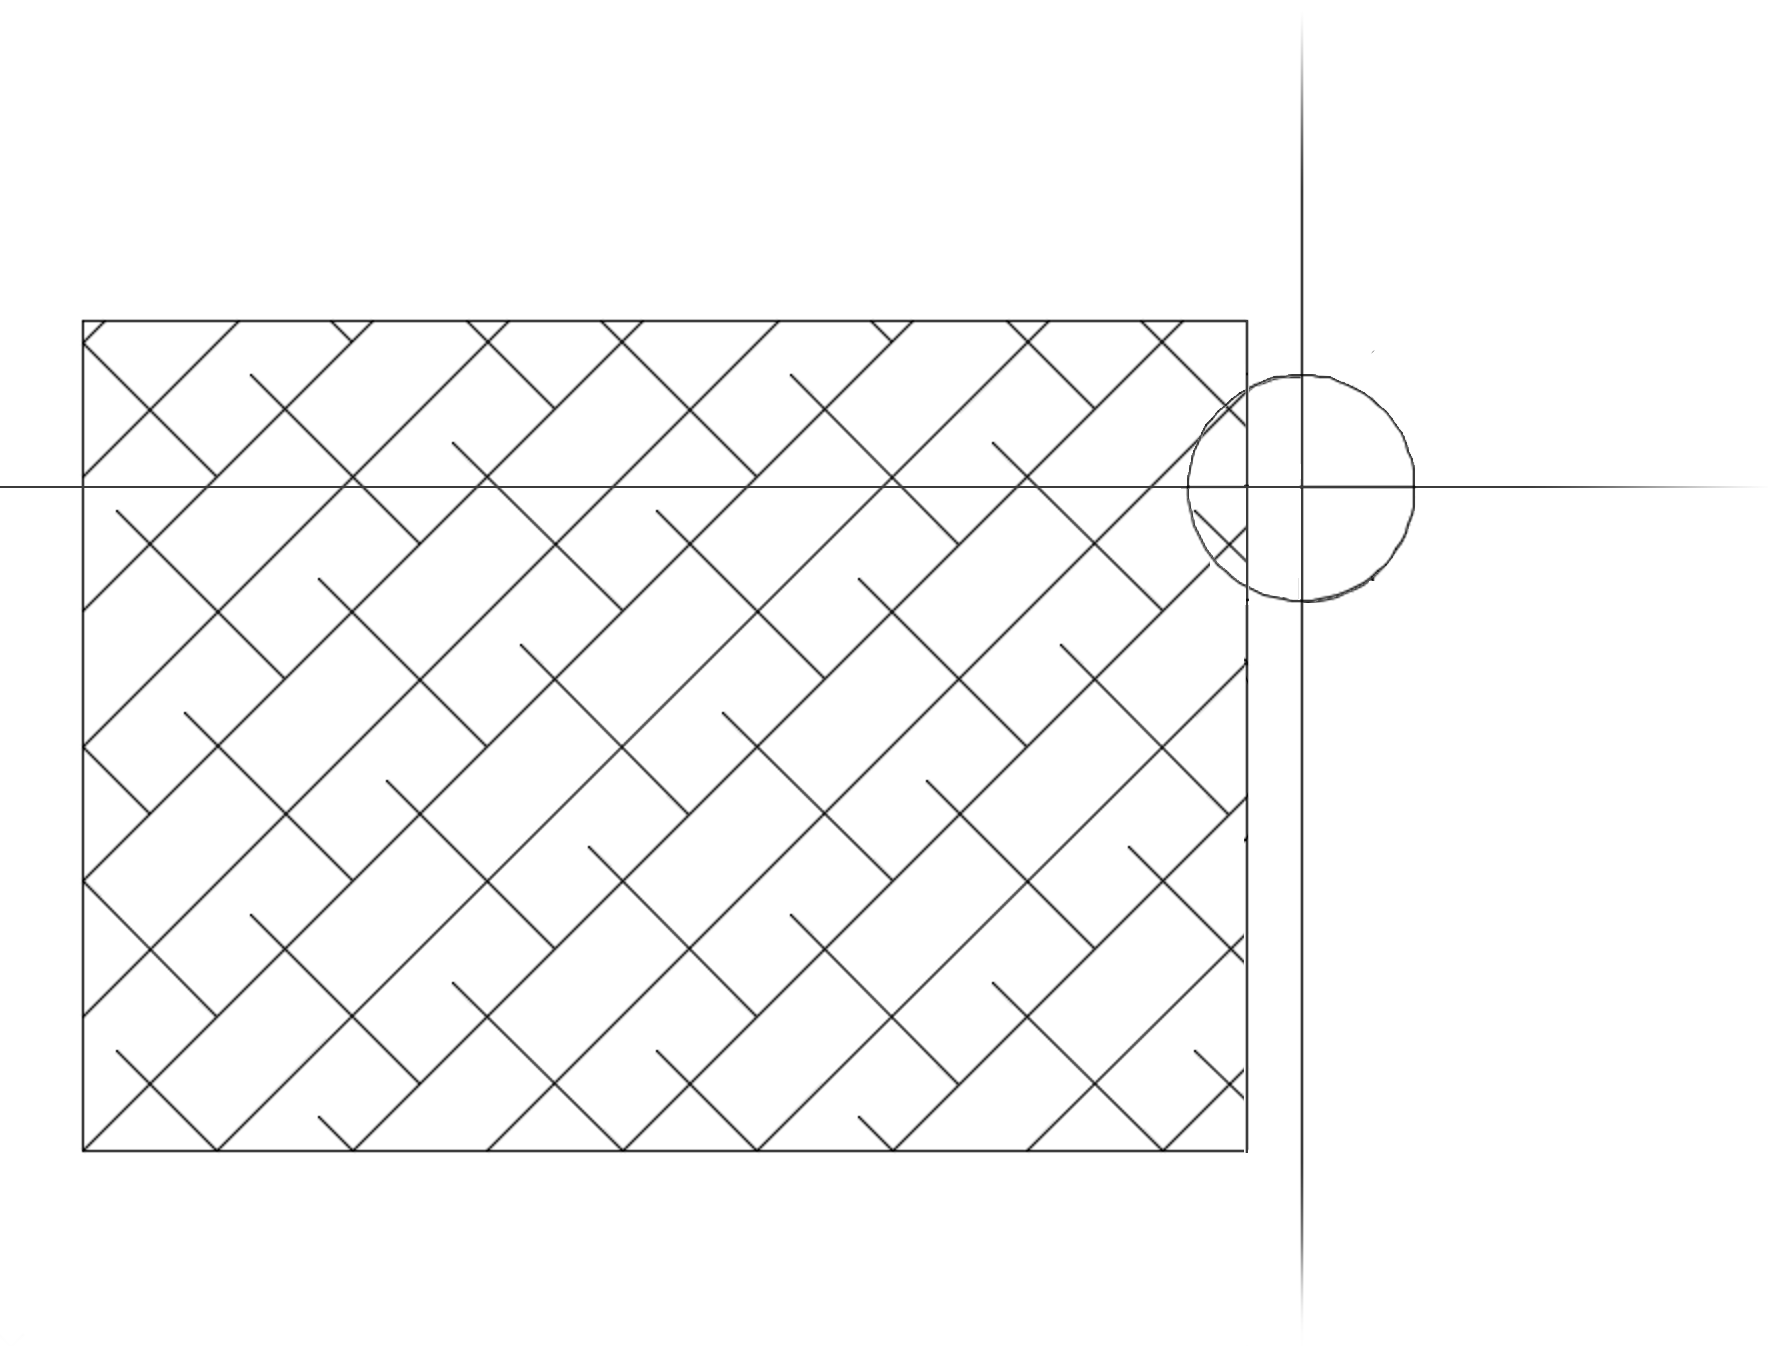
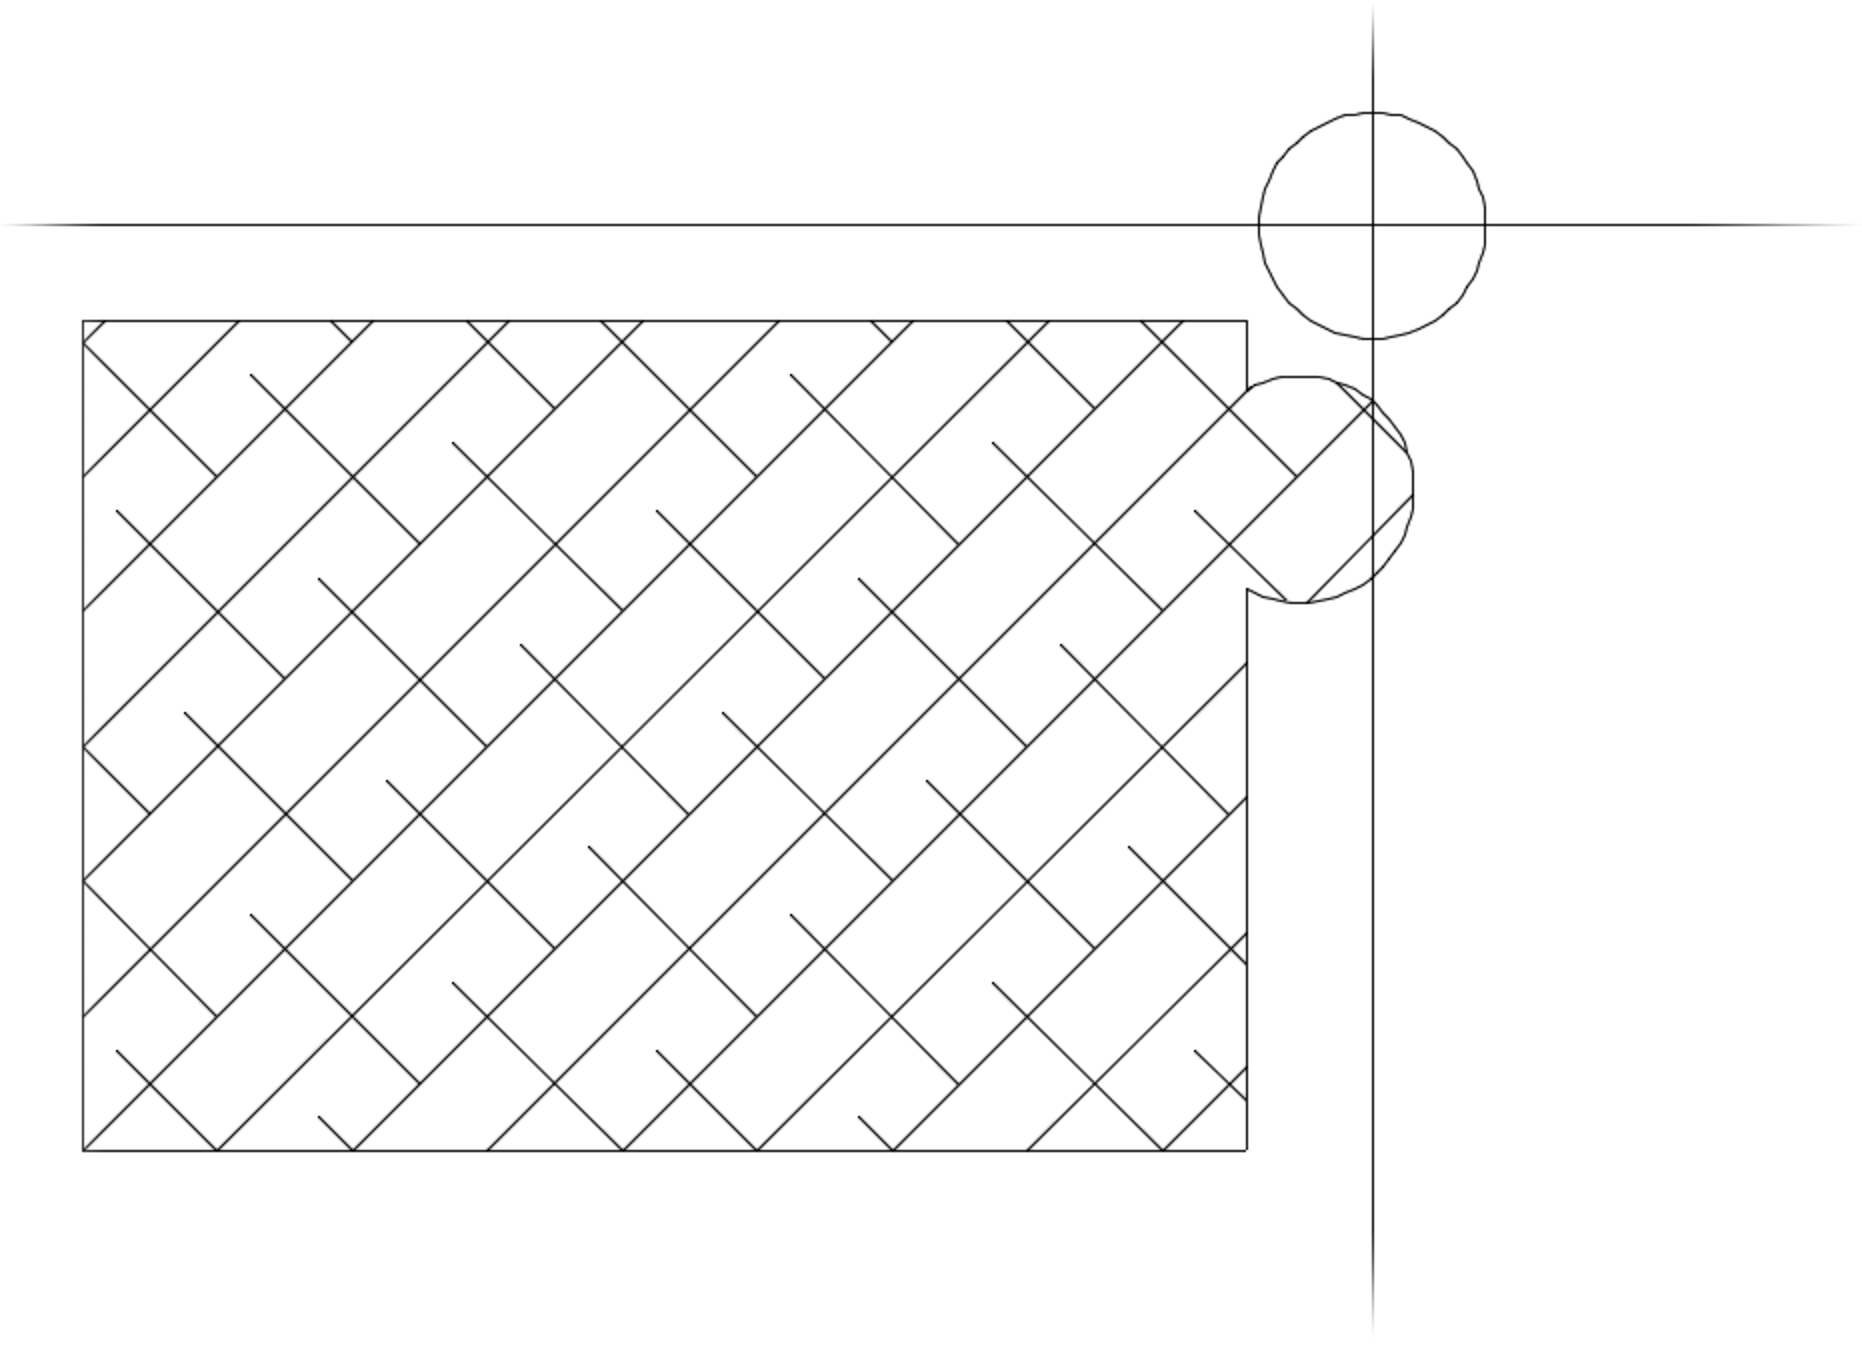
That hatch will grow to have a new boundary based on the brush style you selected.
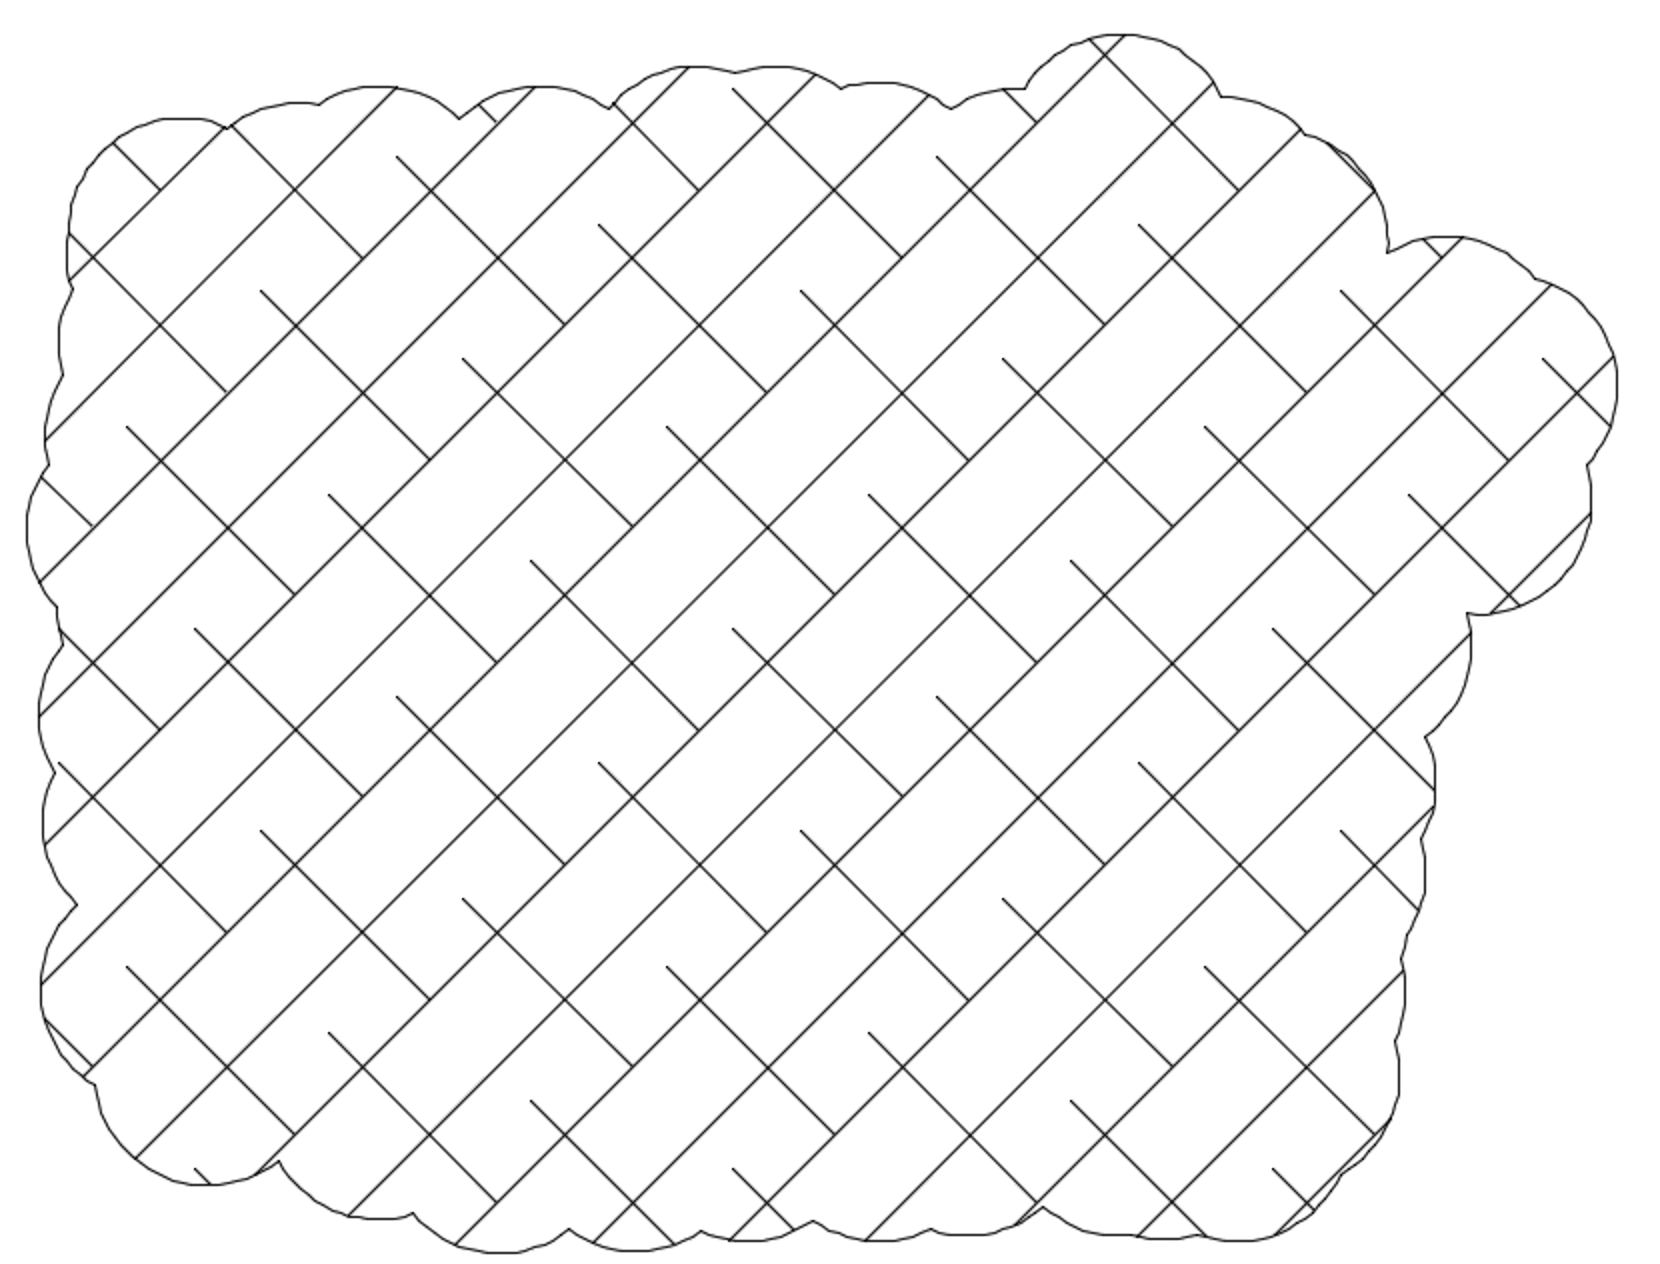
Continue clicking to paint additional brushstrokes of hatch. If you want, you can entirely reshape the hatch area.
Keyboard commands:
We've included several keyboard commands you can use while P-Hatch is active. These commands give you additional options:
- Subtract hatch
- Rotate the brush
- Increase or decrease the brush size
- Undo the previous action
- Open the Brushes dialog box and select a new brush
For information on how to use these commands, see the Keyboard Commands section below.
P-Hatch and "Smart" Hatch Quantities (Plants, RefNotes, etc.)
P-Hatch also works on "smart" hatches such as groundcovers, Shrub Areas, and Area/Volume Reference Notes (RefNotes). If you modify an existing hatch representing one of these items, the quantity of that item will update automatically to reflect the new square area of the modified hatch.
Paint a New Hatch from Scratch
P-Hatch also allows you to "paint" a hatch area from scratch. Here's how:
Open our Hatch tool:
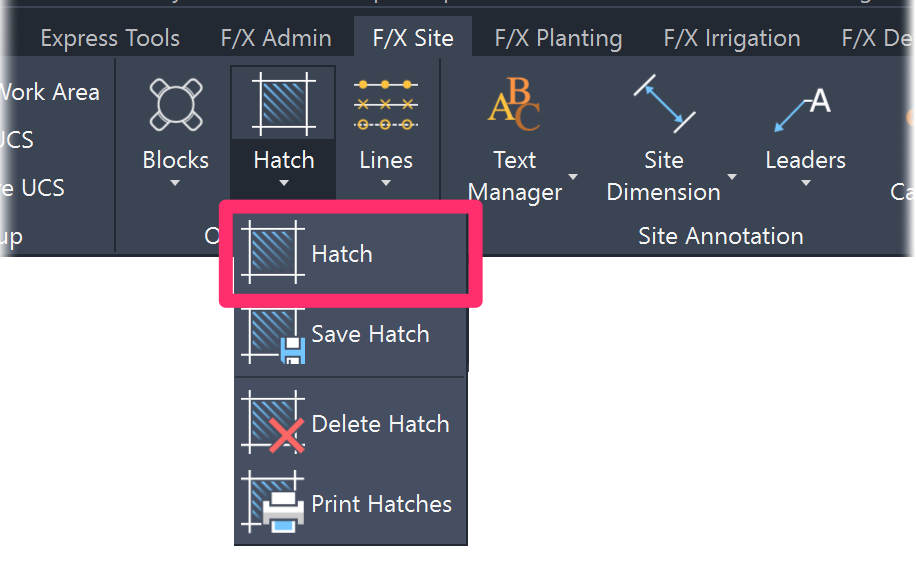
F/X Site ribbon, Hatch flyout
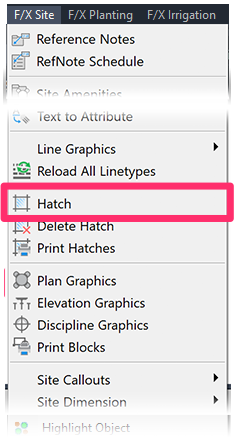
F/X Site menu, Hatch option
or type FX_SiteHatch in the Command line
The Hatch dialog box will open.
Select a hatch to place and click OK.
For more information on placing a hatch, see our placing a hatch documentation.

Enable the P-HATCH command: Rather than placing a hatch, press the P key while the Hatch tool is active. You've now entered P-Hatch mode.

As with modifying an existing hatch, the first time you use P-Hatch in a drawing you'll see a dialog box with previews of each possible brush style you can use. Choose a brush style and click OK.
If you've already used P-Hatch in this instance of CAD, the brush shape will default to the one you selected previously.
In our example, we'll select the circular brush.
You'll now see the shape you selected at the cursor crosshairs.
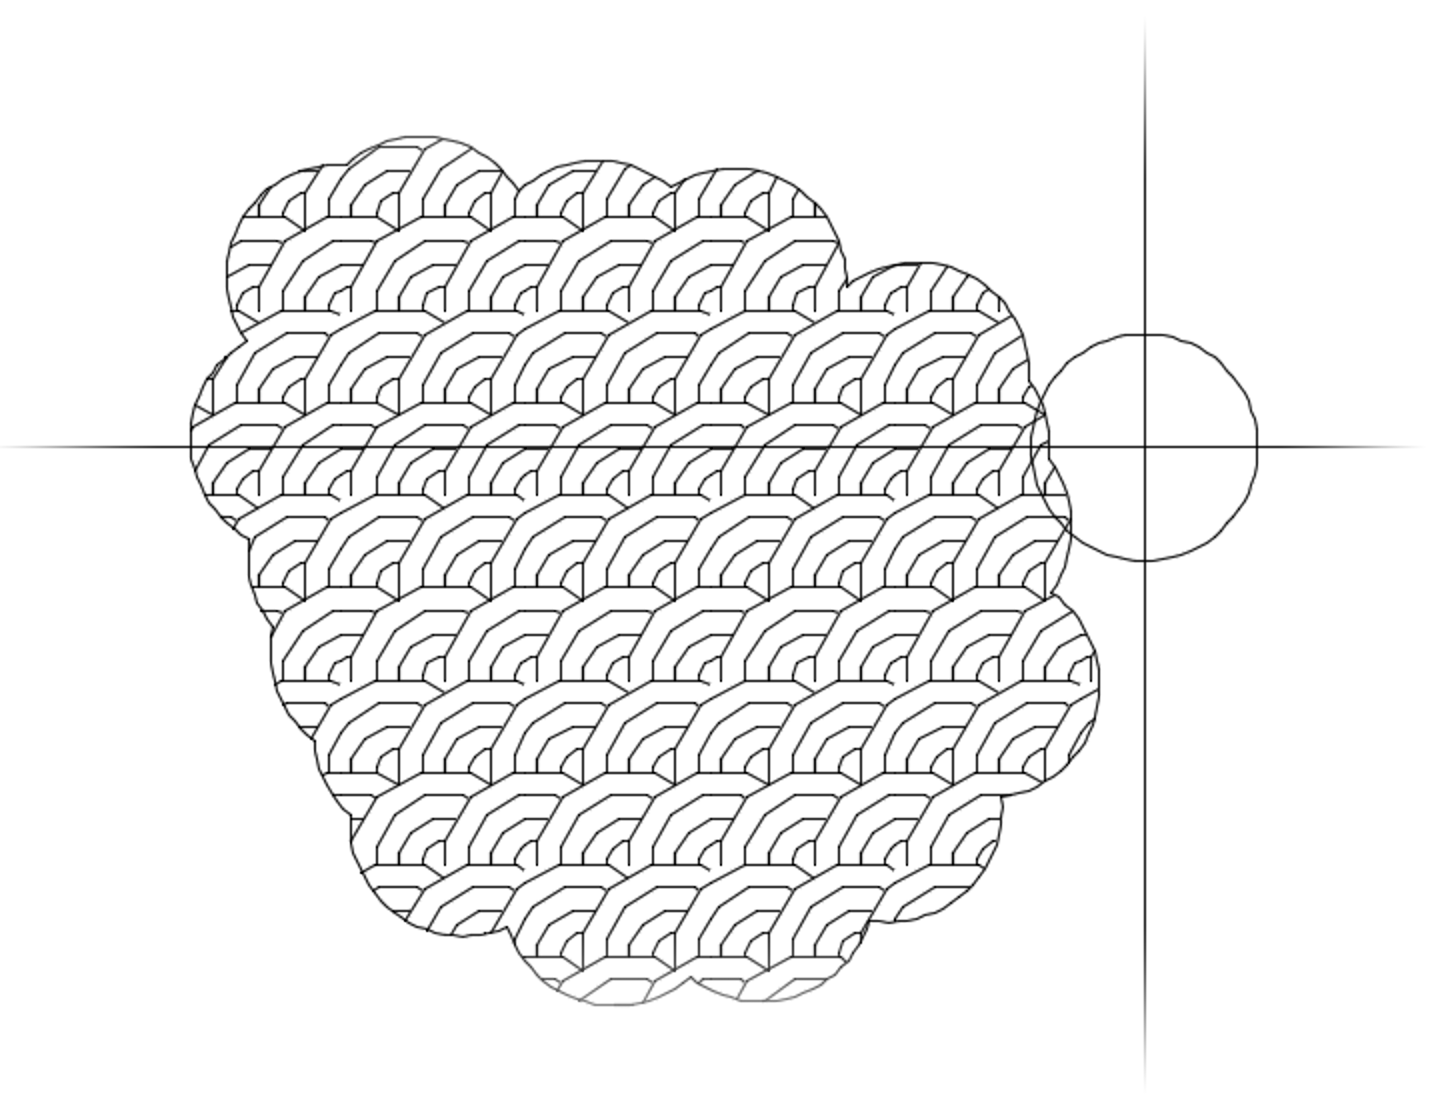
You can now begin clicking to paint your hatch.
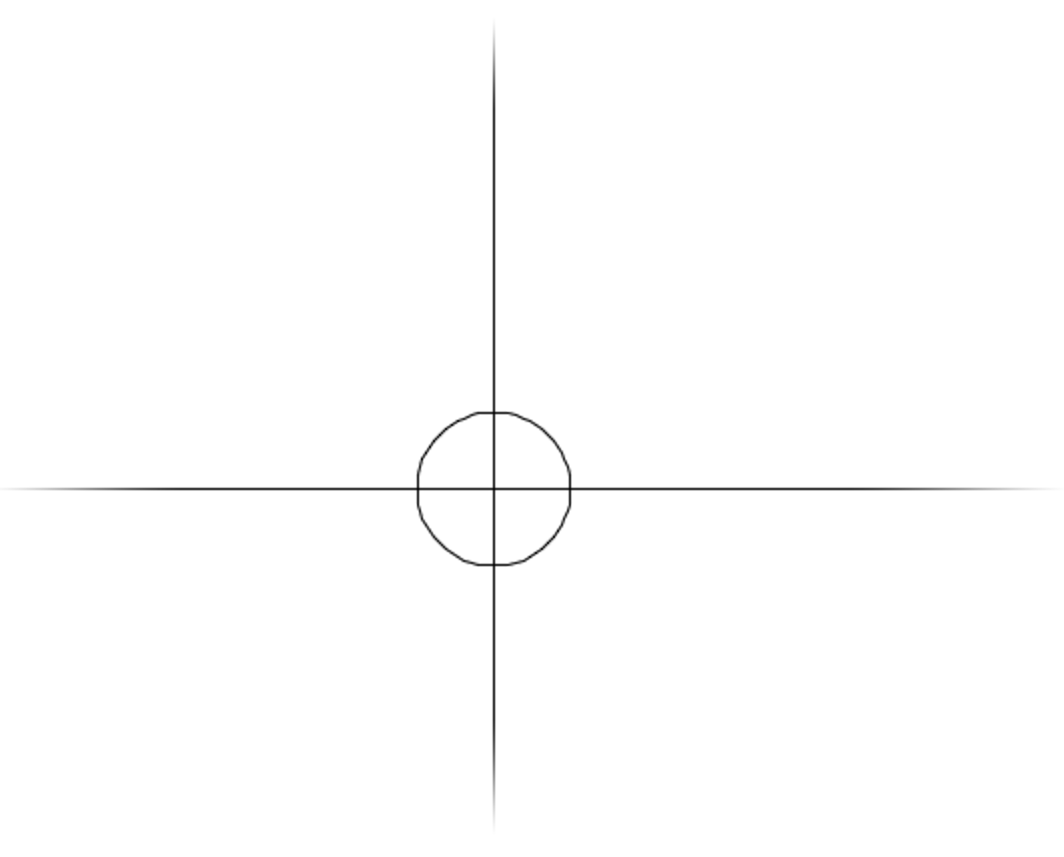
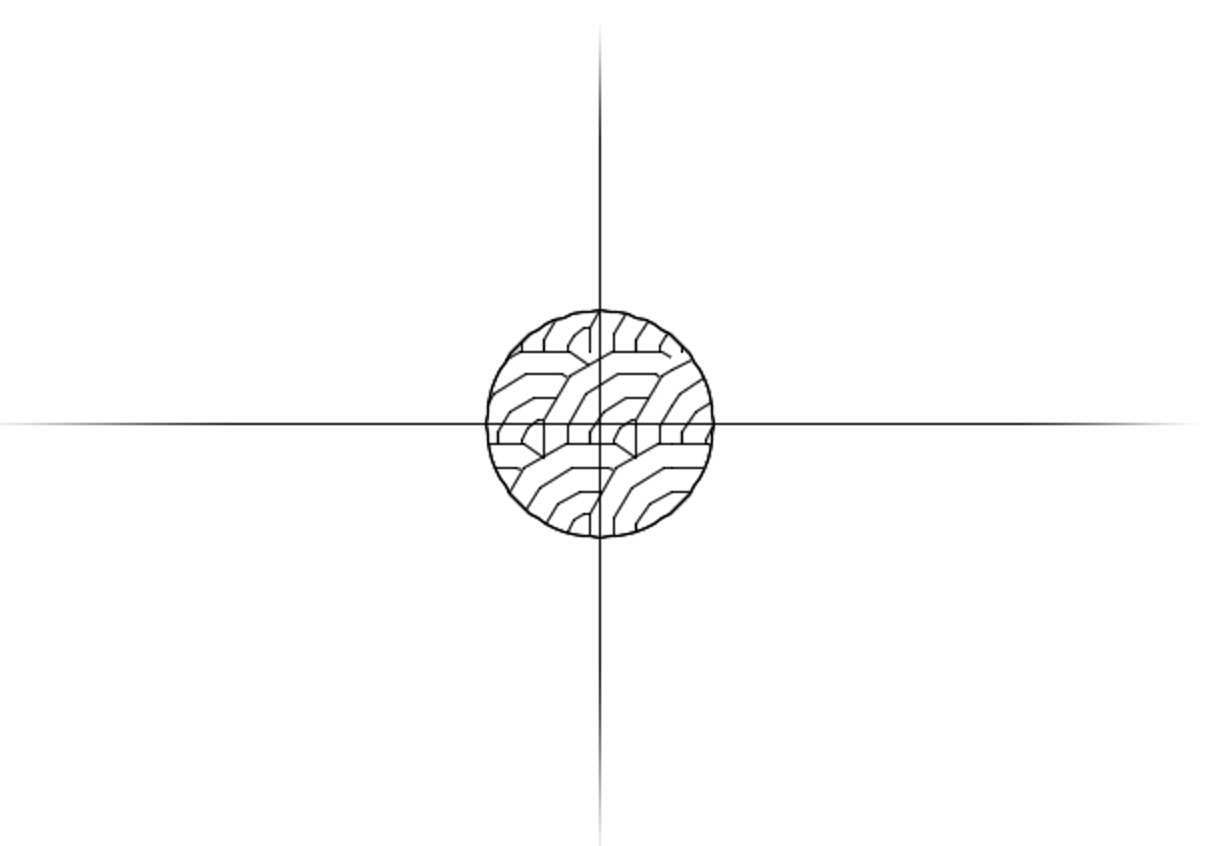
As soon as you click, you'll see your selected hatch pattern within the brush. Keep clicking to continue painting.
As you click, make sure the brush intersects with your existing hatch.
As with expanding an existing hatch, you'll need to click on the hatch edges in order for the tool to work. It will not work if you click completely inside or outside the hatch.
Keep clicking until you've achieved the hatch area you want.
Keyboard commands:
We've included several keyboard commands you can use while P-Hatch is active. These commands give you additional options:
- Subtract hatch
- Rotate the brush
- Increase or decrease the brush size
- Undo the previous action
- Open the Brushes dialog box and select a new brush
For information on how to use these commands, see the Keyboard Commands section below.
To paint a new hatch area in a different location, you'll need to repeat these steps.
Keyboard Commands
Whether you're modifying an existing hatch or creating your own hatch from scratch, P-Hatch includes several helpful keyboard commands, all of which you can use while the tool is active.
To see the available commands in the dialog box pictured below, type K while P-Hatch is active.

Use the following keys to enter the corresponding command:
- ~/`: Add/subtract hatch (Mac users in the UK: See note below)
- A/D: Rotate the brush left/right
- W/S: Increase/decrease the brush size
- U: Undo the previous action
- B: Open the Brushes dialog box and select a new brush
As with our other keyboard commands, you won't be able to access these functions by clicking the buttons in this dialog box, which is just meant as a reference. You'll need to use the actual keys on your keyboard to access the commands.
Mac users in the UK:
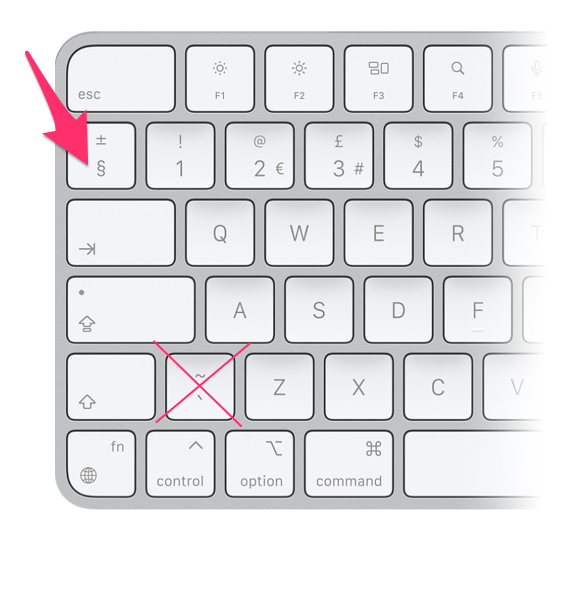
If you have a Mac keyboard in the UK, use the § / ± key (to the left of the 1 key) to add / subtract hatches, as your backtick/tilde key (to the left of the Z key) will not work for this function.
Create a New Custom Brush
Quick video
Each of our P-Hatch brush styles originates from its own source file, just like our plant symbols and other blocks. To create your own custom brush style, you can edit one of these source files.
1. Go to the folder Blocks/graphics/brushes within your LandFX folder.
This folder will be created automatically when you run the P-Hatch command within CAD for the first time.
This folder contains the source files for the P-Hatch brush styles. Each style's source file will download when you use that style in a drawing for the first time.
Open any existing DWG file whose name begins with LAFX-HATCH-BRUSH- (example: LAFX-HATCH-BRUSH-101.dwg.

2. Select Save As from the File menu in AutoCAD, and save the file with a new number, keeping the rest of the file name the same.
Because our default brush styles start at 101, we recommend saving your custom brush files with numbers that begin with 0 so they don't conflict with our brush style files. Give your saved file the next available number within these parameters. For example, if the last available brush file is LAFX-HATCH-BRUSH-08.dwg, name the saved file LAFX-HATCH-BRUSH-09.dwg.
3. Remove the brush shape from the file, and draw your own pattern. The system will size your brush automatically.
Important guidelines:
- The linework of your brush style must be a closed polyline – no loose linework.
- Do not change the file units – they will be already be set to Decimal and Unitless, and should remain so.
- The final brush shape should be snapped to geometric center and placed at 0,0
4. Create a thumbnail slide for your custom brush style using the MSLIDE command:
4A. Zoom the file to Extents: Type Zoom in the Command line and press Enter. Then type E and press Enter again.
4B. Type MSLIDE in the Command line and press Enter.
4C. You'll be brought to the Create Slide File dialog box. Save the slide to the folder LandFX/Blocks/graphics/brushes.
5. Save the source file for your brush style, then close the file.
Your brush style will be available in the Brushes dialog box the next time you use P-Hatch.
Here's an example of a brush style we've created and saved under the name LAFX-HATCH-BRUSH-09.dwg.
The system presently allows for a maximum of 20 available brushes. Note that if you add your own, the highest-numbered brush will be left out of the available brushes in the dialog box..

A note on the structure of our brush styles:
As mentioned above, our brushes start at the 100 series (example: LAFX-HATCH-BRUSH-101.dwg). Here's how they're structured:
- 100 series: Basic poly shapes
- 200 series: Edge tools
- 300 series: Shapes (all other random and amorphous polygon shapes – e.g., french curves, jelly beans, etc.)
- 400 series: Nature (grass and other shapes appropriate for groundcovers)
- 500 series: Paint (hand-rendered shapes you can place near edges of paving and other style hatches)
If you want different brushes, you'll just need to replace the content of our default brush styles.
Related Webinars
- Hatches We dive into the Land F/X hatch libraries, take a look at how Land F/X manages hatches, and show you how to integrate your own custom hatches and develop a better understanding of the inner workings of the Land F/X hatch system as a whole. (58 min)
- Planting F/X for Beginners Part 2: In this second installment, we'll dive right into some of the tools you need to know about for the best experience and fastest workflow when starting with Land F/X planting plans, including P-Hatch. (1 hr 3 min)
Troubleshooting
Issue: P-Hatch stopped working, and you saw a "0 regions created" error message in the Command line history


