Placing Text in Your Drawing (Text Manager)
Quick video
- Placing Text in Model Space vs. Paper Space
- Text Manager Overview
- Placing a Single Line of Text
- Placing a Multi-Line Text Entry (MTEXT)
- Creating a New Text Style
- Our System of Text Styles
- Finding Text in Your Drawing
- Reload (Update) All Text Styles
- Related Webinars
- Troubleshooting
Need to place notes of other text directly into your drawing? Use our Text Manager, where you can place single or multiple lines of text in one of the available Text Styles.
Our Text Styles apply default settings such as font and point size to specific types of text you place in your drawings. For detailed information, please see our documentation pages on:
Placing Text in Model Space vs. Paper Space
If you've already set the scale of your drawing, any text you place in Model Space will be scaled automatically.
If you place text in Paper Space, it will appear in Paper Space but not in Model Space.
Text Manager Overview
To place text in your drawing, open the Text Manager:
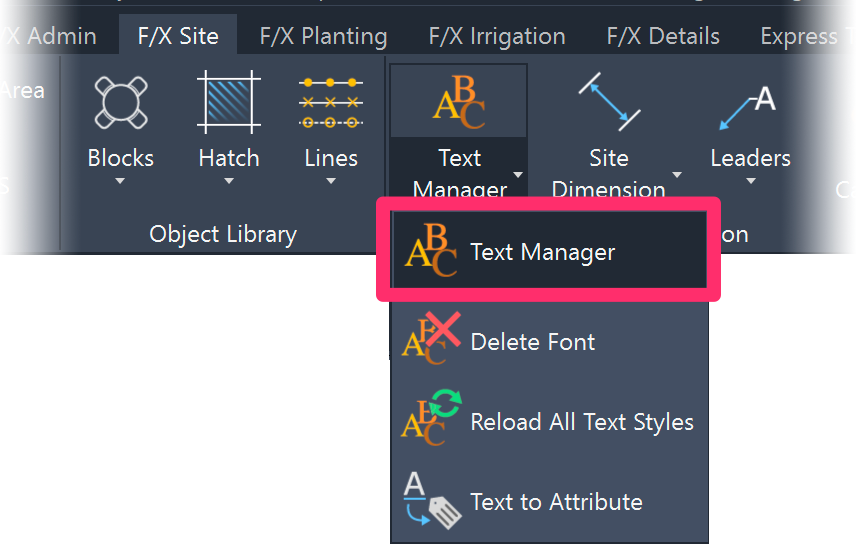
F/X Site ribbon, Text button
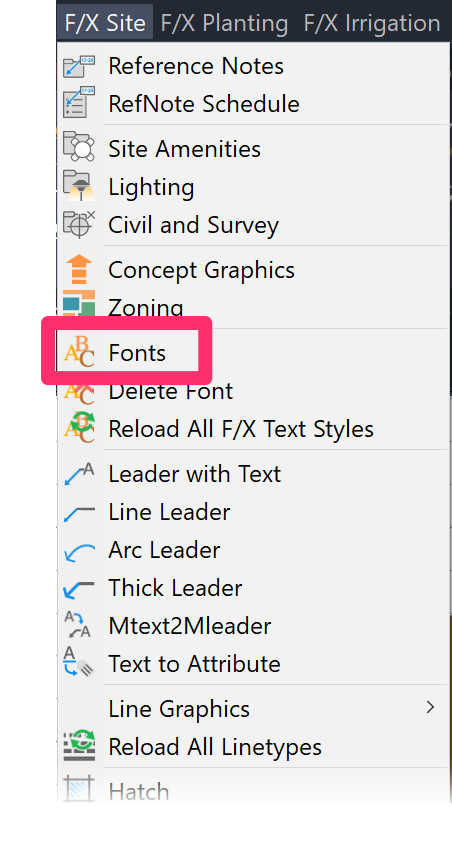
F/X Site menu, Fonts button
or type *FX_Fonts in the Command line

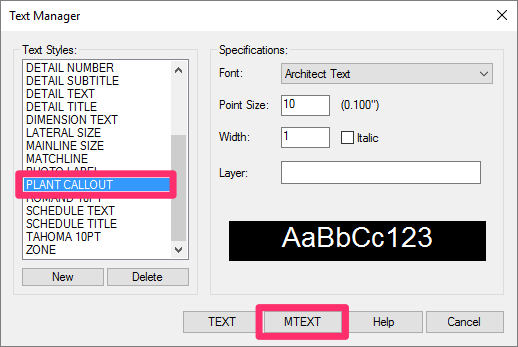
The Text Manager includes two buttons for placing text in your drawing:
- TEXT (for placing a single line of text)
- MTEXT (for placing multiple lines of text, or Mtext)
Placing a Single Line of Text
To place a single line of text in your drawing, select a Text Style in the Text Manager (example: Plant Callout) and click the Text button.

Crosshairs will appear in the location of your cursor, and the Command line will prompt:
First corner
Click to set an origin point for the text. The Command line will now prompt you to Specify rotation angle of text <0>. You can either:
- Right-click, press Enter, or type 0 to place horizontal text.
- Type a rotation angle for the text in degrees.
- Set a rotation angle for the text by moving the cursor and clicking.
Once you've set the rotation angle, you can type your text. When finished, press Enter and then ESC to finish placing your text.
The text will take on the font, point size, and other settings assigned to the Text Style you selected.
Adding a Multi-Line Text Entry (MTEXT)
To place multi-line text entry in your drawing, select a Text Style in the Text Manager (example: Plant Callout) and click the MTEXT button.
Crosshairs will appear in the location of your cursor. The Command line will prompt:
First Corner
Click to set the bottom left corner of the text box. The Command line will now prompt you to:
Specify opposite corner
Click to set the opposite corner of the text box, or type 0 to place horizontal text.
At this point, you'll also have several keyboard command options for configuring your text box:
- H Key: Set the Height of the text box.
- J key: Justify the text.
- L key: Set the Line spacing.
- R key: Set the Rotation angle of the text.
- S key: Set the Style of the text.
- W key: Set the Width of the text box.
- C key: Set several possible specifications for the Columns appearing in the text box.
Once you've set the size of the text box, you can enter your text.
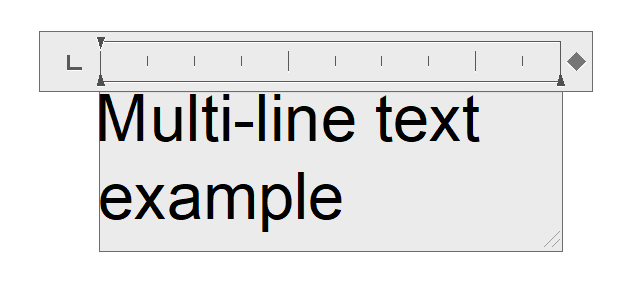
When placing multi-line text, you'll see a ruler that allows you to set tabbing, as well as a text formatting box.
You can change the height of the text box by clicking and dragging the bottom of the box up or down
Press Enter at the end of each line of text. When finished, click anywhere outside the text box to close the MTEXT feature.
Creating a New Text Style
You can easily create a new custom Text Style on the fly while placing text in your drawing.
Click the New button in the Text Manager.
Type a name for your new Text Style and click OK.
Set the specifications how you want them for your new style, including Font, Point Size, Width, and Layer.
The style will now be available for you to use when placing text.

Our System of Text Styles
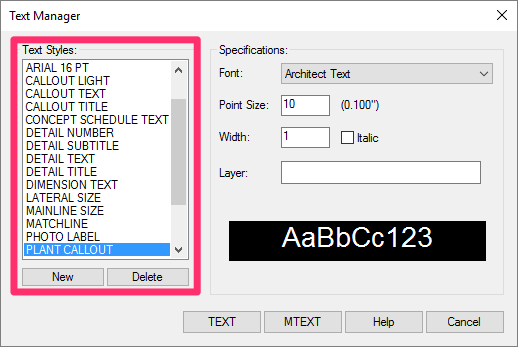
Your installation comes with several default Text Styles, which are listed in the Text Manager.
You can choose to keep our default text settings for each style (such as font or point size), or customize them to meet your standards. You can also create your own text styles.
Finding Text in Your Drawing
Need to locate a specific piece of text in your drawing, such as a word or words, or a combination of letters or numbers? Use the Find command.
Reload (Update) All Text Styles
Our REAT (Reload All Text Styles) keyboard command updates all text in the current drawing to reflect your Text Style settings in the active Preference Set. Learn more about the REAT command.
We've also added a Text Styles option in our BatchMan batch file processing tool that updates all Text Styles in multiple drawing files to match your default Preference Set.
Related Webinars
- Making Text Work in CAD: Join us to learn the essentials of how to use letters, numbers, and other characters effectively in CAD, including how to work with Text Styles and the Text Manager. (1 hr 4 min)
Troubleshooting
Issue: Text styles/fonts not displaying correctly
Issue: You need to find or locate text in your drawing
Issue: Your text is coming in with all caps (capital letters) – and you don't want it to
Issue: You are unable to see the ruler and arrows that set the width of an MText box
Issue: Text boxes are displaying in your drawing where text or MText should be
Issue: Text is not reflecting the thickness of the layer color in your CTB when you plot


