Placed Hatch Looks Fragmented or Not Joined Correctly
Issue
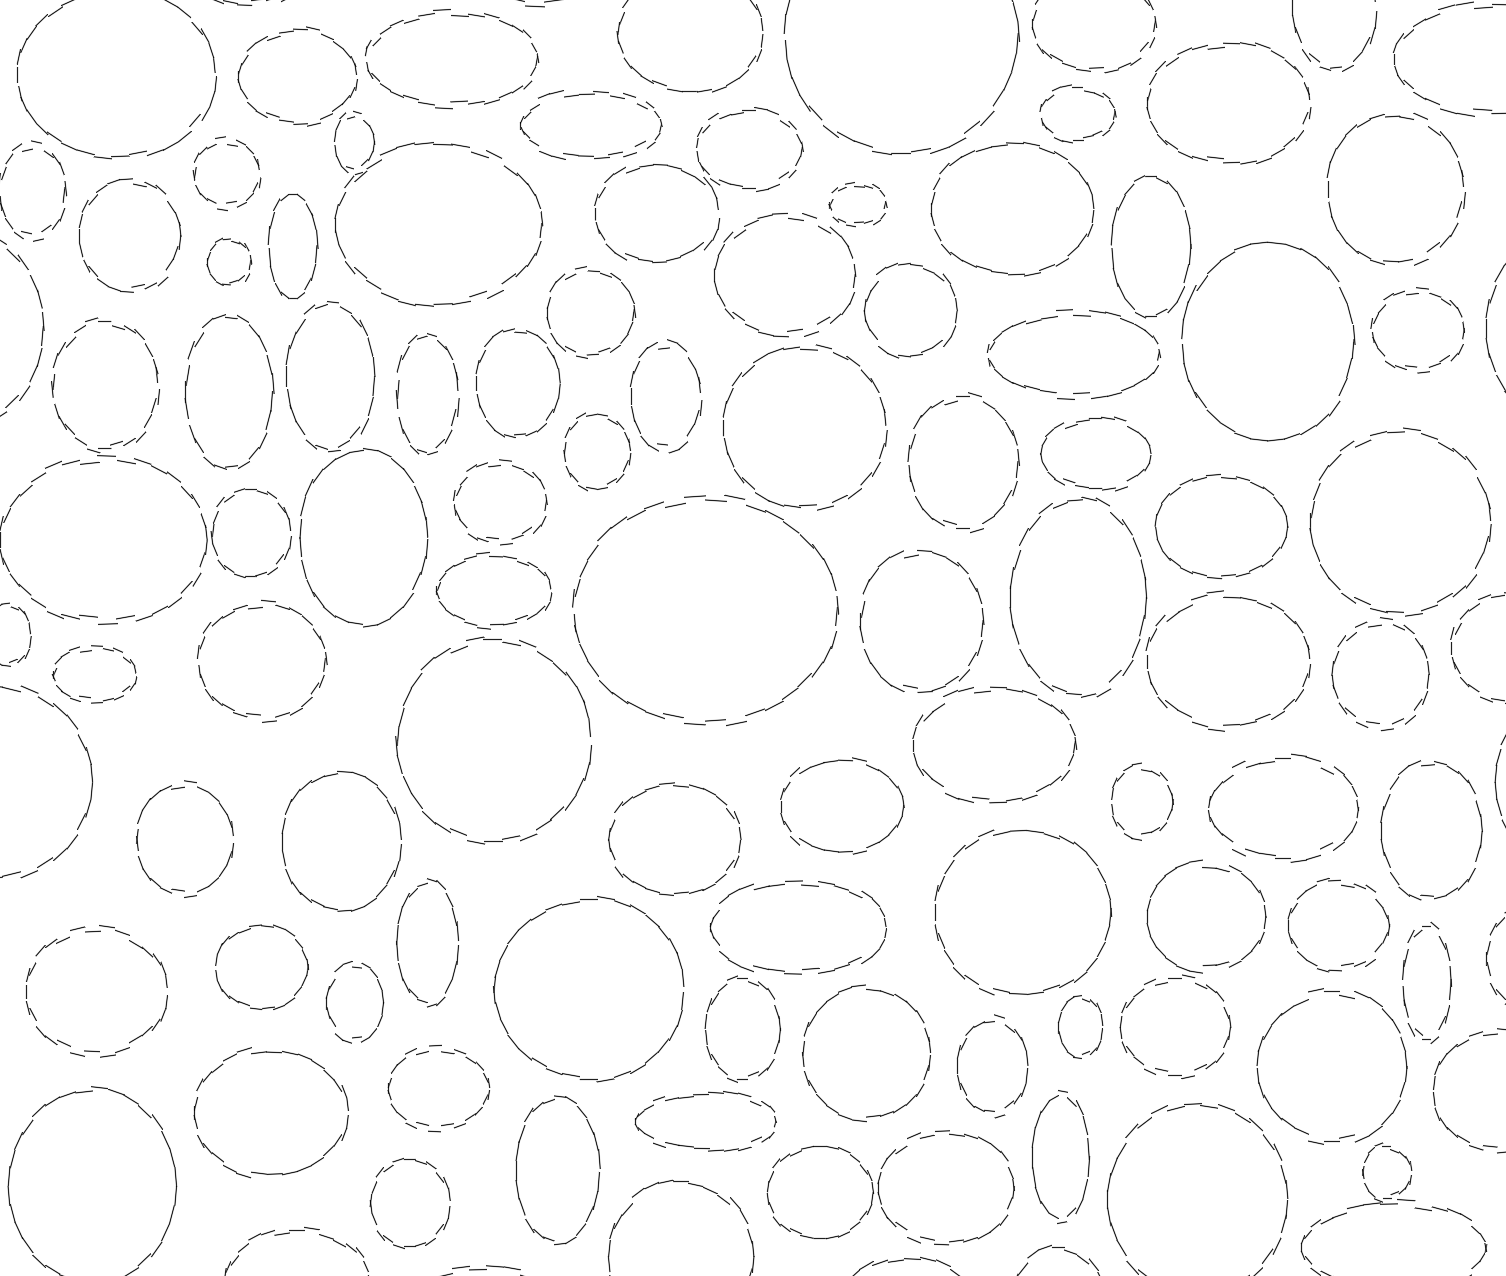
You placed a Land F/X hatch and noticed that the hatch looks fragmented or isn't joined like it should be.
Cause
Our June 2023 hatch release included many complex custom hatches we created. Since then, we've analyzed performance data and listened to user feedback to understand how our hatches can improve. The new hatches are now available for download to correct any of the issues listed above. These downloadable patterns look clear at every size and shape, and do not increase file sizes.
We've also seen this issue result from:
- Placing a hatch into a large area that uses irregular shapes or long runs within the boundary. In this case, the system might be placing the hatch with an origin point based on the start of the drawn boundary. The hatch is breaking down as it extends farther away from the origin.
- The 2D Display setting, in the Graphic Performance settings, being configured incorrectly for hatches.
Solution
Step 1: Download our updated hatch patterns.
Your first step in addressing this issue should be to follow our steps to download our updated hatch patterns manually.
In most cases, downloading our updated hatches will resolve the issue.
Are your placed hatches still looking fragmented or not joining correctly after you've downloaded our updated hatch patterns? If so, move on to the next step.
Step 2 (if necessary): Set the origin of the hatch to more of the center of the shape.

Select the problematic hatch, navigate to the ribbon and select Set Origin, then click near the center of the shape.
Do you have a large number of small hatched areas? If so, do this instead.
Still seeing a fragmented or broken hatch? Move on to Step 2 (if necessary): Change your 2D Display settings to Intermediate.
Have several small hatched areas in your drawing? Do this instead.
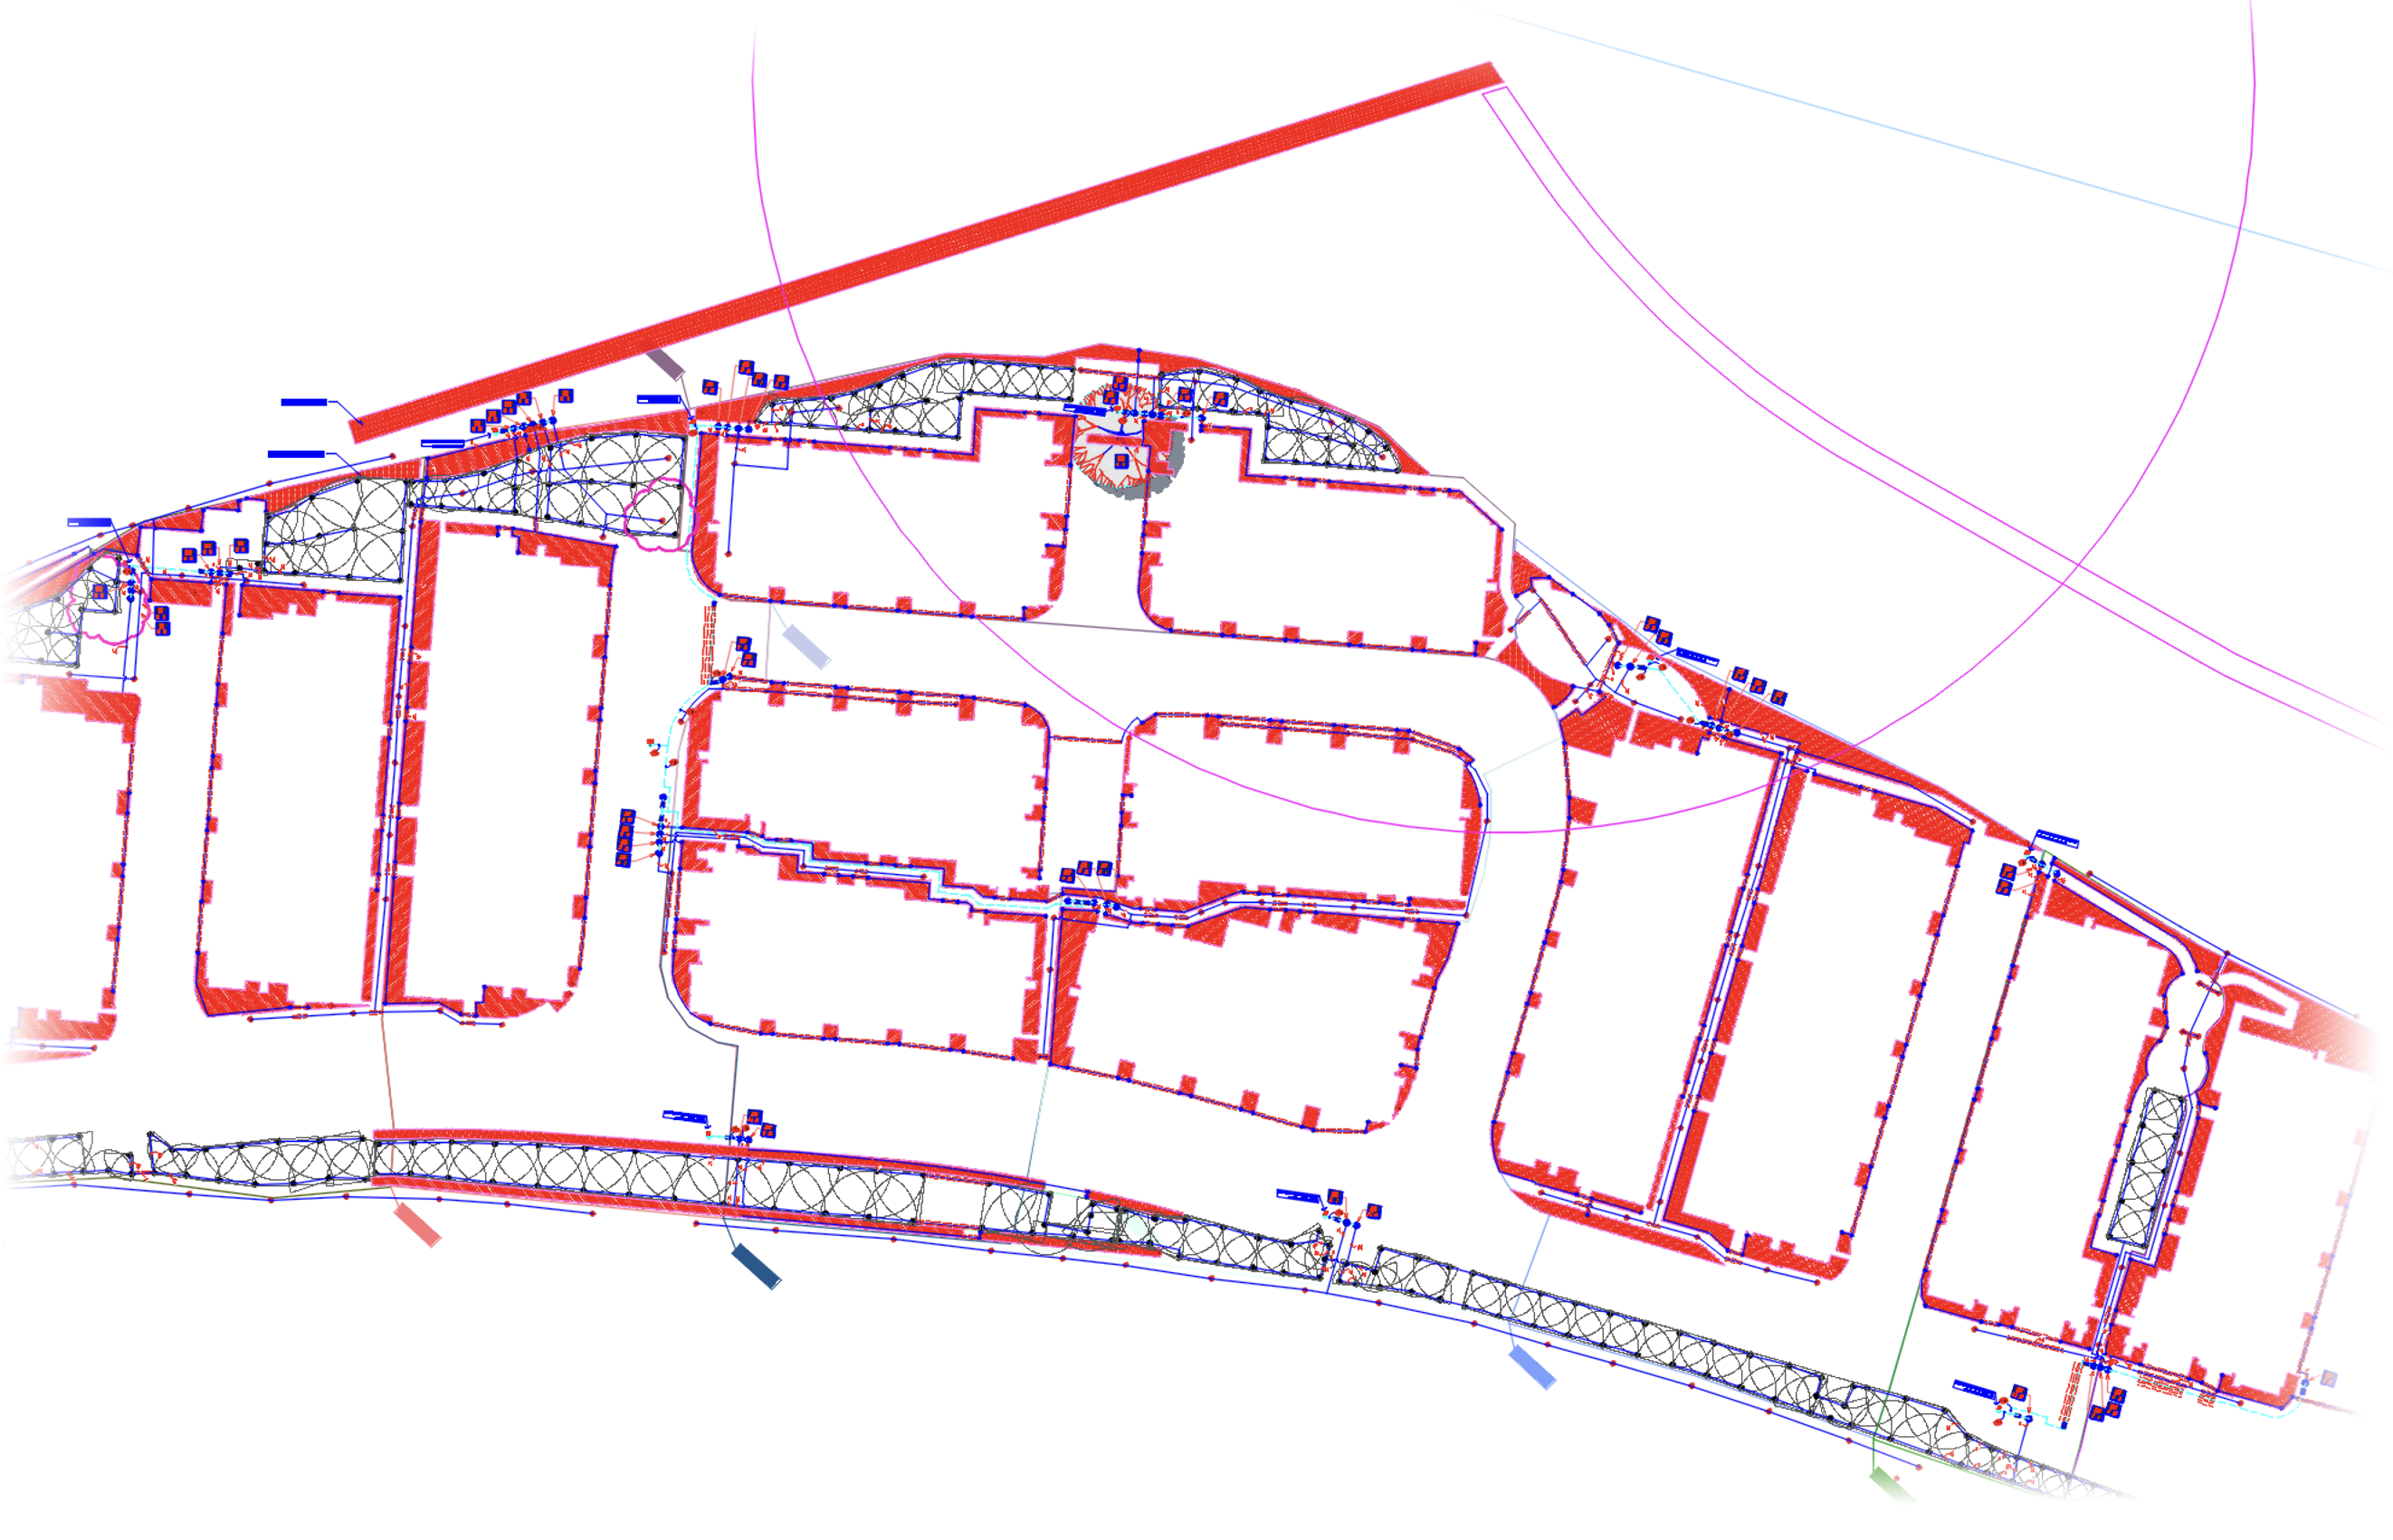
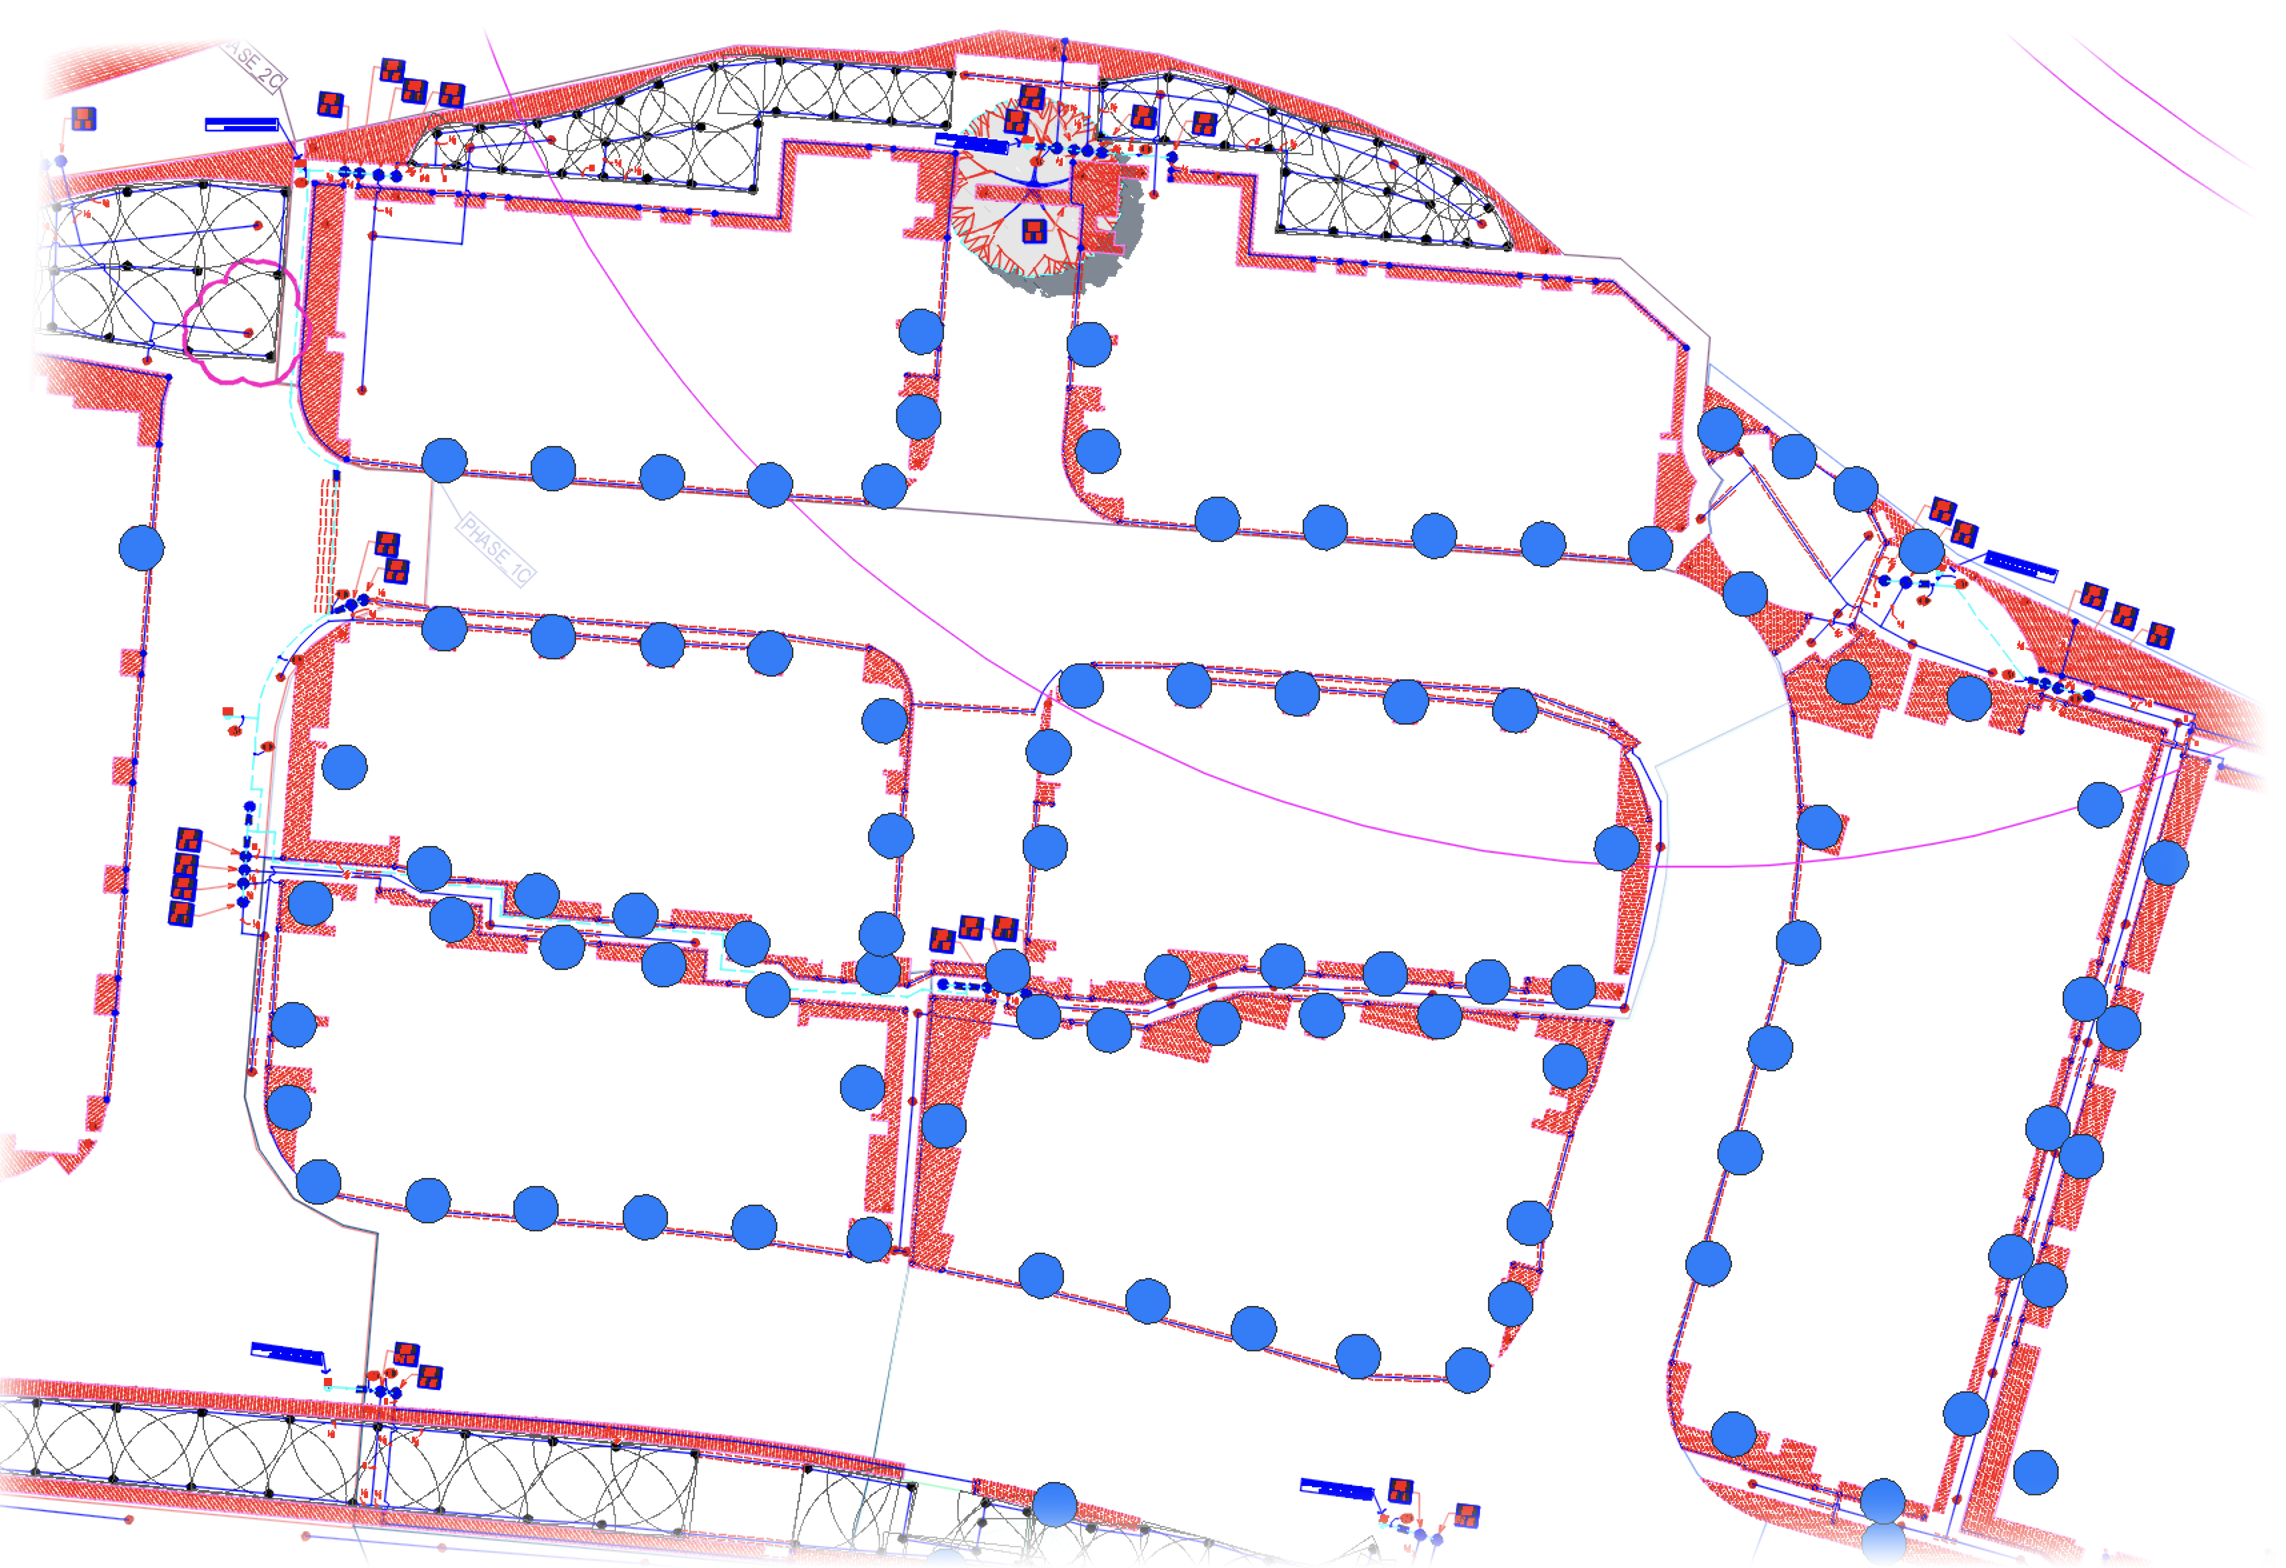
Here's what to do if you have several smaller hatched areas in your drawing where you're having this issue, as pictured in the example below.
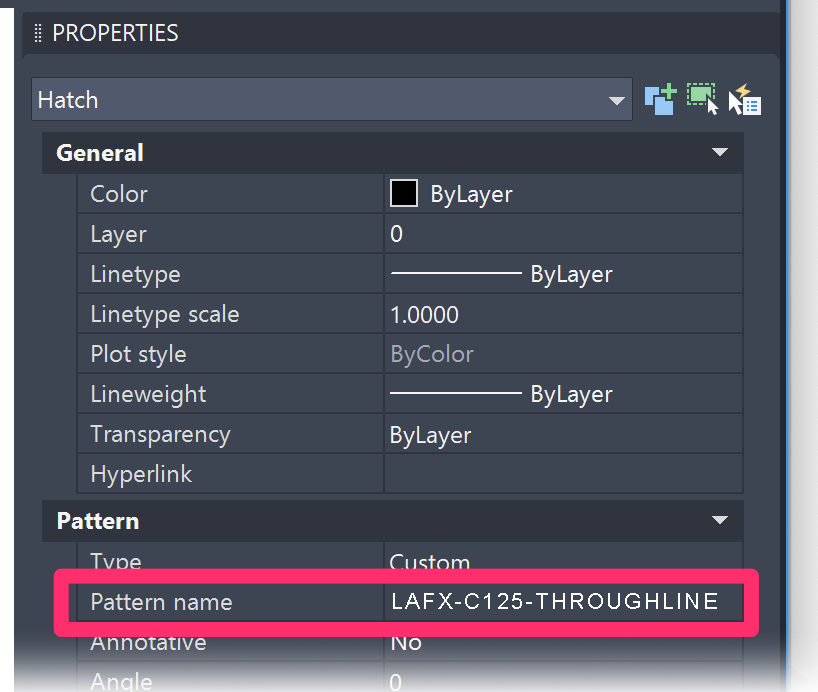
Select one of the problematic patterns, then type PROP and press Enter to open the Properties panel.
In the Properties panel, note the Pattern name entry.
Select the same hatch, then right-click.
Choose Quick Select from the menu that opens.

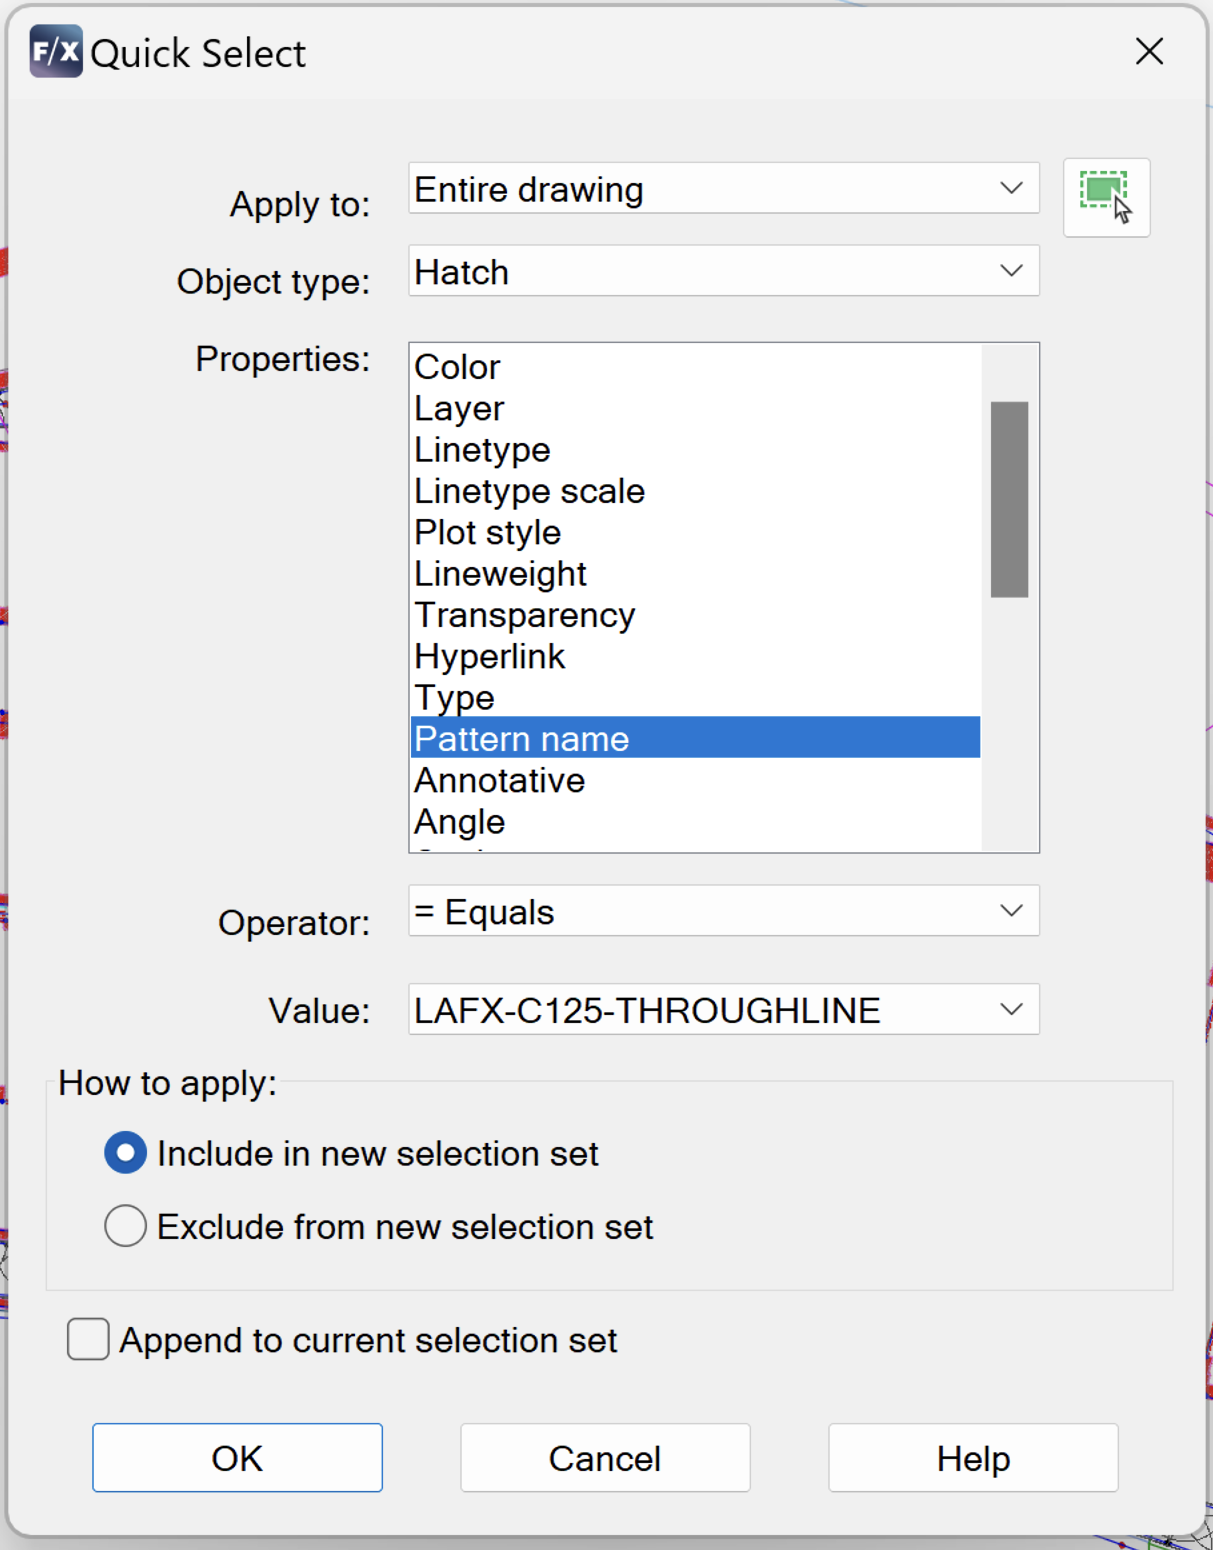
Configure the following settings in the Quick Select dialog box:
- Apply to: Entire Drawing
- Object type: Hatch
- Operator: = Equals
- Value: (select the Pattern name entry you noted in the Properties panel above)
- How to apply: Include in new selection set
- Append to current selection set: Leave unchecked
Click OK to apply the settings.
Step 3 (if necessary): Change your 2D Display settings to Intermediate.
If you're still seeing a fragmented hatch after changing the hatch origin, your next step should be to check your 2D Display setting.
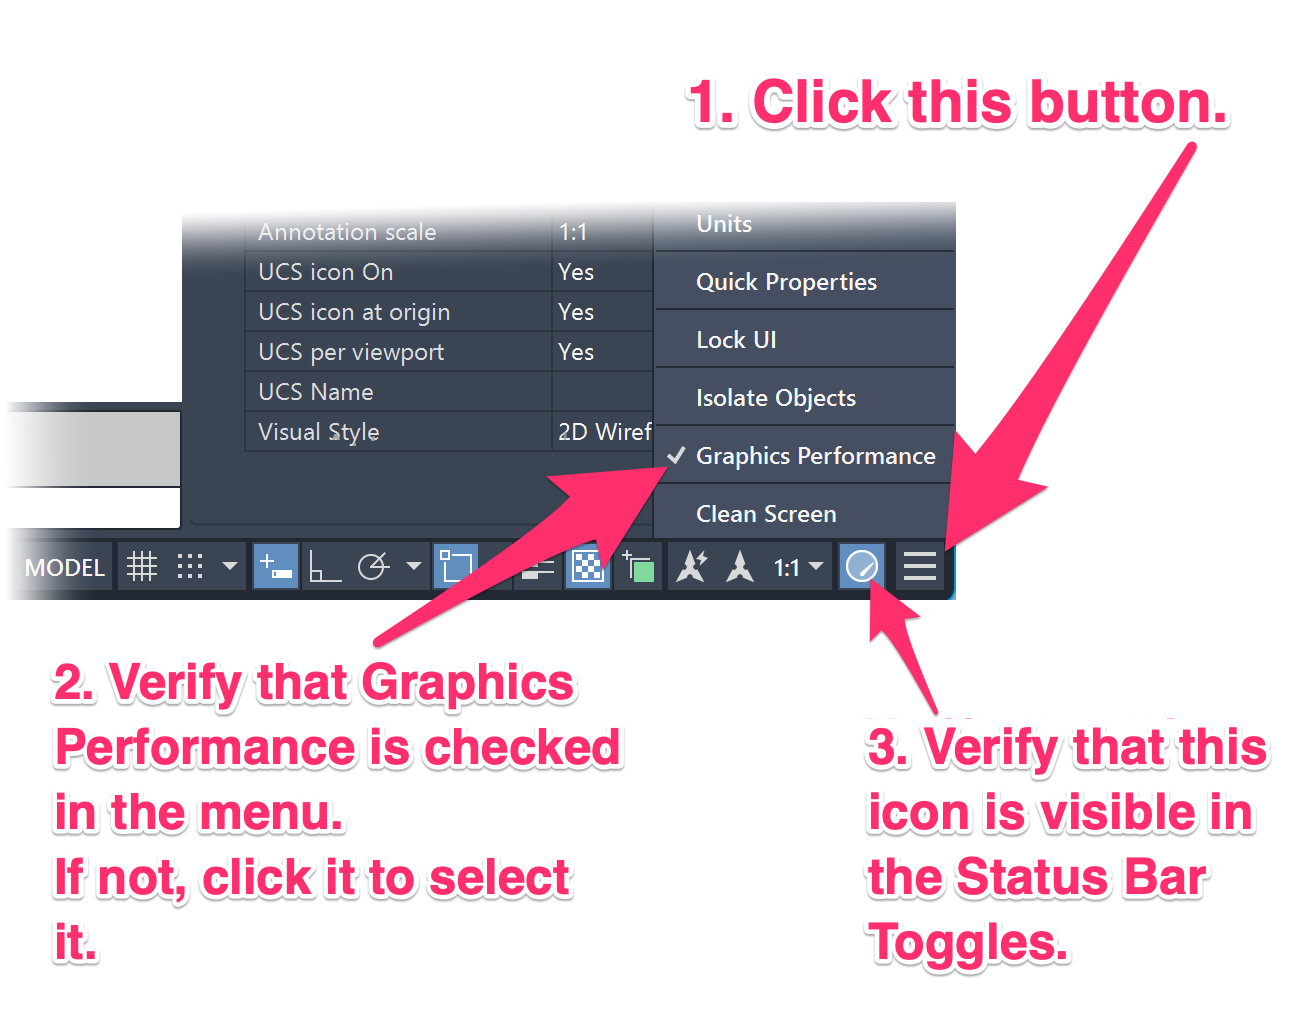
Click the "Hamburger button" in the bottom right corner of your CAD interface to open the Status Bar Toggles ("Hamburger button") menu.
Then ensure that:
- The Graphic Performance item has a check next to it in the menu. (If not, click it to select it.)
- The Graphic Performance icon in the status bar is visible in the Status Bar Toggles.
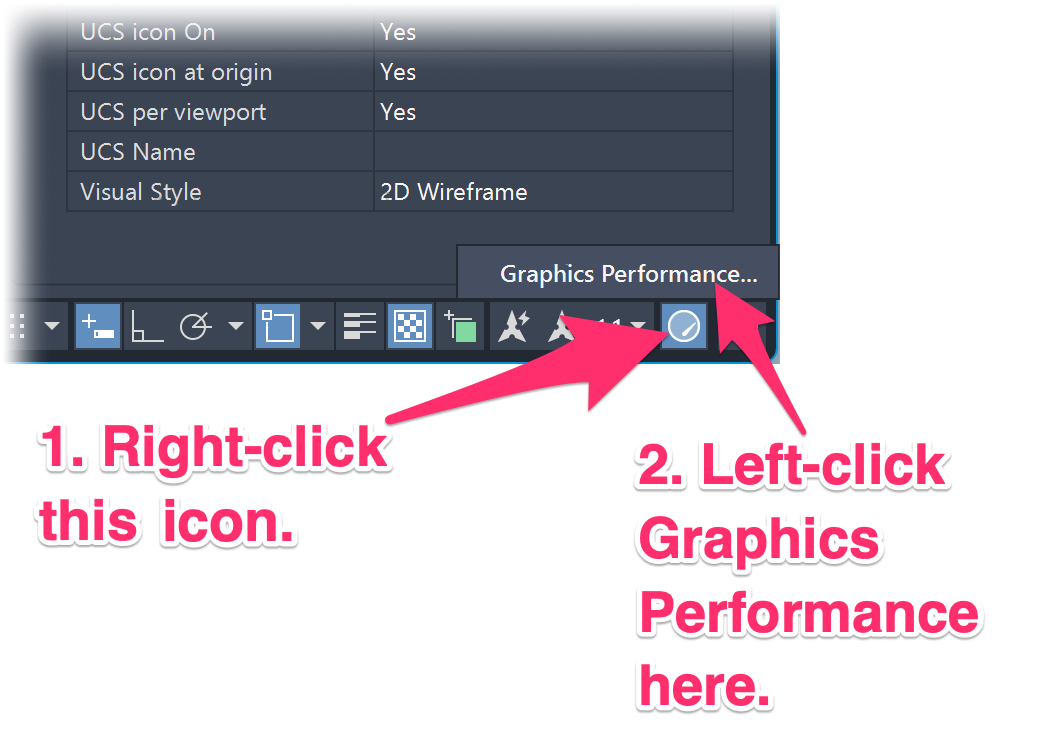
Right-click the Graphics Performance icon in the Status Bar Toggles, then click the Graphics Performance button that appears above it.
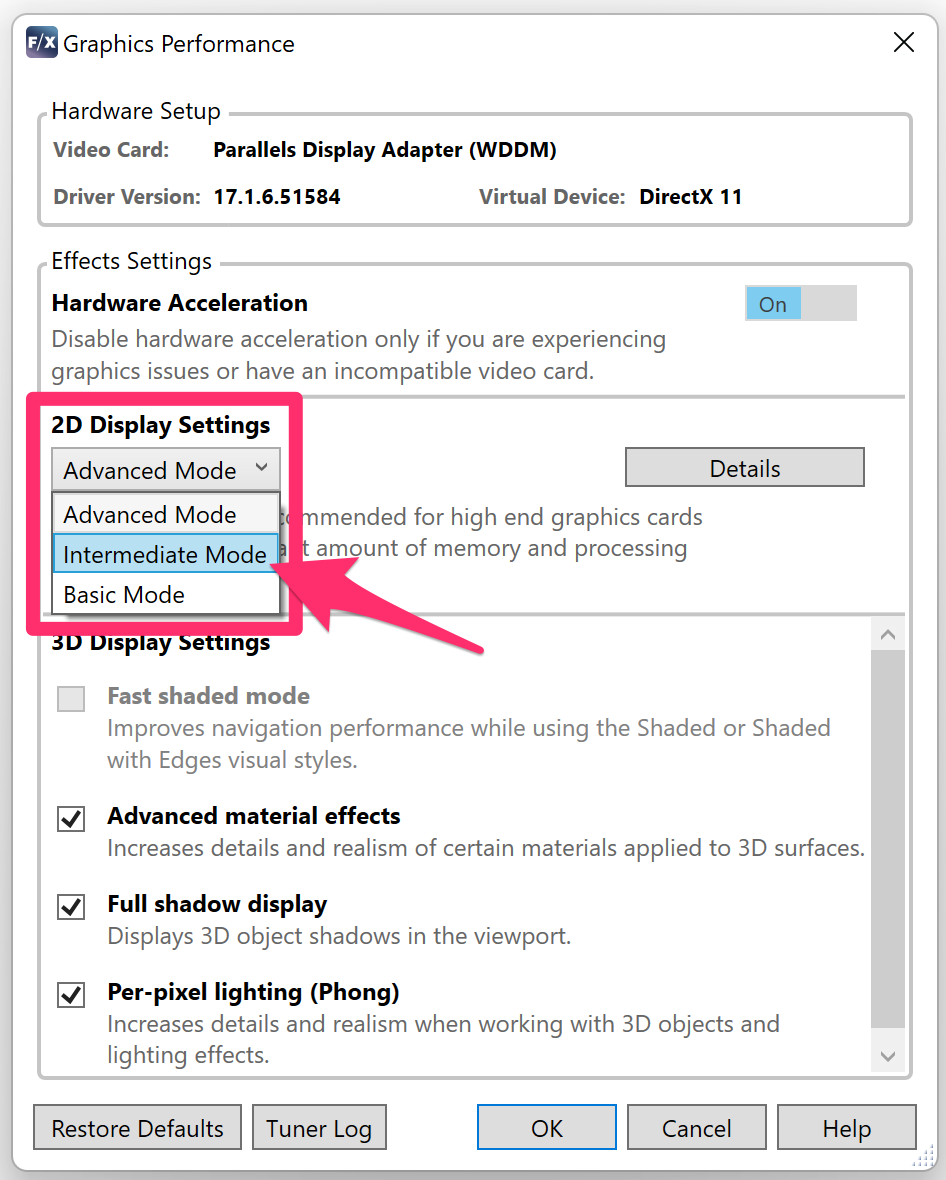
In the Graphics Performance dialog box, verify that the 2D Display Settings menu is set to Intermediate Mode.
Still seeing a fragmented or broken hatch? Move on to the next step.
Step 4 (if necessary): Use our PolyDivide tool.
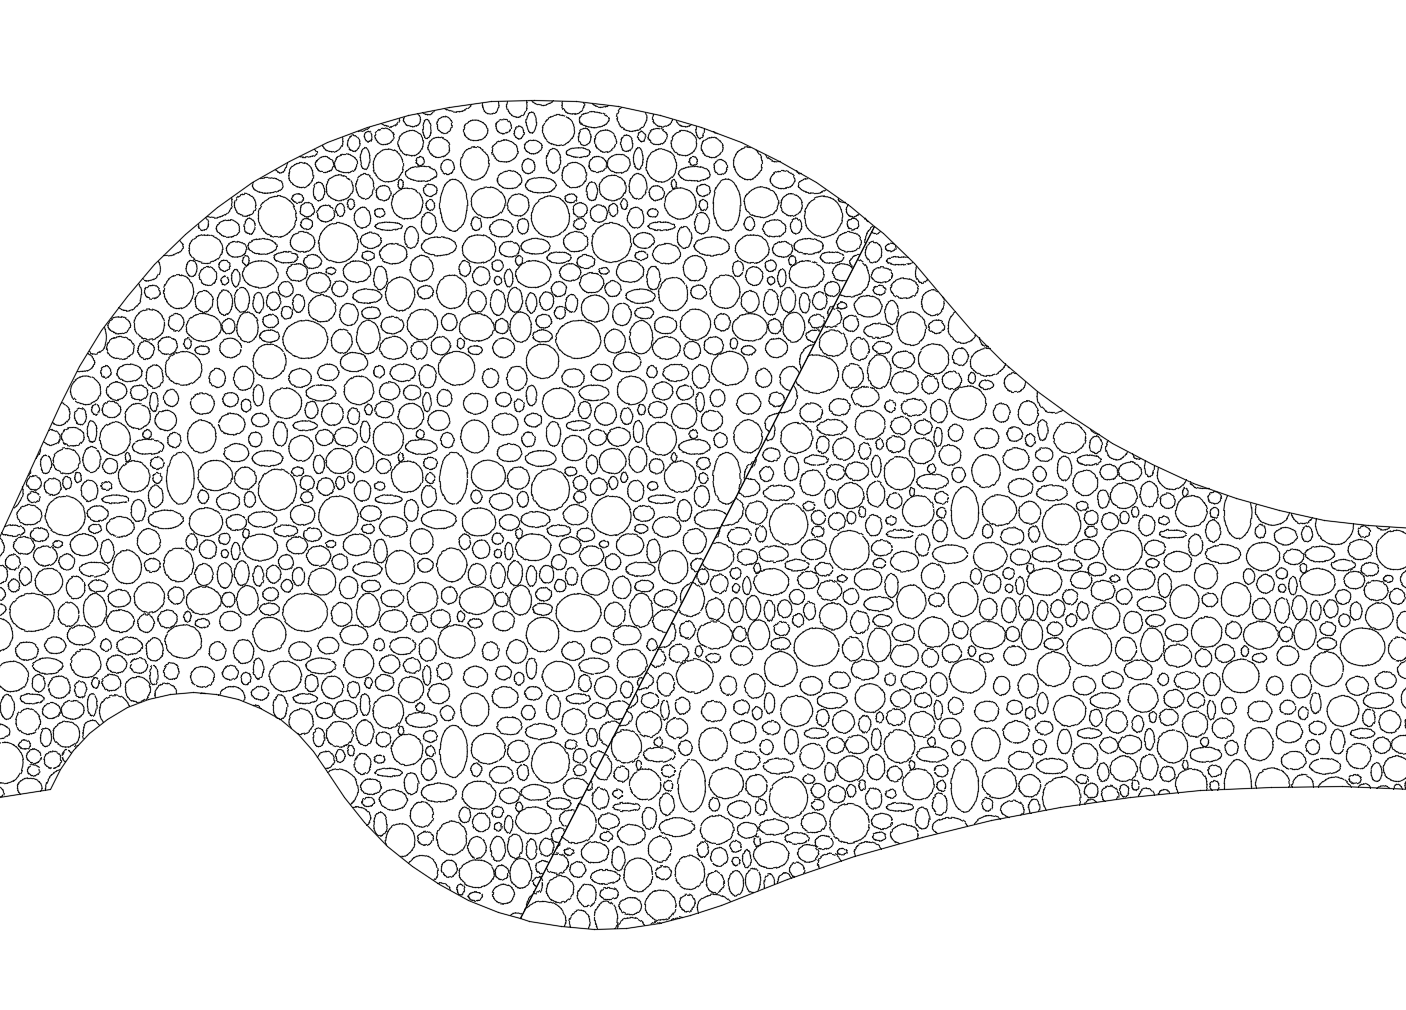
If the previous step doesn't completely fix the issue, try breaking up the hatch area into smaller sections using our PolyDivide tool.
Still having the issue after breaking the hatch into sections? If so, send us a technical support ticket letting us know which Land F/X hatch is causing the issue, and we can look deeper into what might need to be fixed within that particular hatch pattern.


