Hatch Won't Place Correctly / Hatch Multiple or Island Issues / Can't See the Multiple Option
Issue
When you select a closed polyline to fill with a hatch, you're unable to "trim" out an island or exclude an area. You select a large polyline with interior islands and select Multiple and go to select the outer boundary, click it, and it hatches the entire polyline, including all islands.
You might be experiencing this issue with:
- Groundcover hatches
- Site hatches
- Irrigation hatches, such as drip areas
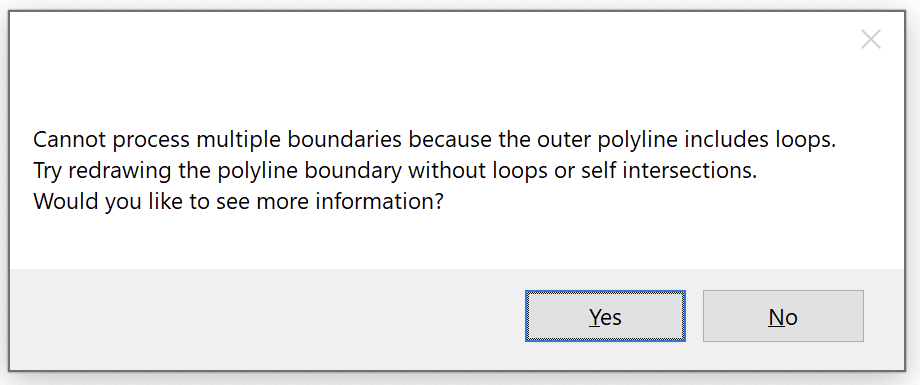
Cannot process multiple boundaries because the outer polyline includes loops.
Seeing this error message when trying to use the Multiple option while placing a hatch?
Cause
If you didn't see the error message pictured above, the most ocmmon cause of this issue is that AutoCAD is unable to convert the inner polyline selection to a Region object.
To validate the inner boundaries, the system converts each object selected to a Region object. If this operation fails, the system just hatches the entire outer boundary.
Don't see the Multiple option at all?
It might be because:
• You're using a Stipple hatch, which inherently does not allow excluding interior objects. If so, select a hatch option other than Stipple, and you should be able to see the Multiple option when placing a hatch.
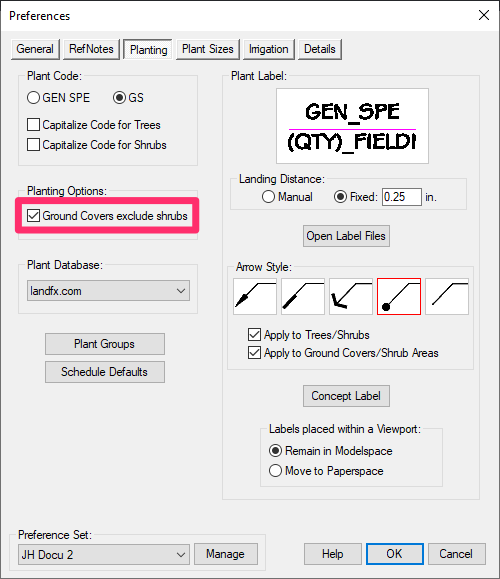
• You're trying to exclude interior objects such as boulders or stepping stones from a groundcover hatch in addition to using our Exclude Shrubs feature to exclude the hatch from individual shrubs in the same planting area?.
The Multiple option is incompatible with Exclude Shrubs. Instead, you'll need to carry out a few extra manual steps to exclude the groundcover hatch from the interior objects in addition to the shrubs. Information and instructions
Solution
Step 1: Rule out the Stipple pattern and Exclude Shrubs.
First, ensure that you're using a hatch pattern other than Stipple.
Trying to use our Exclude Shrubs feature in addition to the Multiple option? If so, use these steps to exclude the hatch from the interior objects in addition to the shrubs.
After you've ruled out or dealt with these potential causes, move on to the next step if you're still unable to exclude interior objects from your hatch.
Step 2: Try a Region test.
Next, you can test for an issue with the Multiple option by typing REGION in the Command line and then selecting a copy of the hatch polyline boundary. Note whether the polyline converts to a Region, or whether this action results in an error message – typically that the polyline intersects itself.
To create a polyline that the REGION command will accept, you can either:
- redraw the polyline, or (even easier) ...
- type BOUNDARY in the Command line to redraw the polyline.
If you think the area should be able to allow for a pickpoint for the interior, try using the FLATTEN command on your linework.
If the FLATTEN command prompts you to Remove hidden lines? type N for No. (Removing hidden lines might delete many lines you're actually using. Instead, just have those hidden lines flatten and then use the OVERKILL command if needed).
Be extremely careful when running OVERKILL on an irrigation drawing. This command can cause major issues with your pipe layout because it will stitch the pipe together at fitting locations. Therefore, OVERKILL should only be run on specific objects – not on an entire irrigation plan.
Want to see which areas are causing the problem? Set the HPGAPTOL system variable to 0. (Type HPGAPTOL in the Command line and then type 0 when prompted to Enter a value.) Then try placing a hatch.
If the Multiple command is still not working on your hatch, move on to the next step.
Step 3: Troubleshoot the polyline hatch boundary.
At this point, the polyline hatch boundary may be causing the issue.
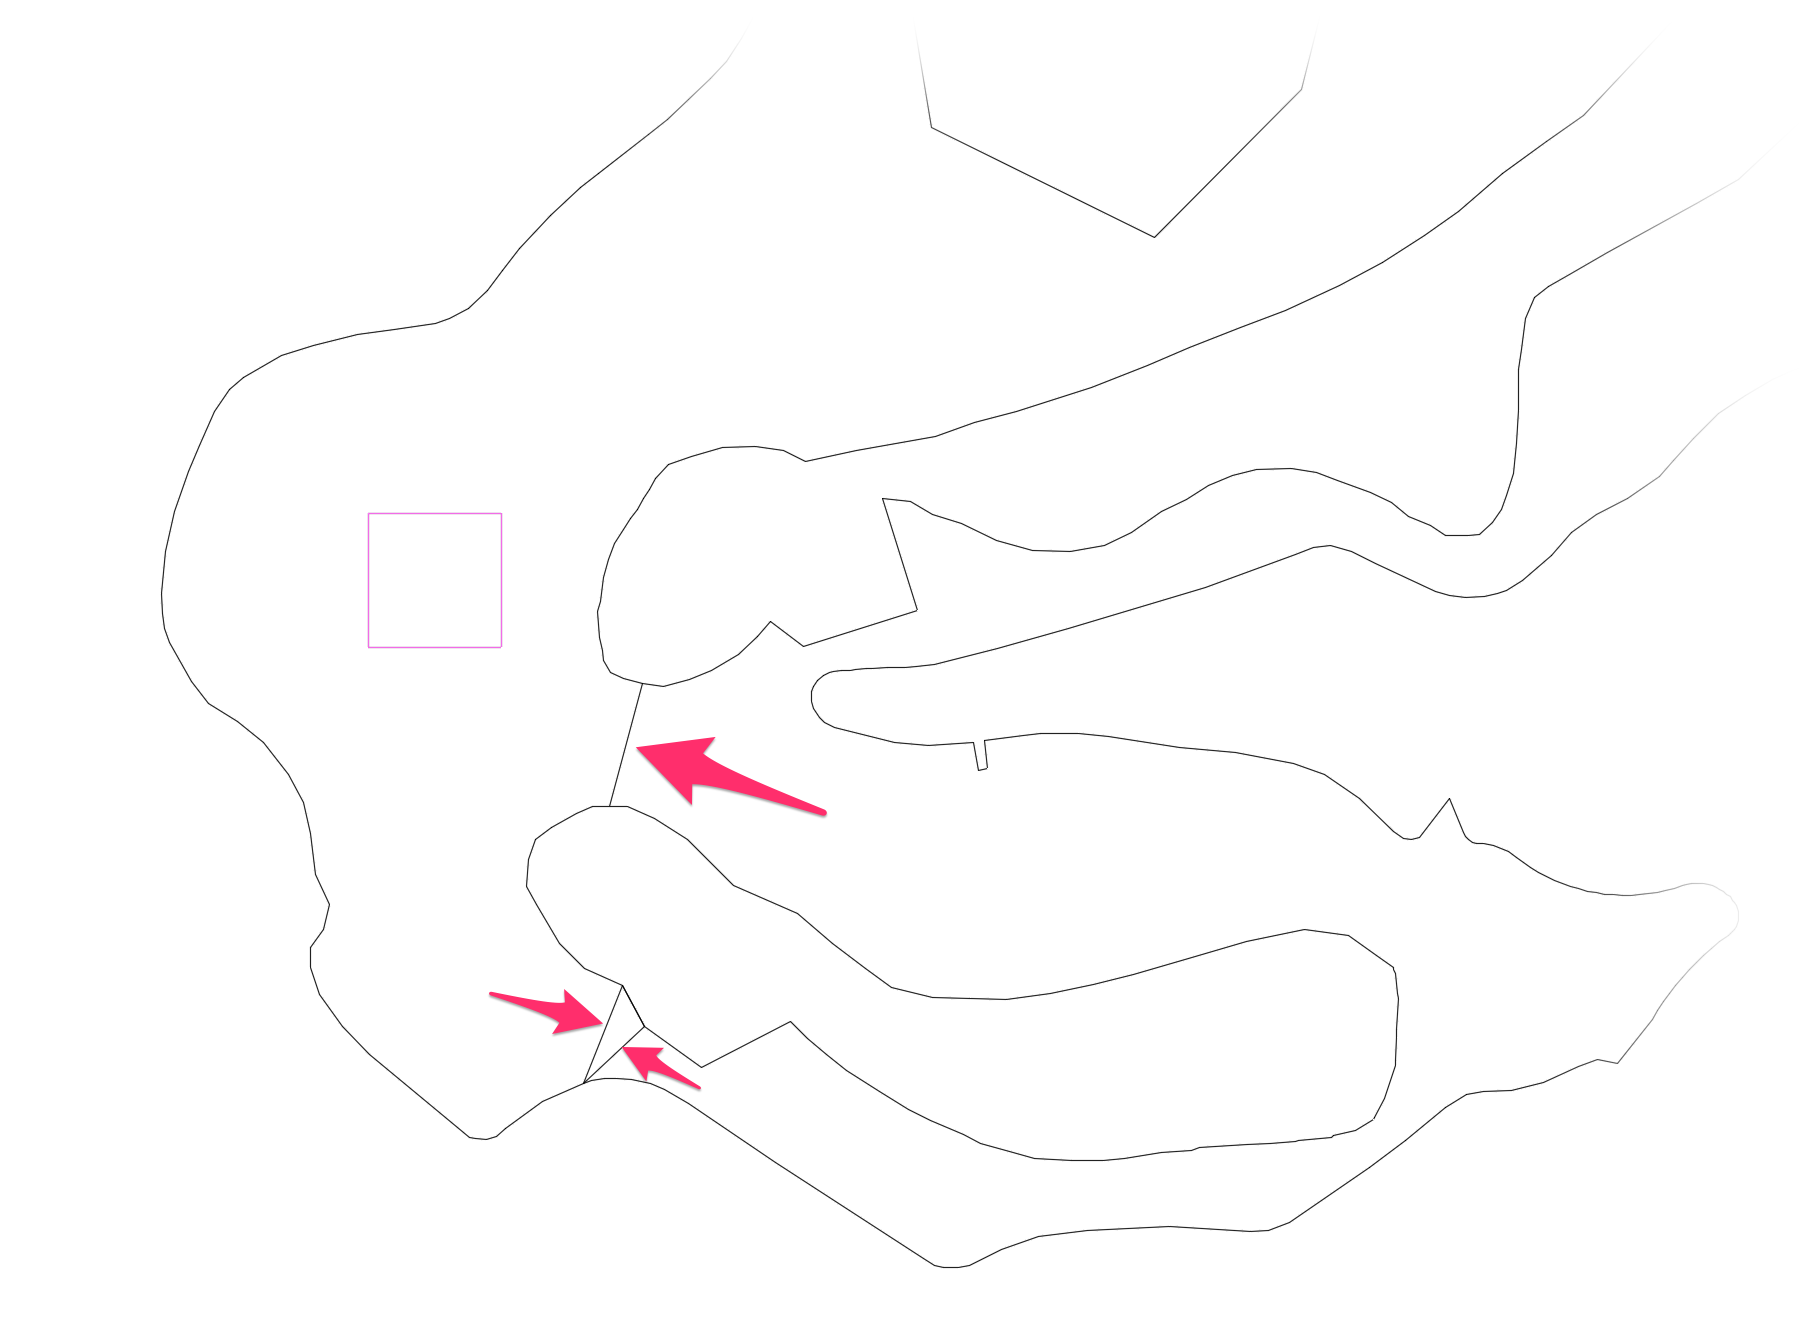
First, select the polyline boundary and make any necessary edits to the linework that will result in a single contiguous hatch boundary. Zoom in and ensure the boundary does not include any loops or self intersections.
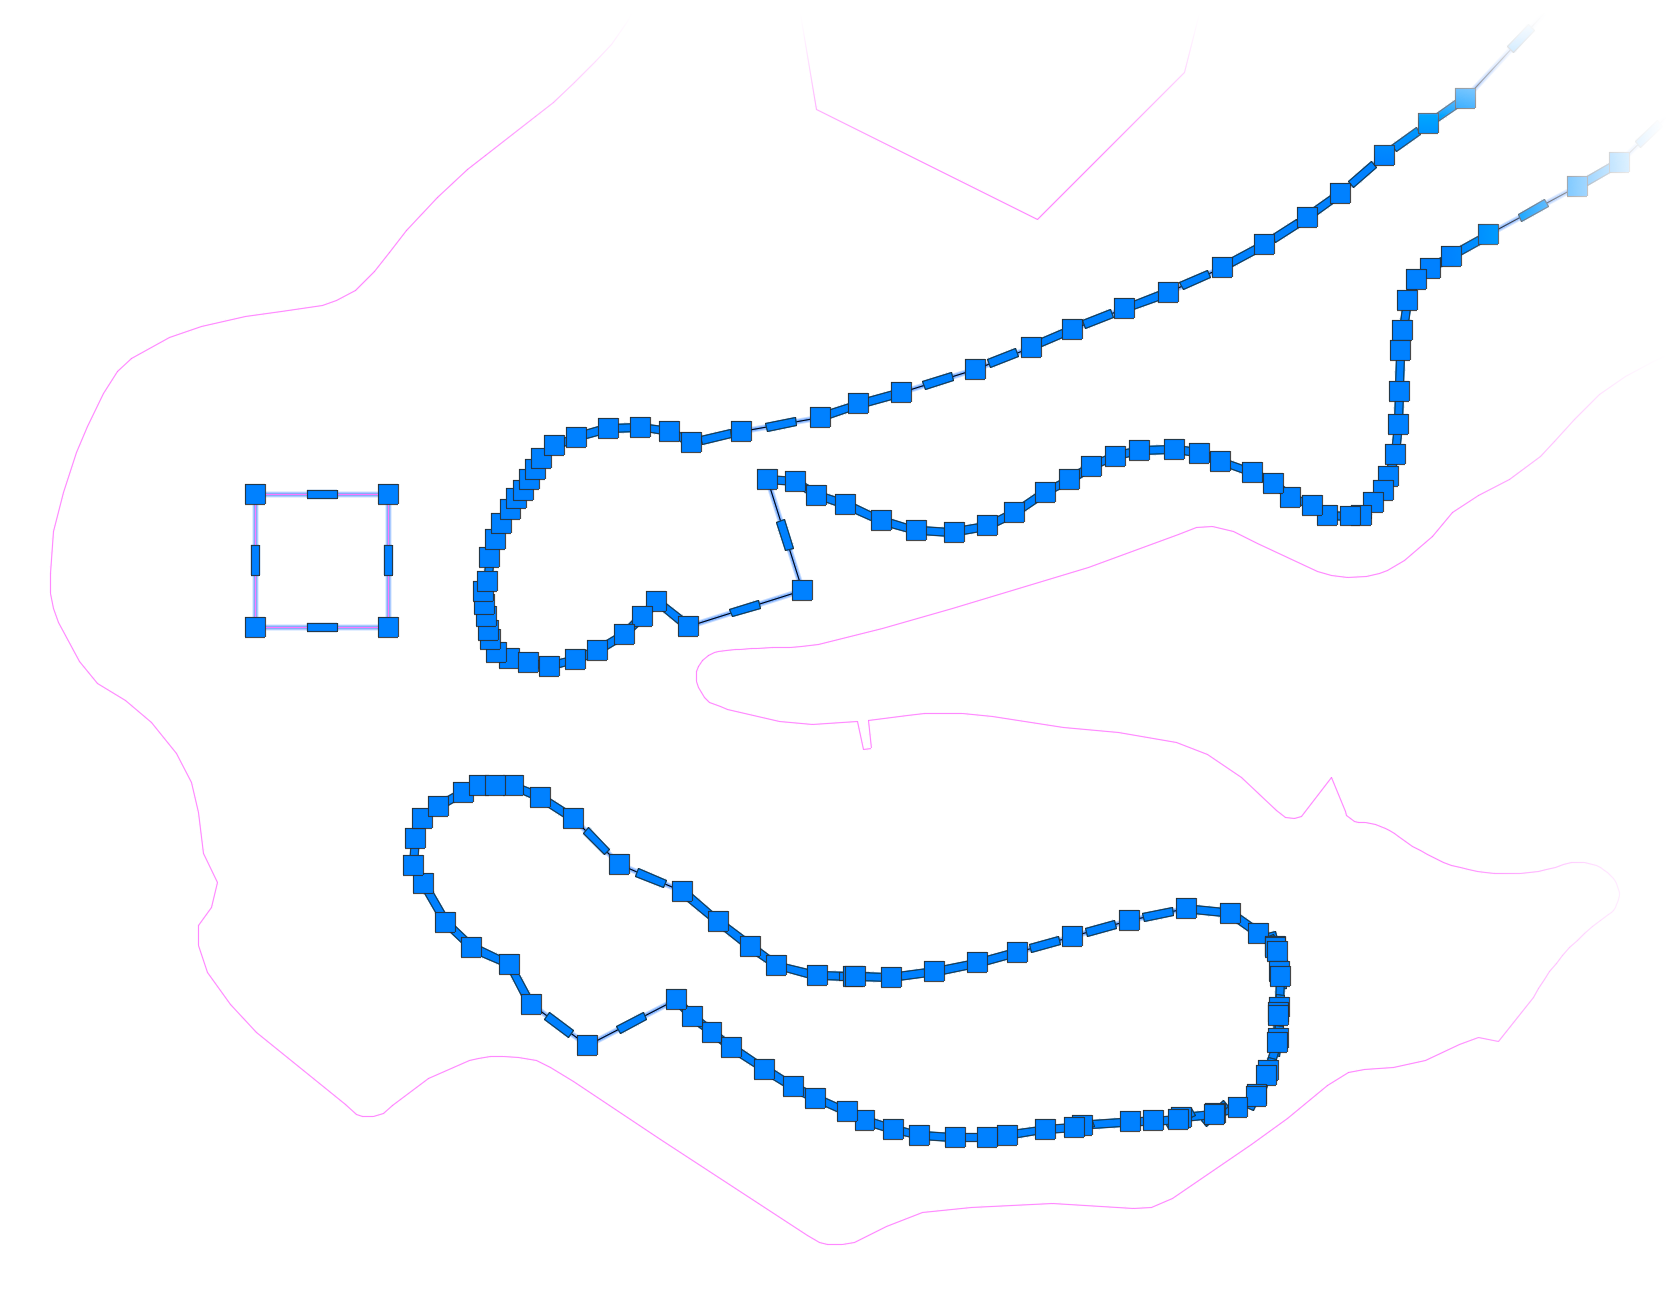
In the example shown to the right, we corrected a polyline boundary that had included some small connecting lines that were interfering with the Multiple command. We exploded the polyline, removed the interfering lines (marked with arrows), and then used our SuperJoin tool to join all the lines back together.
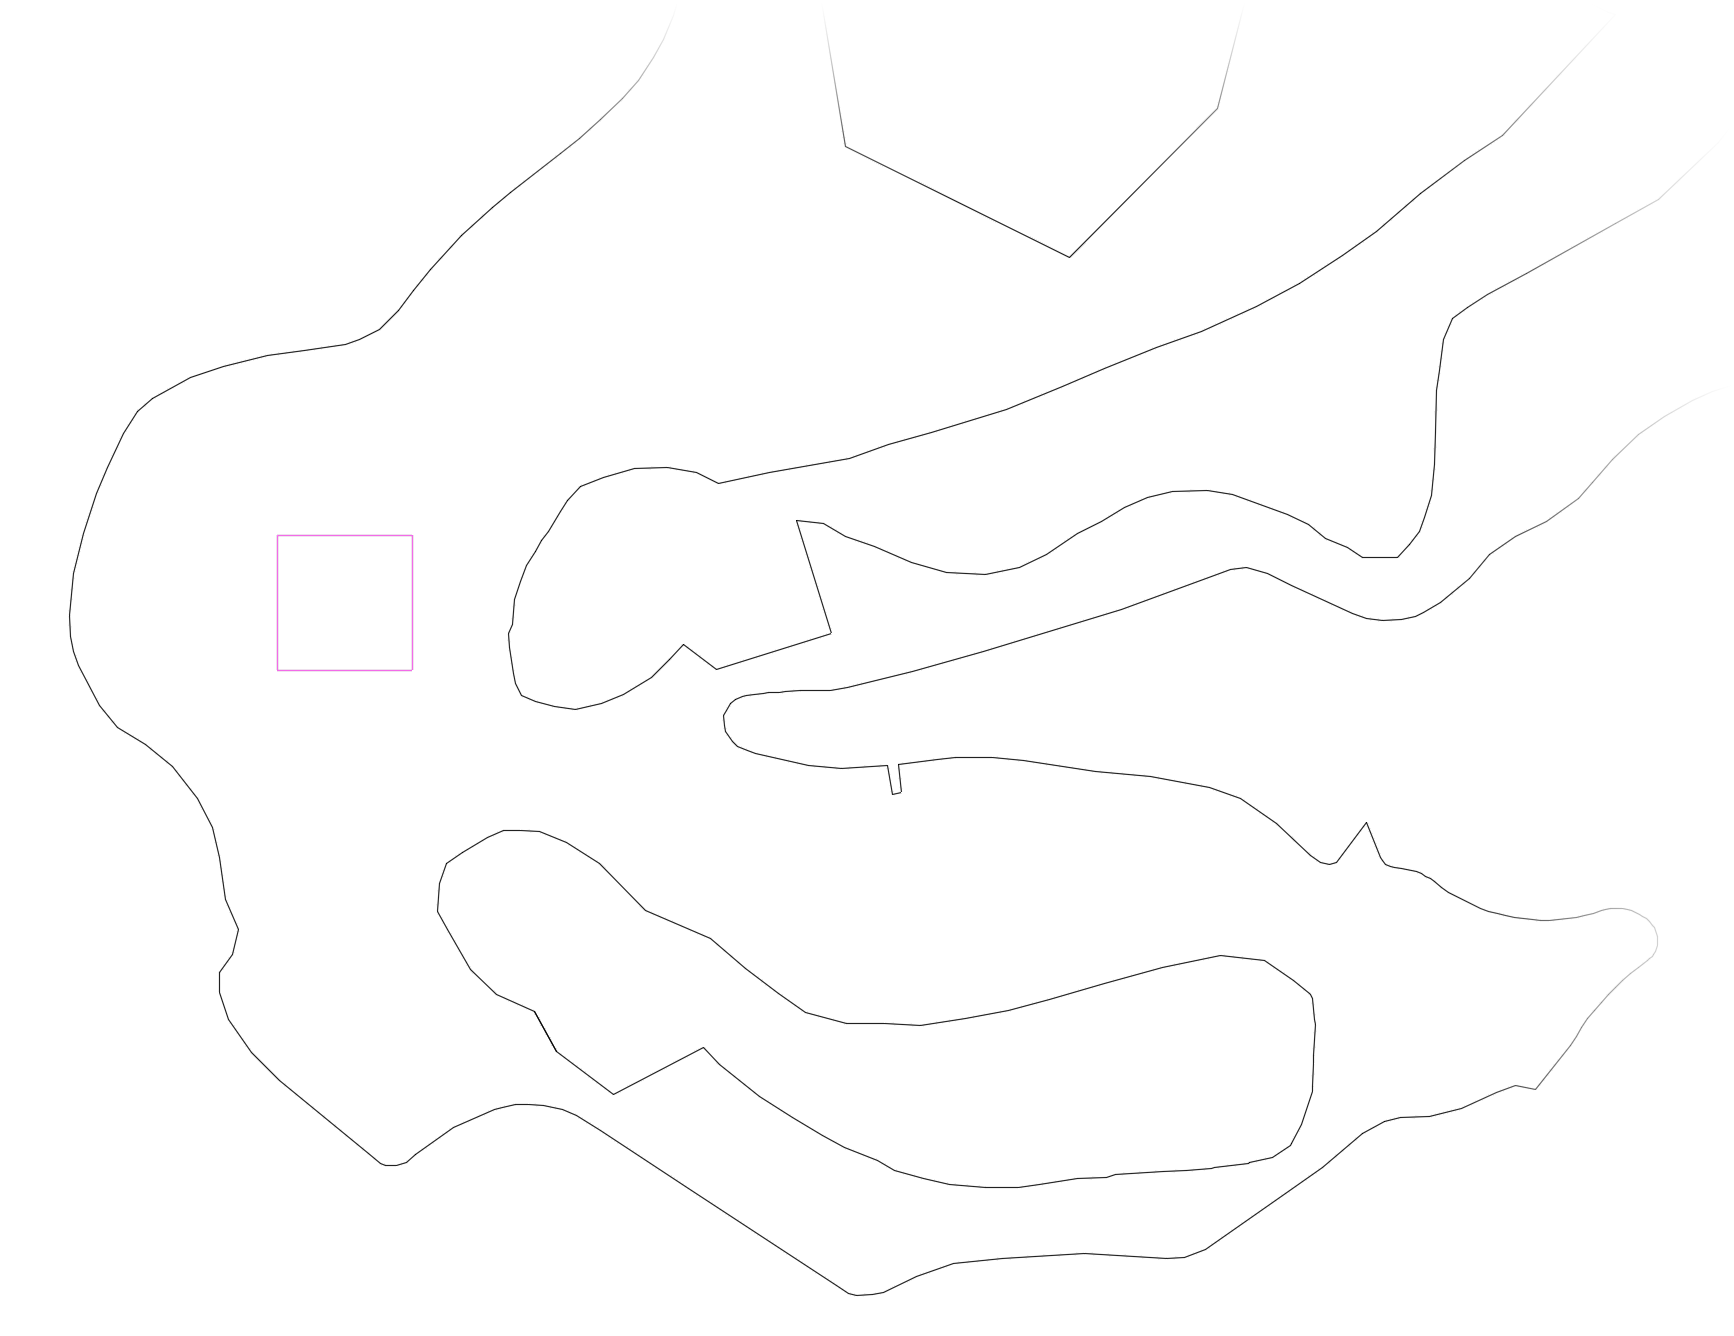
Here is what the polyline boundary in our example looks like after we've made the necessary edits.
From here, try the
You should be able to select the outer linework and then the inner linework as expected.
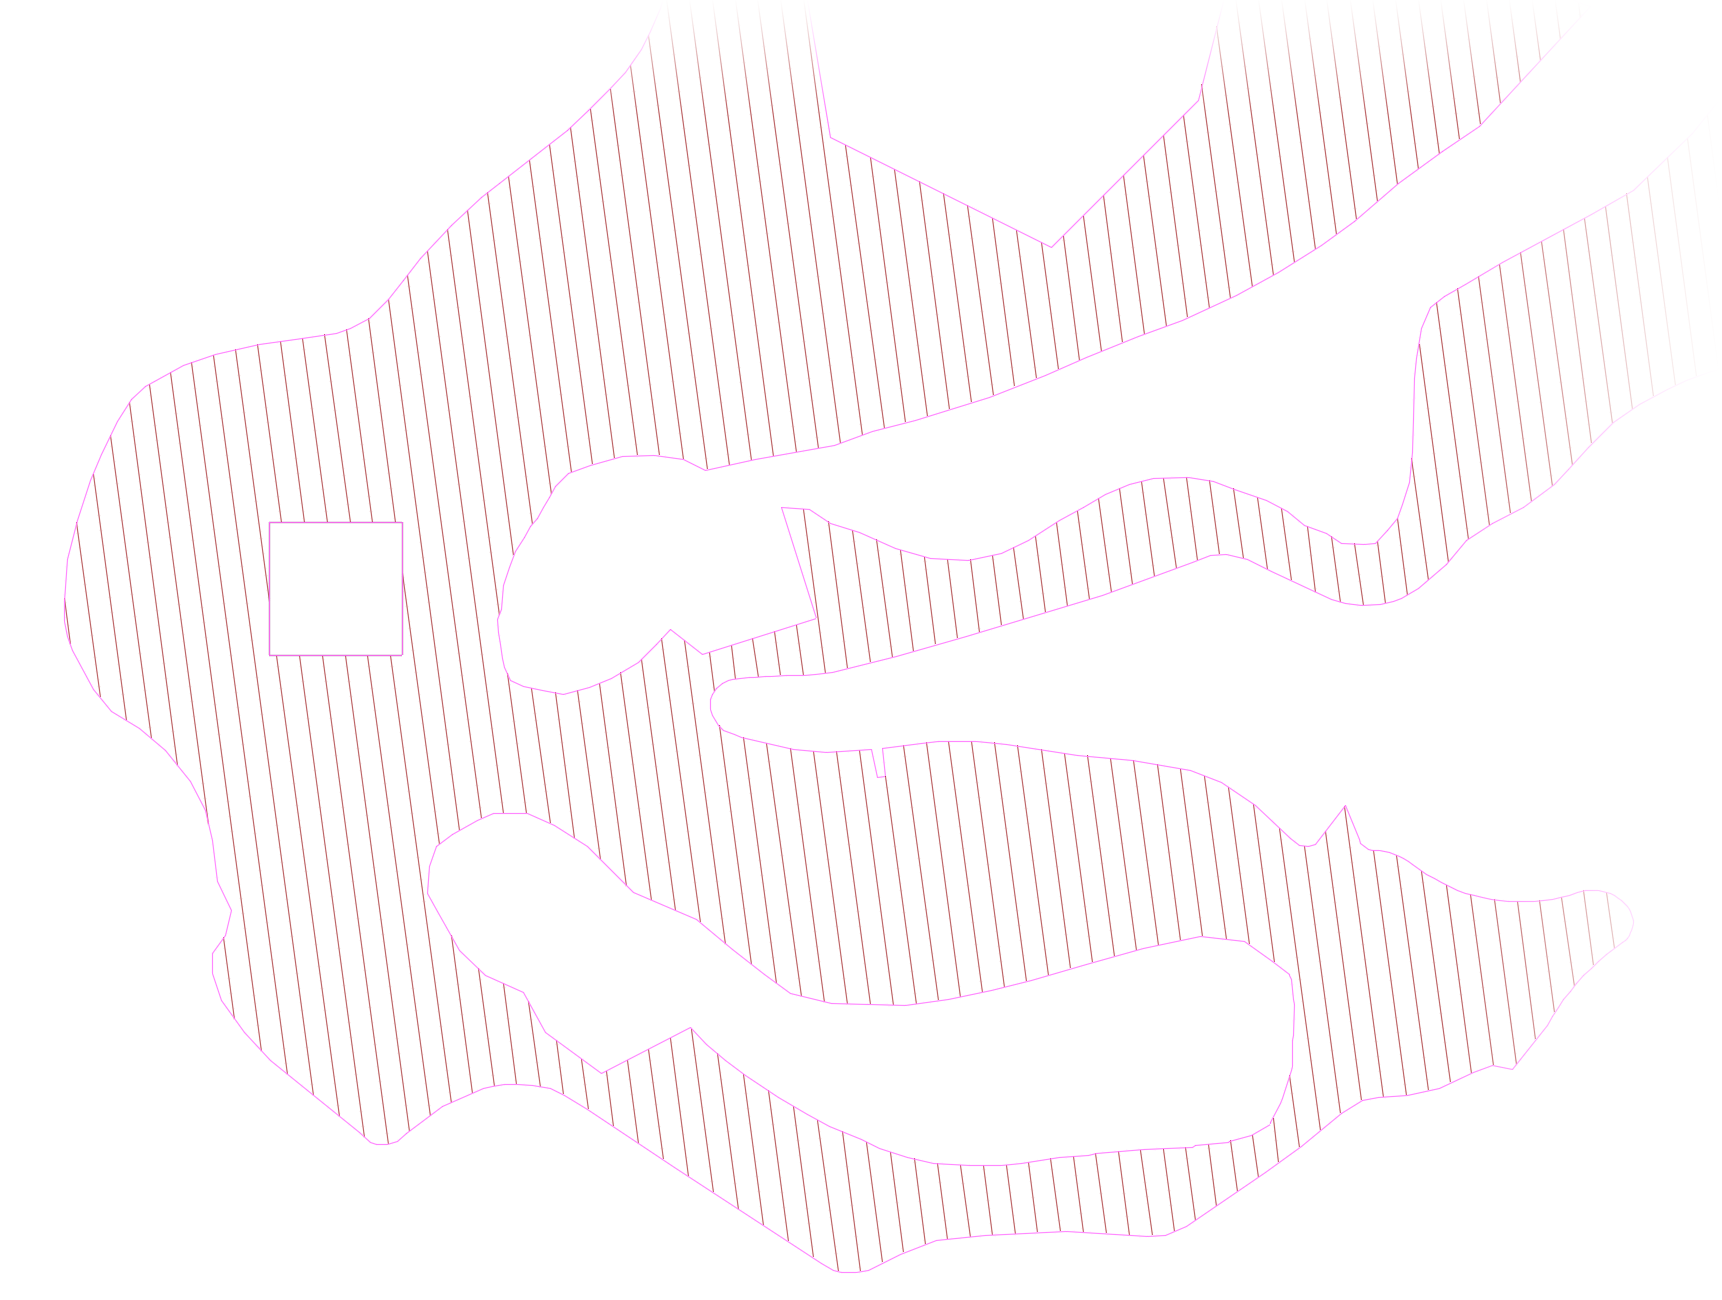
The hatch should now place as expected.
If you're not able to correct the vertices, or the polyline boundary doesn't have any overlapping vertices, you may have to redraw the boudary from scratch. Use the Boundary tool to help re-create this polyline.
If you're still not able to use the Multiple command at this point, move on to the next step.
Step 4: Further troubleshooting
Still not able to use the Multiple command? Other possible issues to check for include:
- No real inner polylines for the system to recognize.
- Polylines at different elevations.
- You may be clicking on a line through an xref or a block.


