Sizes of Heads or Equipment Do Not Reflect Changes Made to Scale
Issue
You made changes to the scale in your design, but your irrigation equipment symbols – such as heads or auxiliary equipment – are not respecting the change.
Are your irrigation symbols for the same model of equipment (such as valves or heads) appearing in different sizes or scales – that is, some are bigger or smaller than others? Solution >
Set up your irrigation design correctly, and avoid scaling problems later on. Watch our Irrigation Tools – What You Need to Know webinar.
Cause
You may have added equipment to the Irrigation Manager based on a certain symbol scale setting in your Preference Set.
Then, after placing items in the drawing, you (or someone else) made changes to the Preference Set symbol scaling.
Changing a setting in the Preferences does not affect any existing projects. We engineered this preventive measure to keep users from altering the contents of current projects unintentionally. If you make a change in your Preferences and want to apply it to an existing drawing, you'll need to delete and purge any items that would be affected by the new Preferences settings. When you place these items back in the drawing, the new Preferences will be applied.

Solution
1. Type PRG in the Command line and press Enter.
2. Restart CAD.
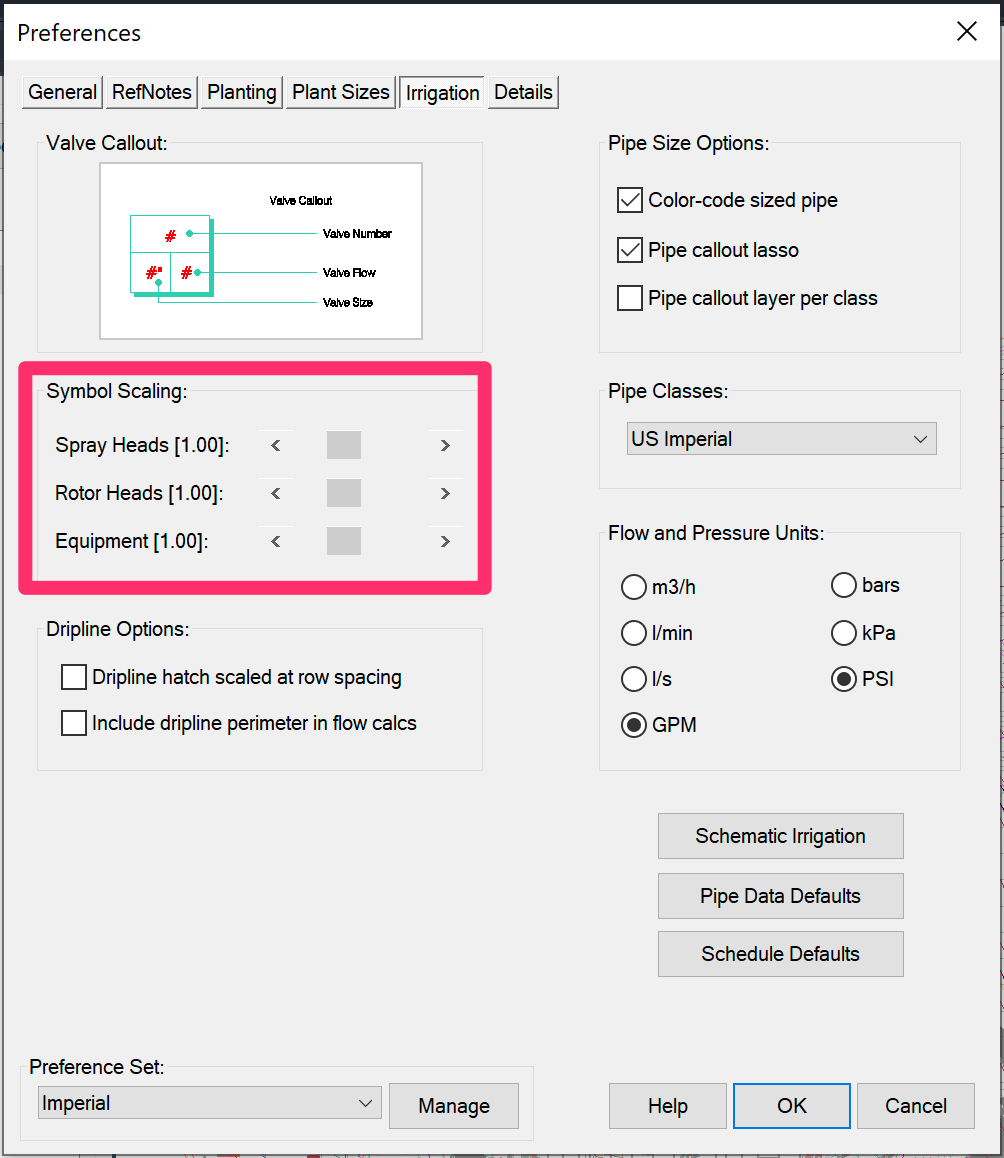
3. With the correct Preference Set active, open the Irrigation Preferences and set the Irrigation Symbol Scaling slides back to their correct settings.
If you caught the issue after placing only a few items, you can just delete those items and place them again. They should come in at the correct scale.
If your drawing includes too many problematic symbols to redo, move on to the next step.
4. Open our Scale tool and set a different scale from what you currently have set.
Select the option to Rescale objects.
For example, if your current scale is 1"=20 FT (and that's the correct scale for your drawing), change the scale to something other than 1"=20 FT – for example, 1"=100 FT, making sure to select Rescale objects.
It doesn't matter which scale you set here, as long as it's different from the current scale. You're essentially tricking the system to scale your components so they're all the correct size in relation to each other. You'll then change the scale back to the correct one.
Click OK when finished.

5. Verify that all your components are scaled correctly relative to each other. Then type PRG in the Command line and press Enter.

6. Open the Scale tool again. Set your original, correct scale. Once again, select the option to Rescale objects.
In our example, we'll change the scale back to 1"=20 FT, making sure to select Rescale objects.
All items in your drawing should now be at the correct scale. You can verify the scale by placing a new head. The new head should match the size of the existing heads.
Still having scaling issues with your heads or other equipment? Your file may be corrupt, which can prevent our Rescale Objects feature from working correctly. Move on to the next step.
7. Zoom your file to extents. Select all objects in your drawing using the CTRL + A keys (Windows keyboard) or Command + A keys (Mac keyboard).
Deselect the site limits of the design, and delete any erroneous items. For instructions, see our zoom to extents article.
8. Follow our steps to clean your drawing.
9. Once your file is clean, repeat steps 1 through 4 above to rescale your symbols and purge your file. Your symbols should now scale correctly.
Is your mainline equipment still at wrong size, but everything else is now scaled correctly? If so, move on to the next step.
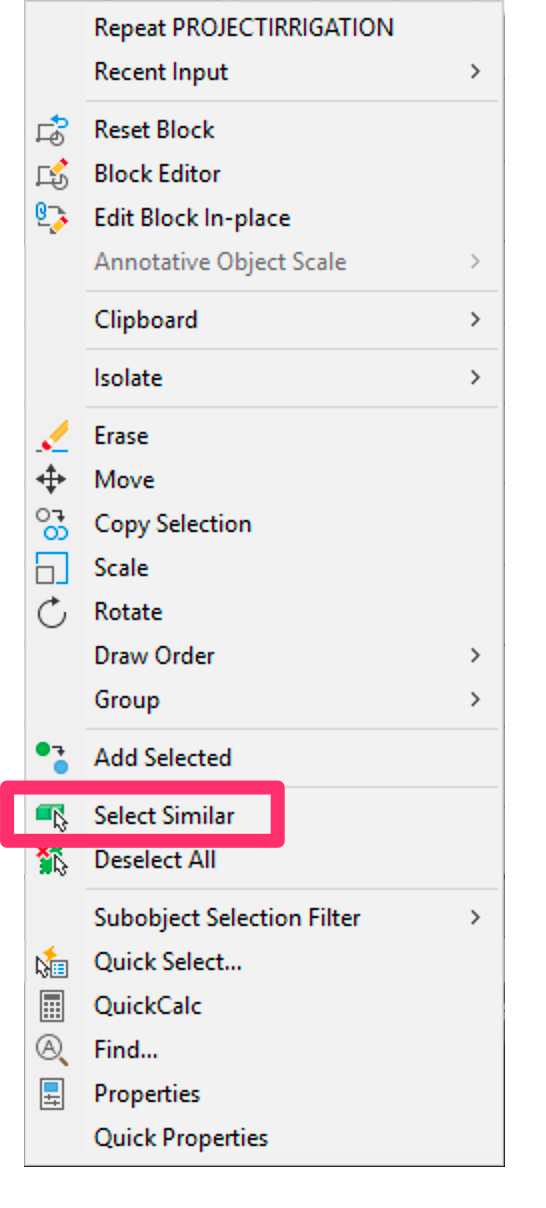
10. Select one of the components that are scaling incorrectly.
Choose the Select similar option from the menu that opens.


11. Correct the scale manually for the selected equipment from the Properties panel.
12. Use our Move Piped Equipment tool to fix any overlaps in pipe connections.


