Source Data
Redesigned dialog box:
We've reorganized the Water Source dialog box as of May 2021, separating the Water Meter, Point of Connection (POC), and Custom water source options into their own tabs and giving you much more control over the POC water source type. Read on for a tour of this redesigned dialog box.
- Source Data Overview
- Water Meter
- Point of Connection (POC) – Connect to an Existing Water Main
- Custom Water Source
- Flow Available
- Placing Your Water Source
- Creating and Assigning Custom Water Source Symbols
- Accounting for Multiple Water Sources
- Setting Up Your Pipe Data
- Related Webinars
- Troubleshooting
With our Source Data tool, you can quickly configure and place the water source(s) for your irrigation project.
Looking for general information about water sources? See our Water Source Information section.
Looking for information about the Pipe Data tool? See our Pipe Data page.
Source Data Overview
The Source Data tool is available from the Irrigation Manager for your project.
Open the Irrigation Manager:

F/X Irrigation ribbon, Irrigation button
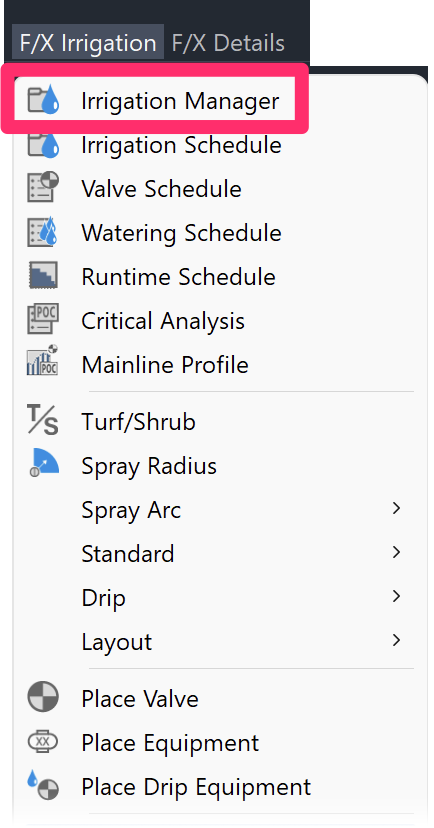
F/X Irrigation menu, Irrigation Manager option
or type ProjectIrrigation in the Command line
Click the Source Data button in the Irrigation Manager to open the Water Source dialog box.

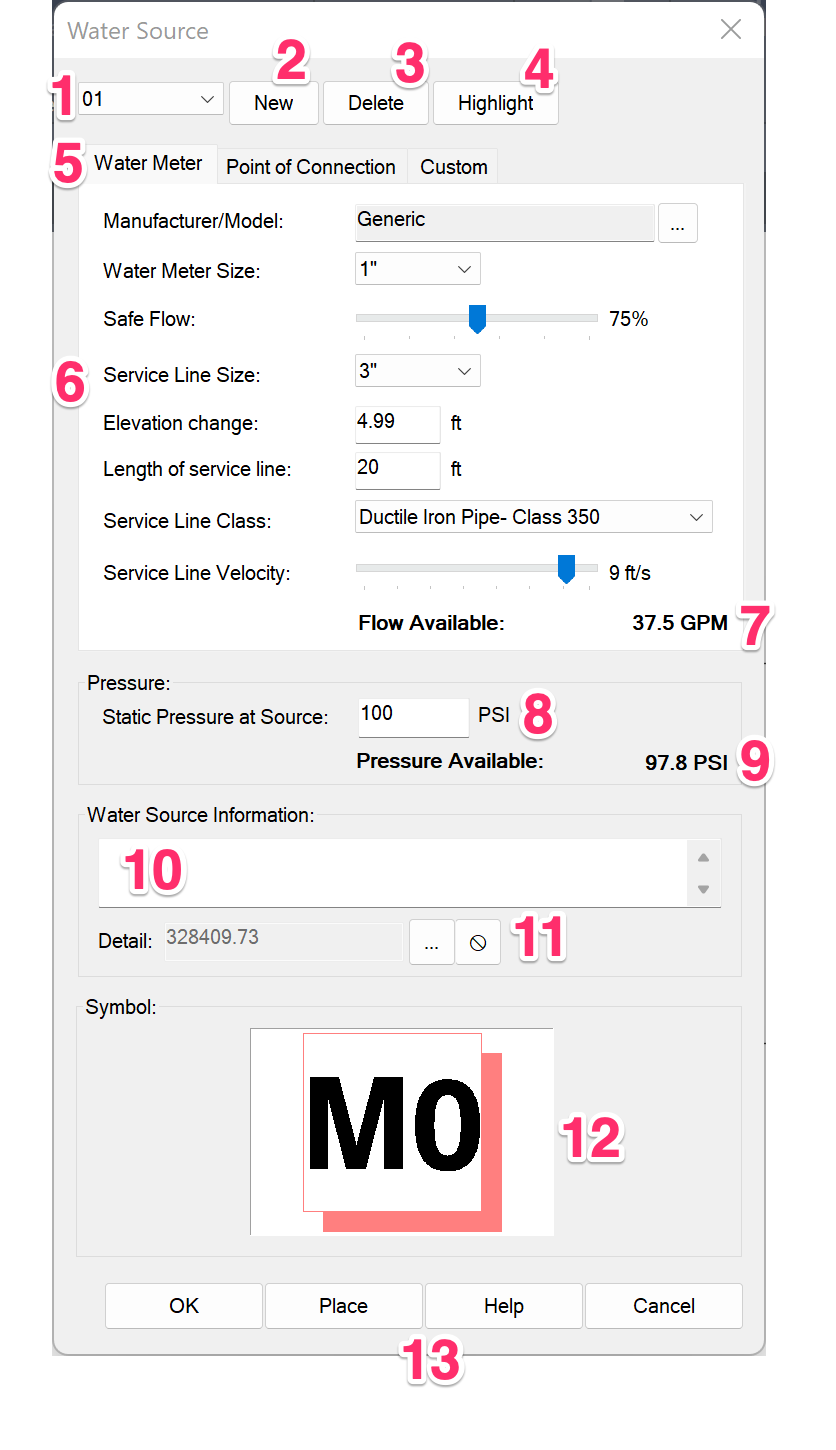
1. You can have up to 99 different water sources on any one project. When you set up a new water source, it will be added to this menu, where you can select it for viewing and editing.
2. Add a New meter or point of connection (POC) to your project.
3. Delete an existing meter or POC from your project.
4. To locate a placed water source in your drawing, select it from the menu and click Highlight. You’ll be taken right to that source in your drawing.
5. You have three options for the type(s) of water source to add to your project, which are now selectable via separate tabs:
- Water Meter: Most projects will connect to a water meter.
- Point of Connection: Use this option to tie onto an Existing Water Main.
- Custom: Use this option to enter your water source's flow and pressure manually – generally for well or pond applications, where the water source is not pressurized and requires a pump, for example.
6. The configuration options in this area will differ depending on whether you are setting up a Water Meter, POC, or Custom water source.
7. Flow Available: This number will change depending on the settings you've assigned to the current water source. More information & recommendations
8. Static Pressure at Source: Enter the static pressure you anticipate at the mainline service for your project.
9. Pressure Available: The final pressure anticipated at your meter or POC based on the settings you've assigned.
10: You can use this optional text field to enter any necessary notes about your meter, including where you received your information on the water service. You can enter this line into the Irrigation Schedule.
11. Use these buttons to assign a detail to this meter, if required, or remove a detail from this meter. If set, the detail will be added to the project's Detail Manager and will be listed along with the meter in the Irrigation Schedule.
12. This thumbnail shows the symbol that will represent the water meter or POC in your drawing (default water meter symbol pictured). You can keep our default symbol or assign your own custom symbol.
13. Place your water meter or POC in your drawing.
Water Meter
Water meters are the most common type of source in many locations. The Water Meter connection option includes several configuration options to account for the flow that will be available for a specific meter size.
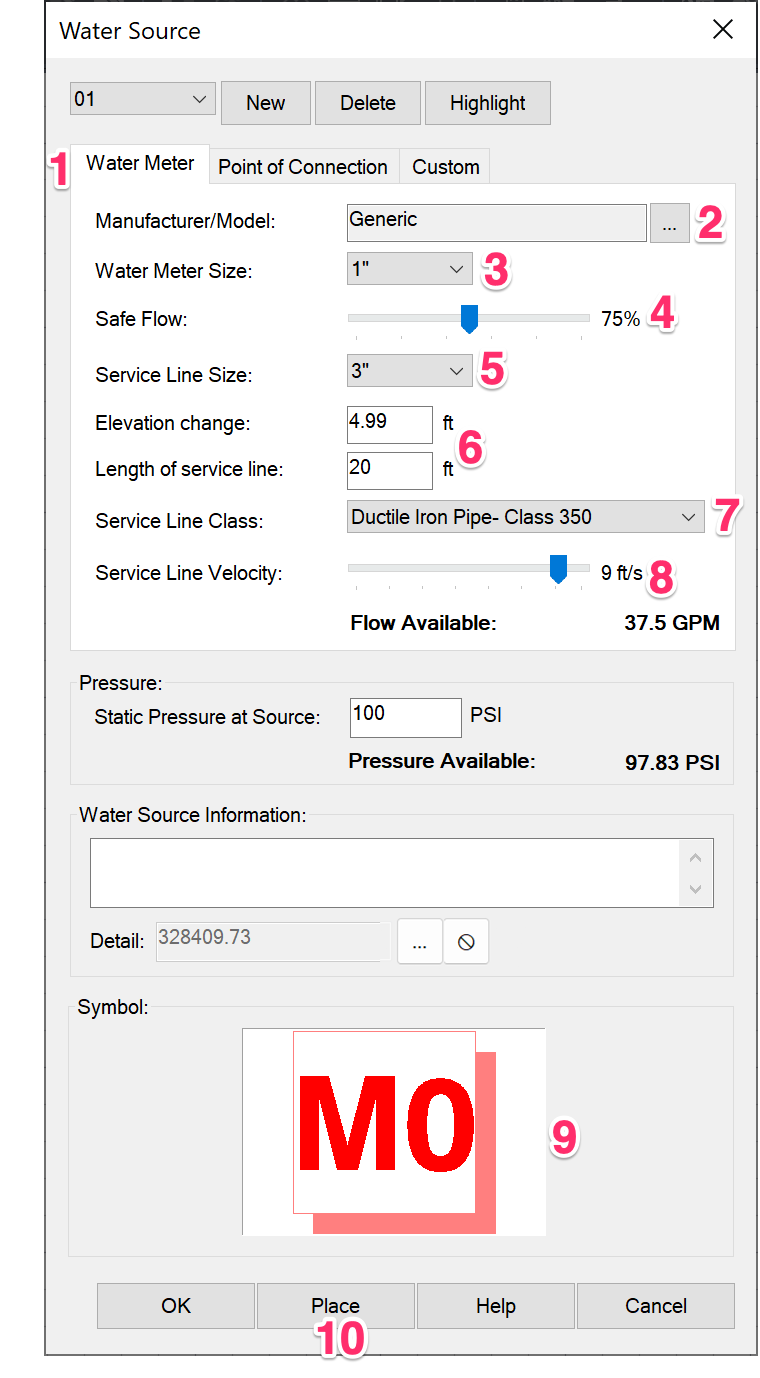
1. Select the Water Meter tab to configure a meter for your project.
2. Click the ... button to set a manufacturer-specific meter with this menu, or leave the default Generic option to assign a generic meter to your project. More information
3. Select a size for the water meter.
4. Use this slider to select a Safe Flow for the meter – the safe allowable flow percentage the meter's design can handle.
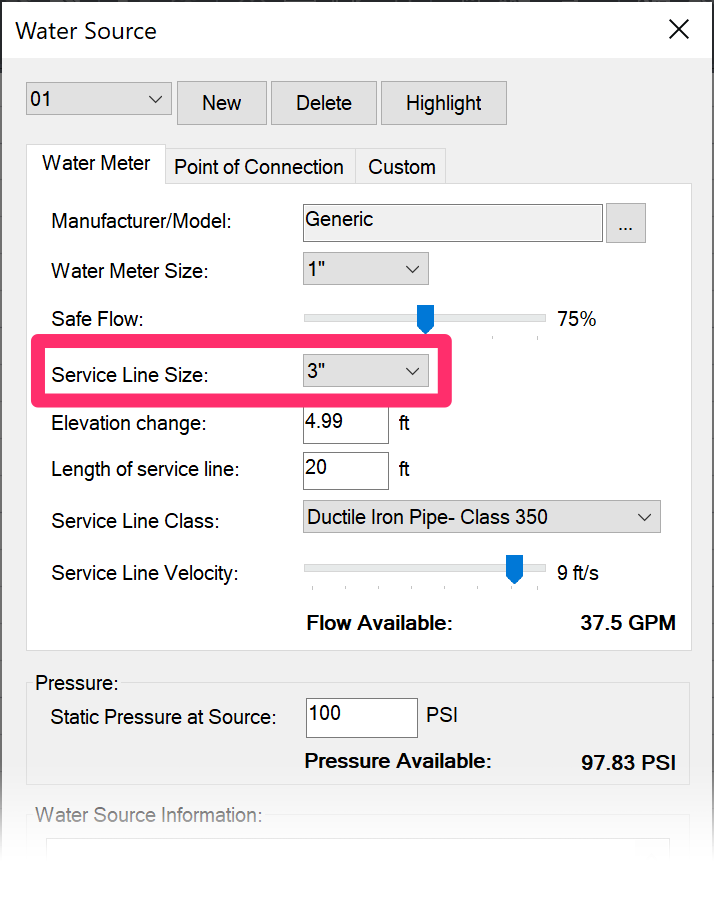
5. Select a Service Line Size using this menu.
6. Enter the Elevation change from the meter to the water main in the street, as well as the Length of service line in the street to the meter – or estimate what you think they'll be. More information
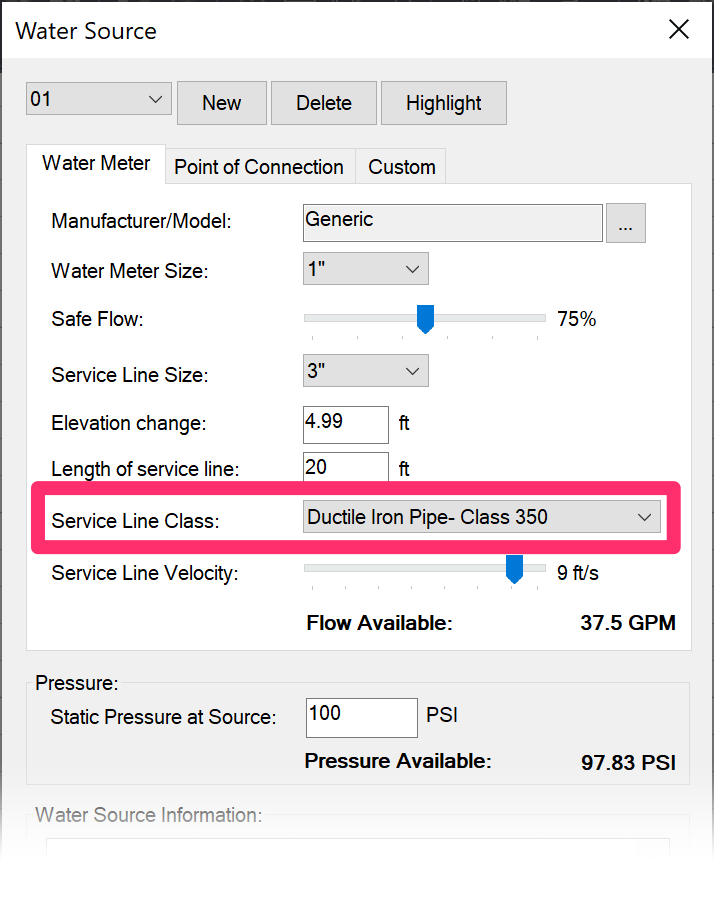
7. Use the Service Line Class menu to select the pipe class you want to use for the service line.
8. Select the Service Line Velocity maximum velocity for the service line in the street using this slider.
9. Thumbnail image showing the symbol currently assigned to the selected water meter (default water meter symbol shown). You can keep our default water meter symbol or assign your own custom symbol.
10. Place your water meter in your drawing.
Manufacturer/Model
When adding a water meter, you can choose to add a generic meter (the default option) or choose a specific meter model from one of our manufacturer partners.
To see a list of water meter manufacturers, click the ... button to the right of the Manufacturer/Model menu.
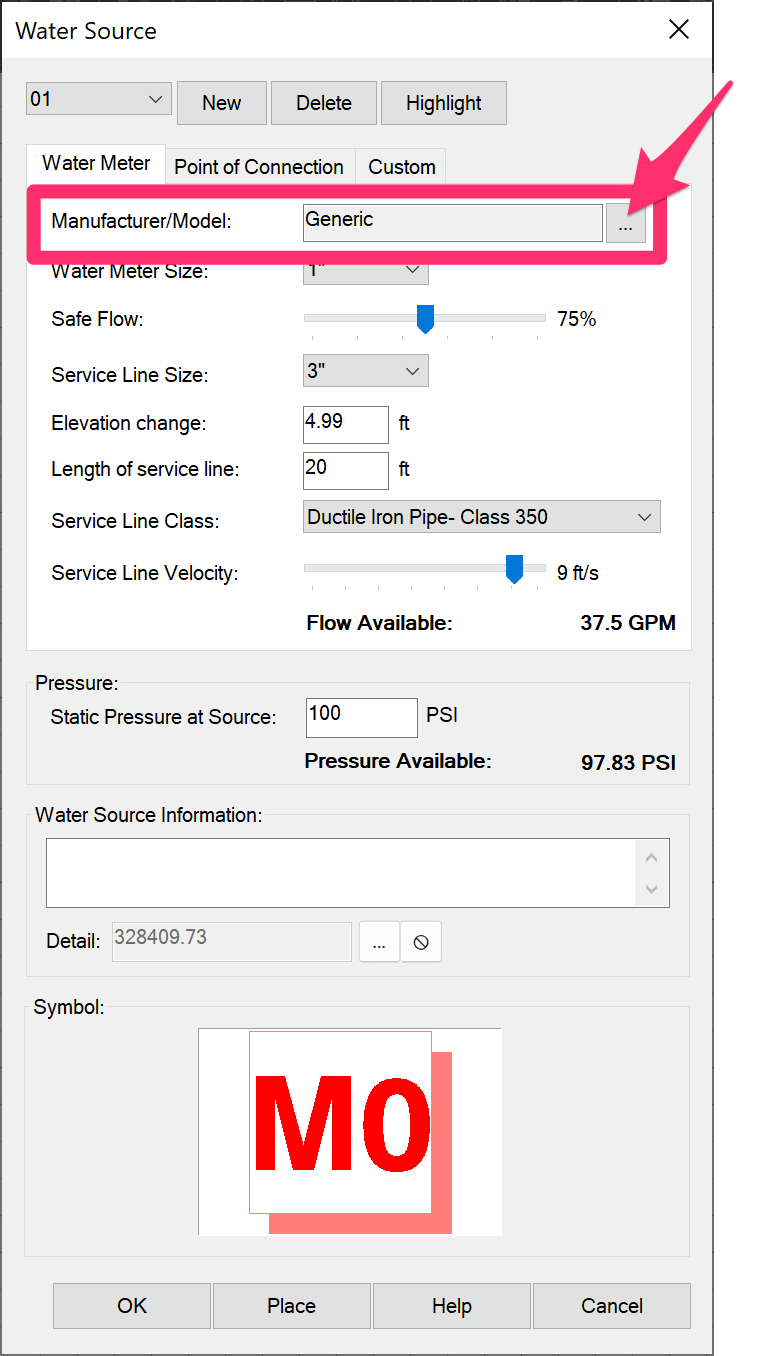
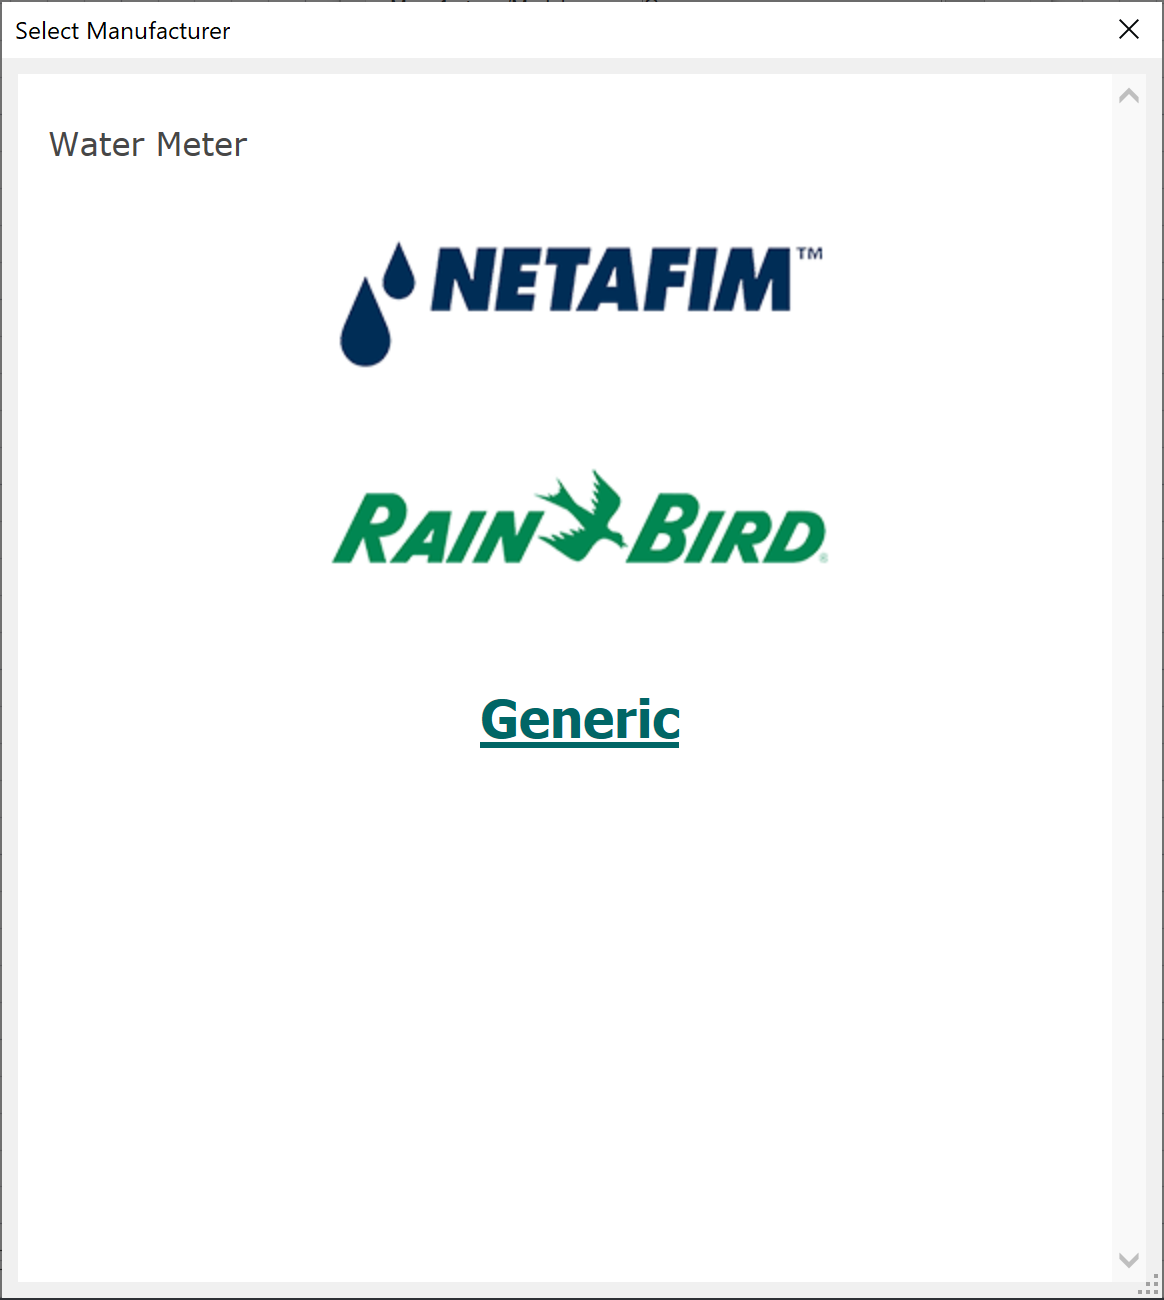
You'll now see a list of manufacturers whose water meters are available in our software.
You can choose to:
- Select a manufacturer to see a list of available products from that manufacturer, or
- Select the Generic option to add a generic water meter to your project
If you clicked a manufactured in the previous dialog box, you'll now see a list of water meter types from that manufacturer, along with a description of each meter.
You can click More info to see more detailed information and specs about a particular meter.
When ready to add a meter type to your project, click that meter to select it.
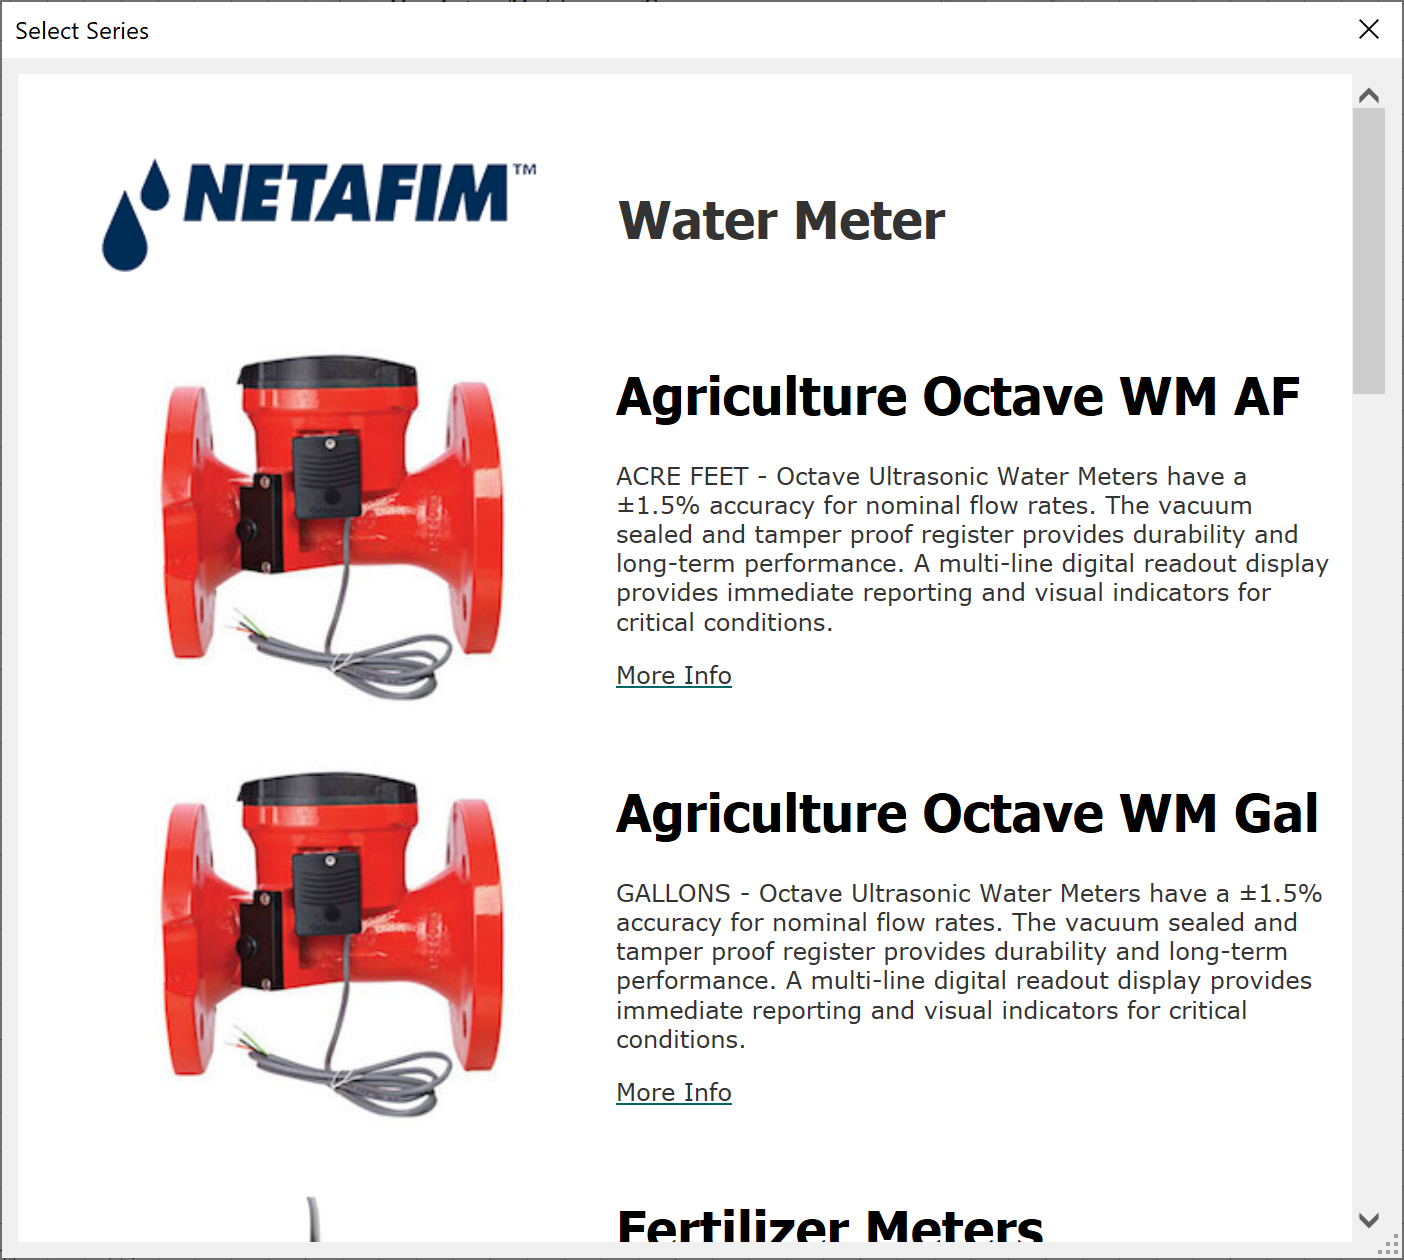
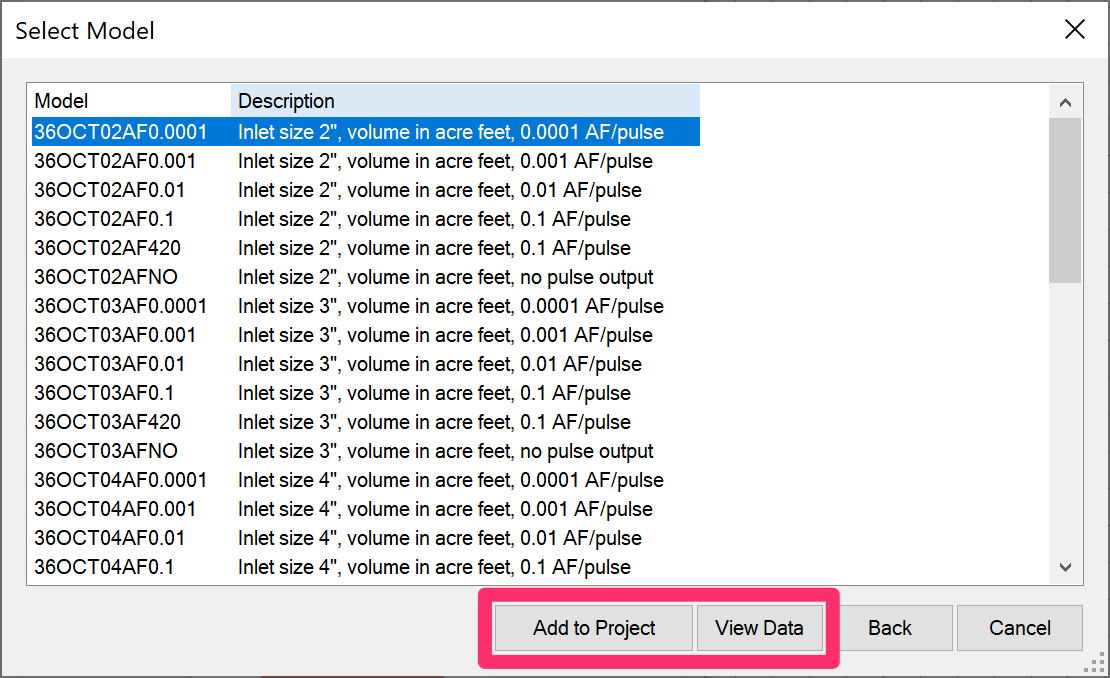
A list will pop up showing the available models within the meter type you selected.
You can click View Data to see the product listing on the manufacturer's website.
When ready to add a meter model to your project, click Add to Project.
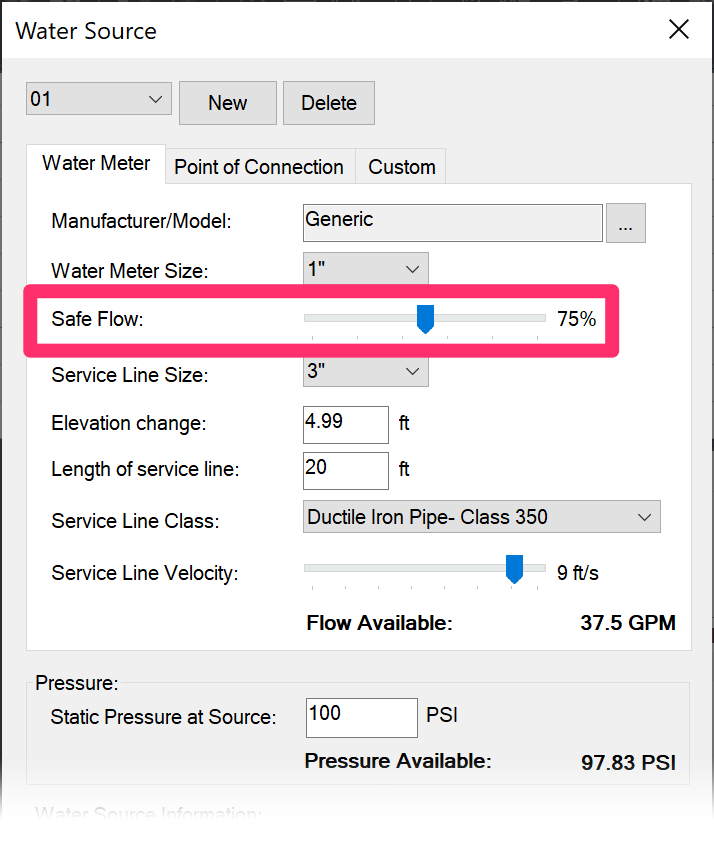
Safe Flow
Safe flow is the flow percentage a meter can handle according to its design.
A 75% safe flow is considered normal. However, if an agency has a specific requirement, you should respect that requirement.
We've seen between 50 and 85% safe flow required by agencies, but if no one is sure, 75% is a normal figure.
Service Line Size

The service line is the line leading from the water main in the street to the water meter.
Select a Service Line Size from the menu.
On an existing system, look at the pipe that's connected in the street to your meter.
On a new system, you might be able to specify a service line of your choice.
Thus, it's logical to make the service line size one or two pipe diameters larger than the meter size itself, which will help prevent the service line from becoming the limiting factor.
Elevation Change & Length of Service Line
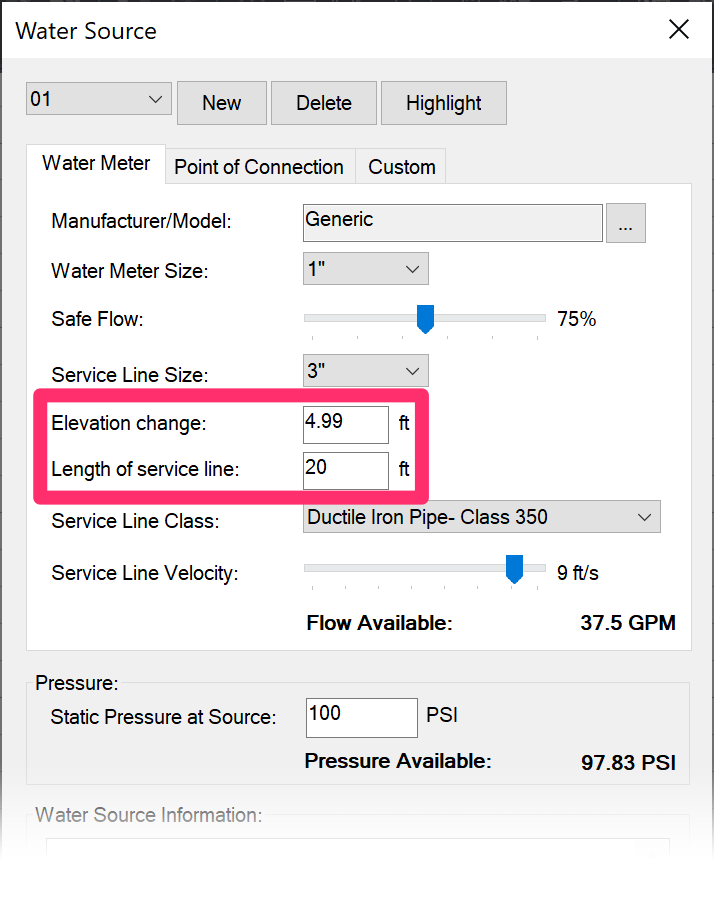
Elevating water from the water main in the street to your meter will require some pressure.
In the fields shown to the right, enter the:
- Elevation change from the meter to the water main in the street, and
- Length of service line in the street to the meter
These entries will affect the available pressure in your system as determined by factors such as pressure loss due to pipe length and elevation change.
Service Line Class
Select a pipe class for your site's service line from the menu shown to the right.
Your service line might be a polyethylene, copper, PVC, or galvanized pipe. The type of pipe will affect how much flow is available through it.
Service Line Velocity
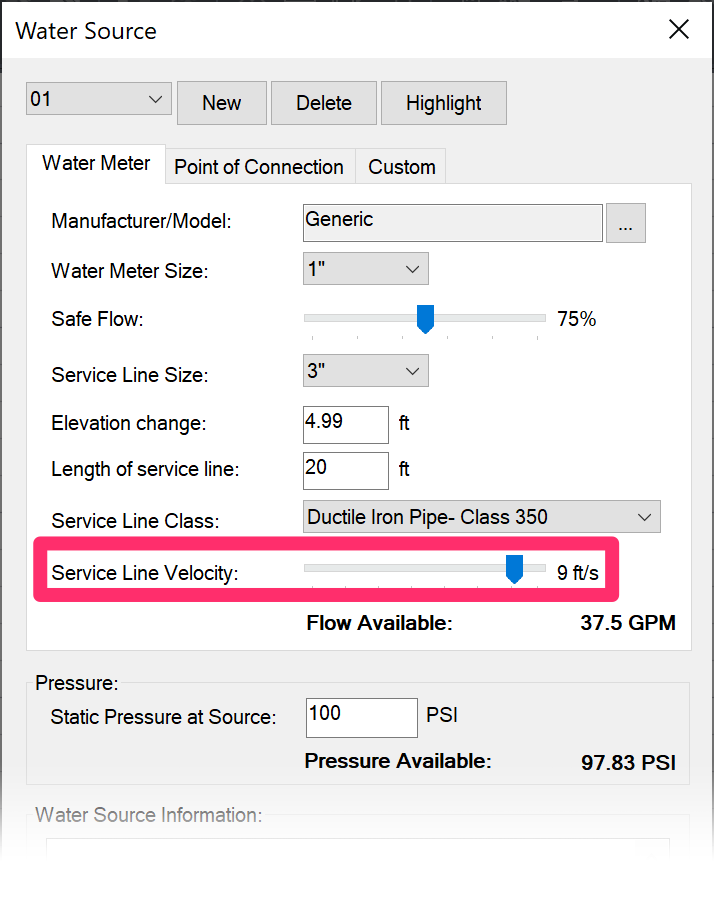
Select a flow velocity for your site's service line using the slider shown to the right.
The Service Line Velocity is only for the service line in the street – not for any piping within your project.
This velocity might be considerably higher than you would accept for your project piping, but this is acceptable to achieve the maximum flow possible out of your meter size.
Point of Connection (POC) – Connect to an Existing Water Main
Select the Point of Connection tab if your project will be tapping into an existing water main. Examples of sites that might require this option include large government facilities or rural settings.
You now have full control over the pipe class and water velocity when configuring a POC.
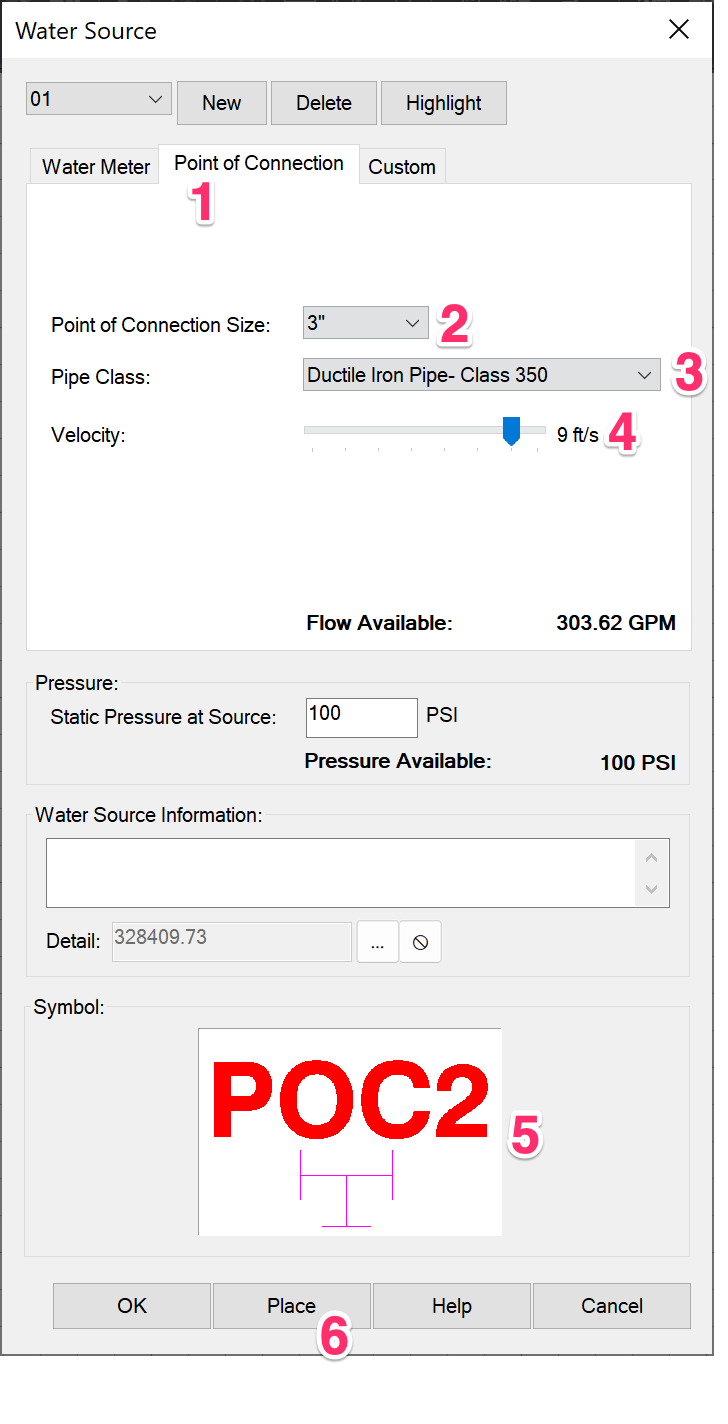
1. Select the Point of Connection tab to configure a POC for your project.
2. Select a size for the POC.
3. Select a Pipe Class to use as the POC. The pipe material and size will likely affect the available flow through it.
4. Use this slider to select the velocity at which the desired pipe class will flow.
5. Thumbnail image showing the symbol currently assigned to the selected water meter (default POC symbol shown). You can keep our default POC symbol or assign your own custom symbol.
6. Place your POC in your drawing.
Custom Water Source
Select the Custom tab if you need to enter your water source's flow and pressure manually – generally for well or pond applications, where the water source is not pressurized and requires a pump, for example. Even if you know the size of your POC, it's often best to use this custom option.
This type of source will usually be:
- A well and pump situation, such as on a rural, agriculture, or park facility
- Any water meter whose requirements need to be under the designer's full control
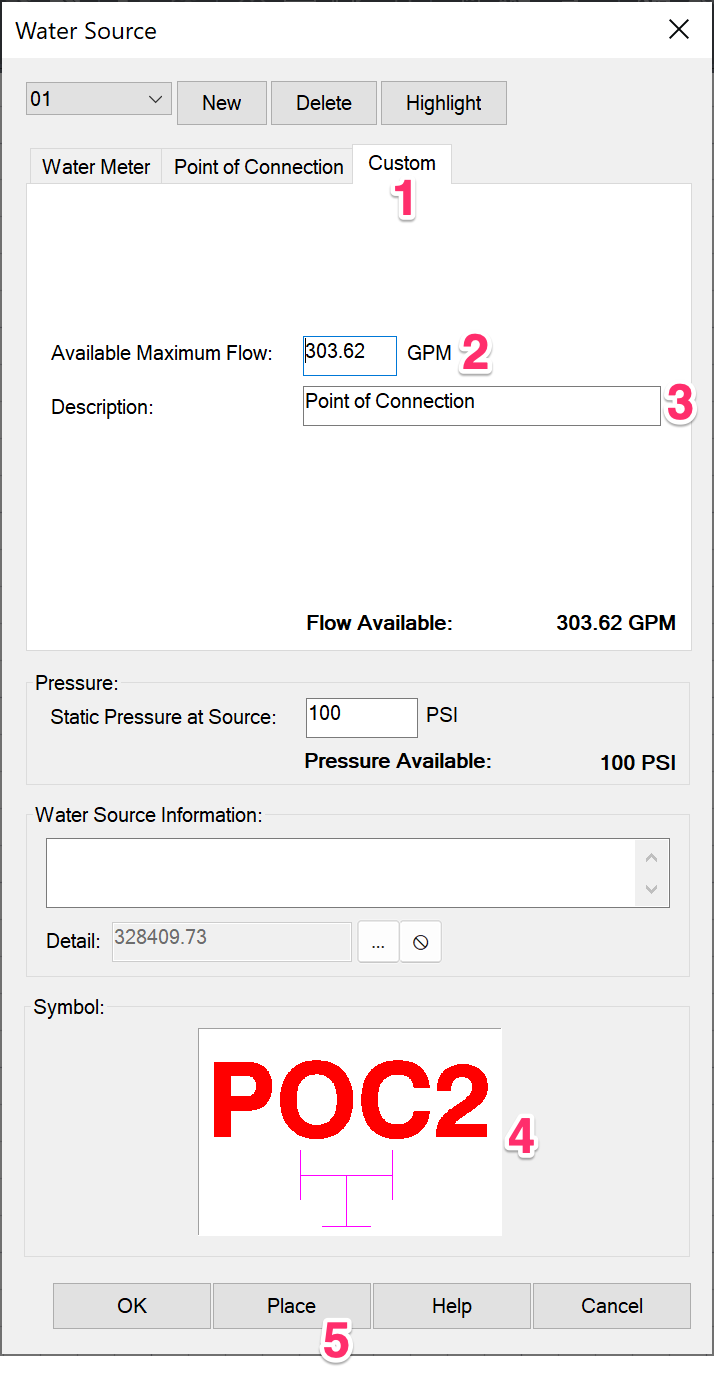
1. Select the Custom tab to configure a custom water source for your project.
2. Enter an Available Maximum Flow for your custom water source.
Note that this number will autofill in the Custom tab based on the last changes you made to the selected water source – for example, if you were to change from Water Meter back to Custom, the maximum flow will fill in based on what's currently assigned for the Water Meter.
Change this rate to whatever you need it to be. The system will respect that new flow.
3. Enter a description for your custom water source.
4. Thumbnail image showing the symbol currently assigned to the selected water meter (default POC symbol shown). You can keep our default POC symbol or assign your own custom symbol.
5. Place your custom water source in your drawing.
Flow Available
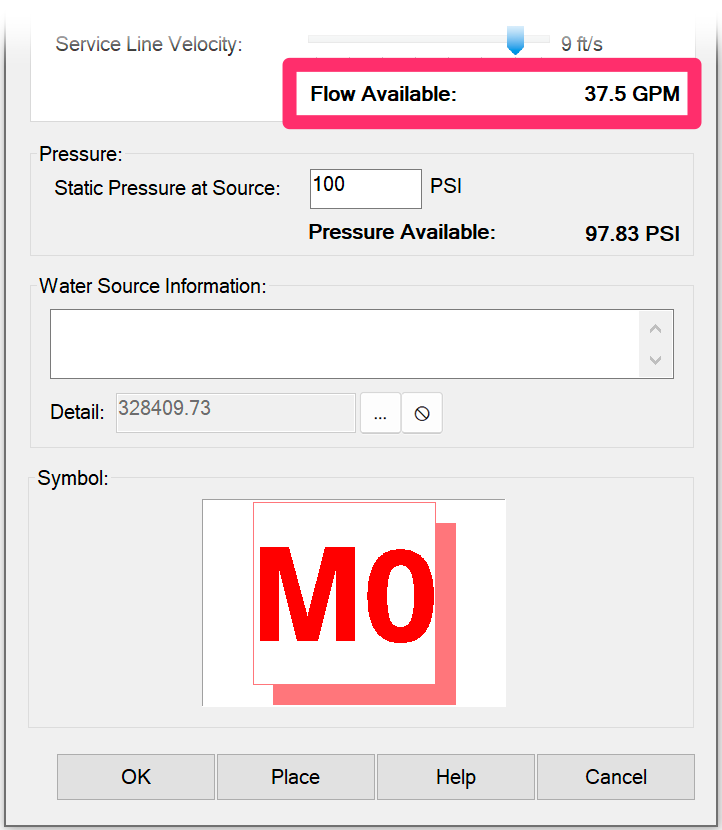
This figure will reflect the changes you make to the data above, as different meter or POC sizes, pipe types, service line sizes, velocity, etc., will create differences in the available flow.
The goal of selecting a certain water meter or POC and related pipe and velocity is to maximize the flow available to your source: the water meter or POC. The flow should reflect the needs of your project, and little more. Efficiency is the key. This means avoiding having a source that is too small for an adequate water window, or too large with a substantial cost that imposes an unneeded cost burden on the client. Always keep your eye on the last item, Flow Available. Tinker with the limitations for a meter to maximize your output.
For any case where the desired source falls outside the bounds of our Water Source dialog box parameters, you'll need to establish the connection source as a Custom water source
Placing Your Water Source
After you've configured your water source, you can place it in your drawing.
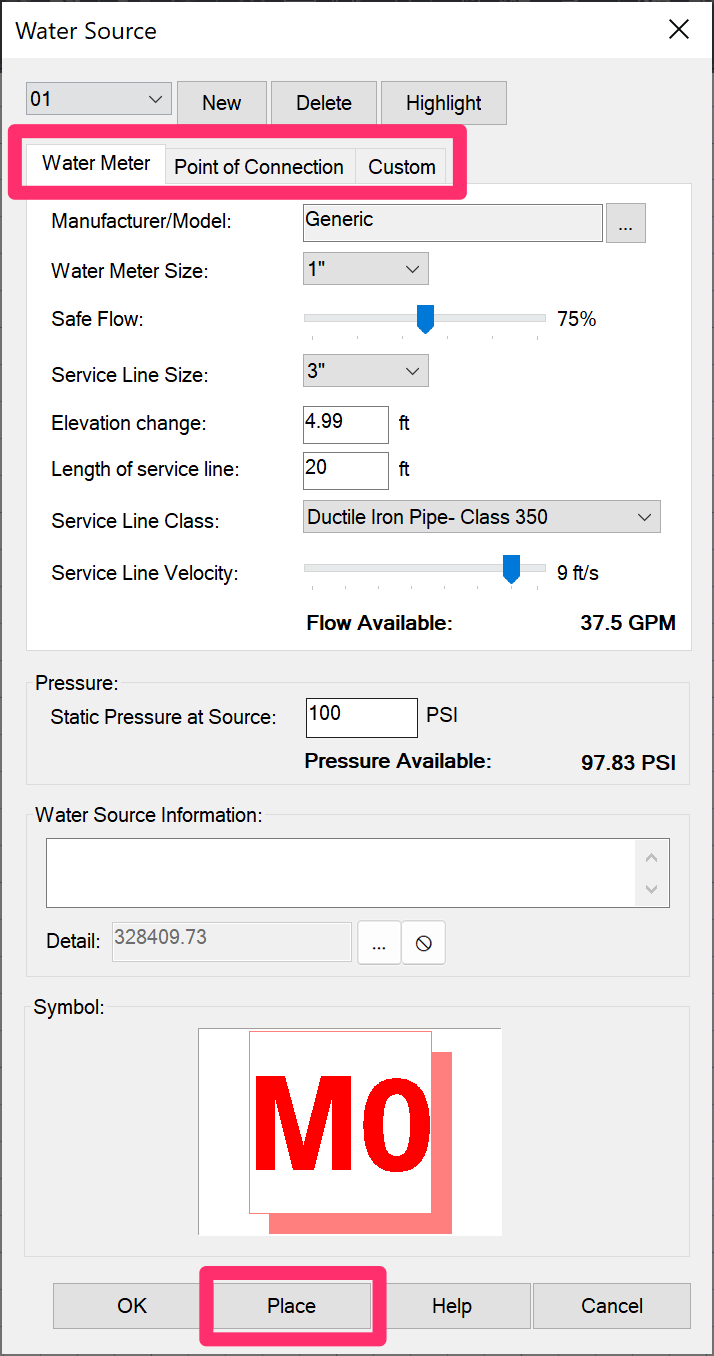
To begin placing a water source, select the correct tab for that source type in the Water Source dialog box. For example, if you want to place one of the water meters you've configured, select the Water Meter tab. Then click Place.
You can also place a water source using our Place Equipment tool.
After clicking Place, click the location in your drawing where you want to place the water source.
You'll be prompted to set a meter or POC number.
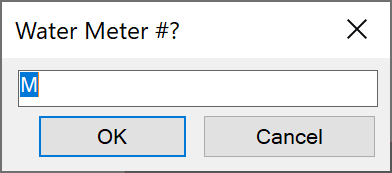
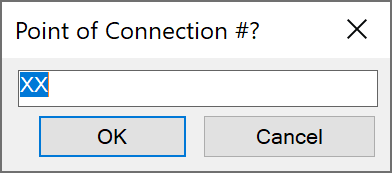
The text you type in this dialog box will appear within the meter or POC symbol in your drawing.

Our default water meter symbol (Meter #1 shown)
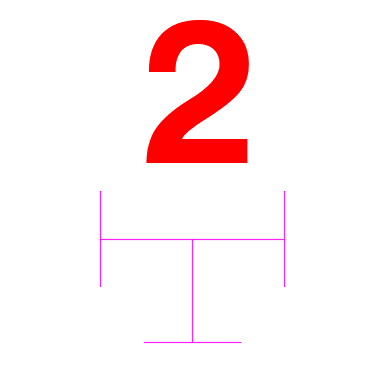
Our default POC symbol (POC #2 shown)
Important: This text is limited to either 7 or 10 characters, depending on your installation. Don't exceed this character limit, or you'll create problems in your Irrigation Schedule. If you need to give your water meter a detailed description, use one of our text leader tools to call it out.
If you've placed a POC or custom water source in your drawing, and you then switch its type to be a water meter, sizing the mainline will not account for pressure losses through the water meter. To calculate water meter losses, delete that POC or custom source from the plan, place it fresh, connect, and size the mainline again.
Creating and Assigning Custom Water Source Symbols
We offer one symbol style for water meters and one style for POCs and custom water sources by default, both pictured above. If you want more options – for example, if you're using multiple connection types or you just want to customize the symbol for each connection type – you're now free to create your own custom symbol source blocks and select them when placing water meters or POCs.
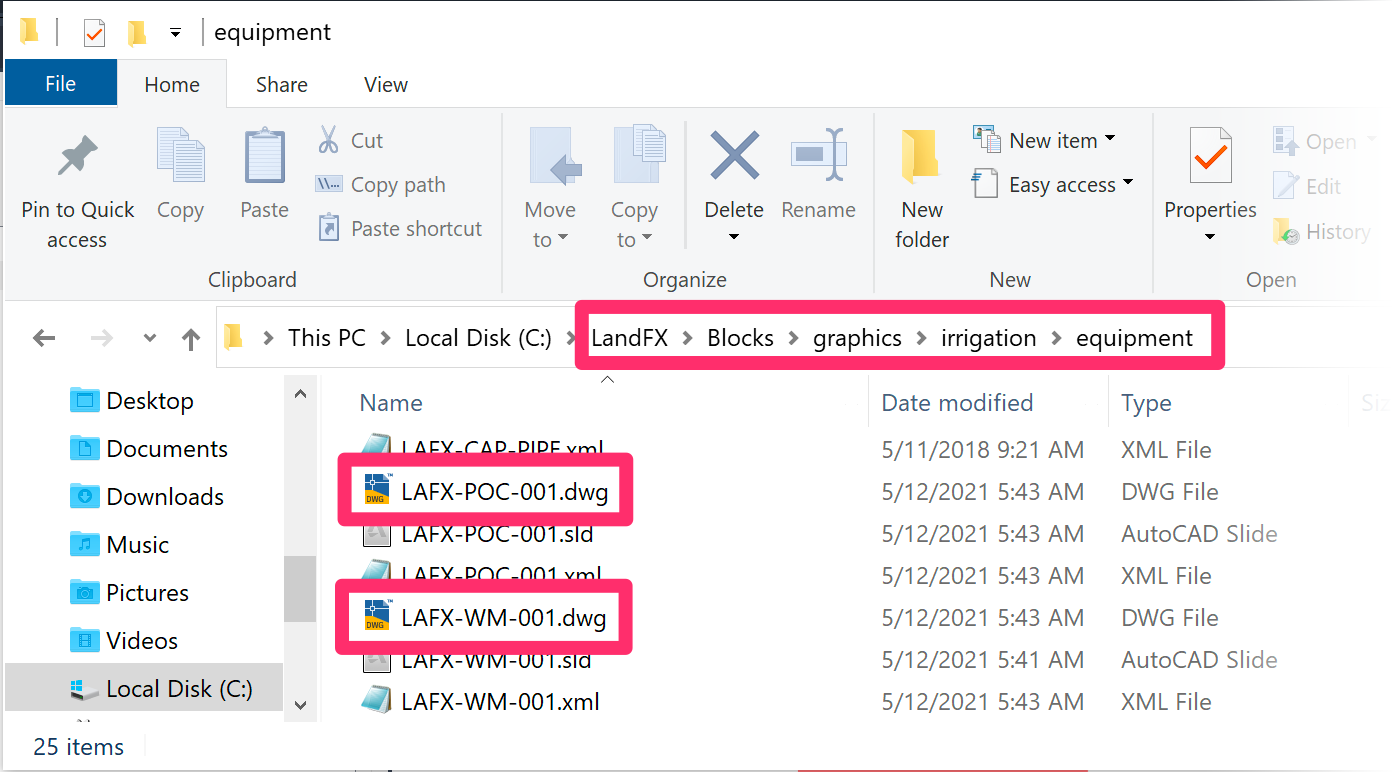
If you want to make your own custom symbols for water meters or POCs, we recommend following our steps to edit our default symbol blocks for these items, which will download to the folder LandFX\Blocks\graphics\irrigation\equipment when you first place them in a drawing. Our default symbols are named as follows:
- Default POC symbol: LAFX-POC-001.dwg
- Default water meter symbol: LAFX-WM-001.dwg
Important: Saving and naming conventions
For the software to read your symbols correctly, take care to follow our saving and naming conventions:
- Save your custom symbols into the folder LandFX\Blocks\graphics\irrigation\equipment
- Use the same file naming format as our default symbols:
- POC symbol names should start with LAFX-POC-
- Water meter symbol names should start with LAFX-WM-
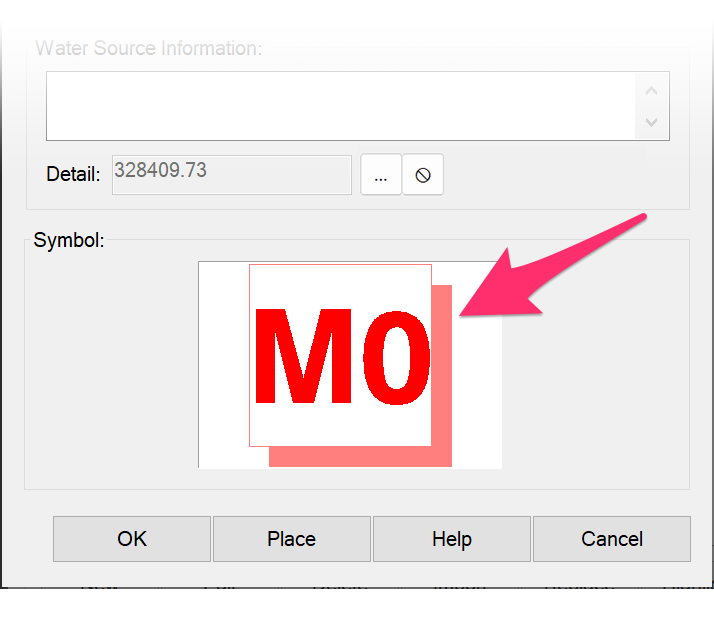
After you've created and saved your custom symbols, click the symbol thumbnail for a water meter or POC to see the available symbols for that item.
Thumbnails for each of your custom symbols for that equipment type will replace the blank spaces next to our default symbol.
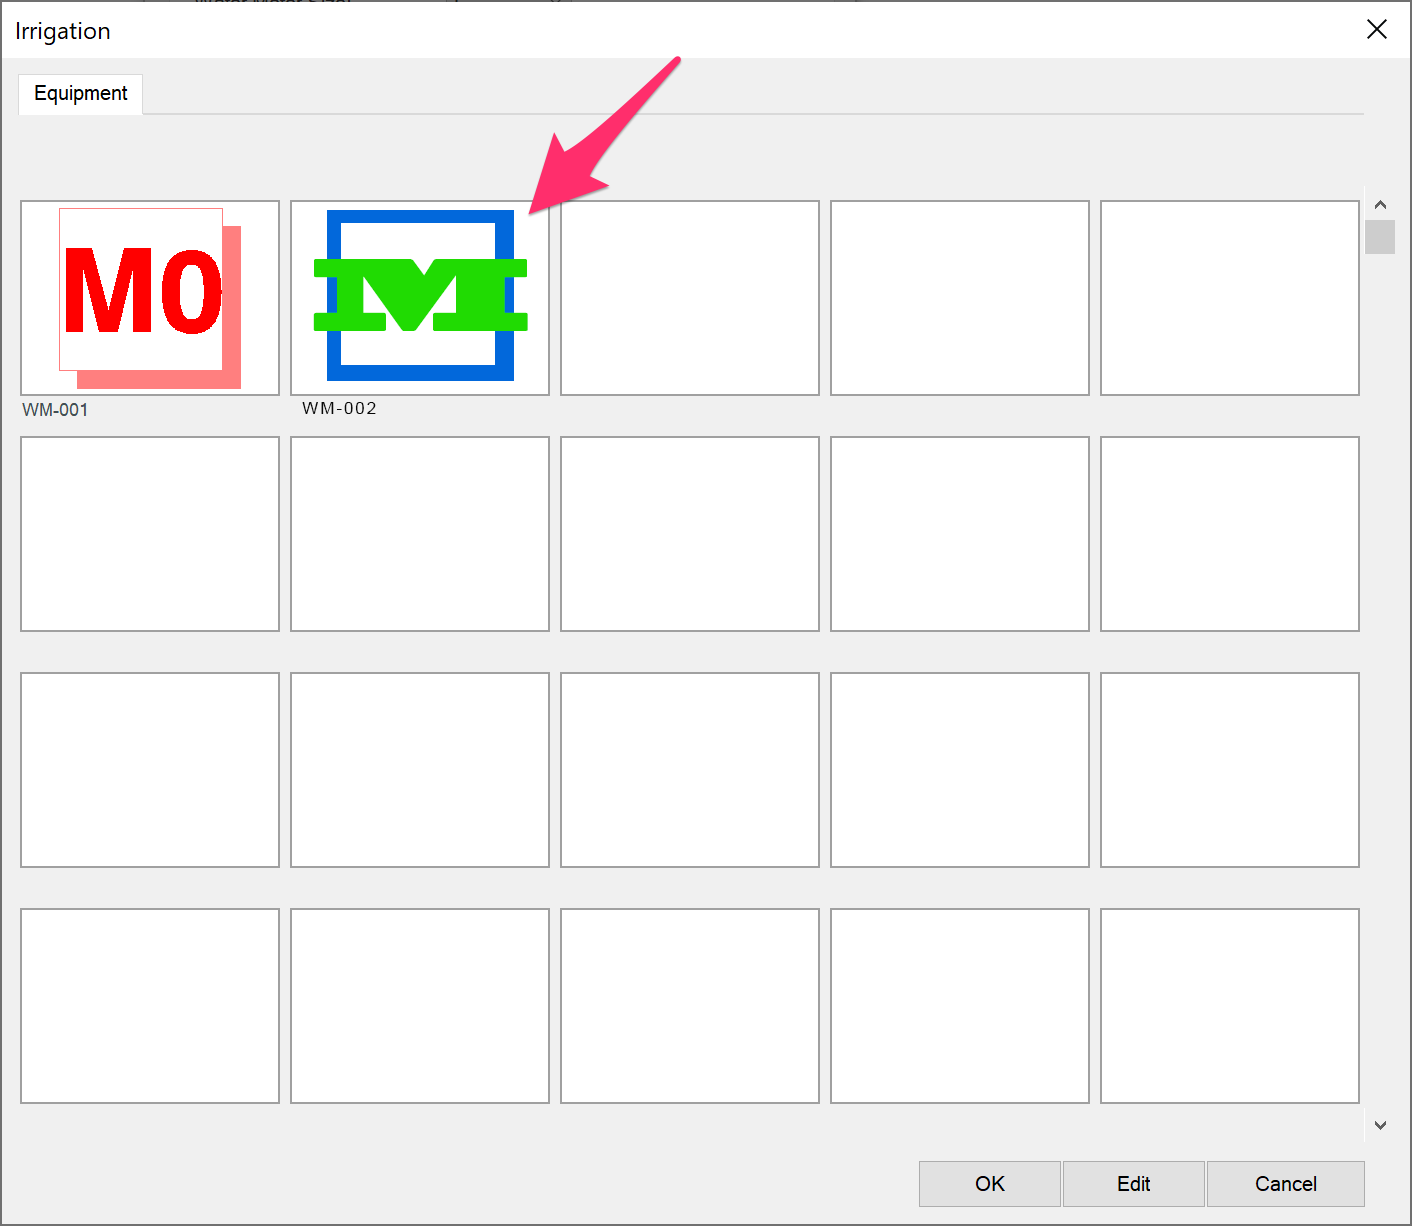
To assign your custom symbol to the selected water source, click its thumbnail and click OK.
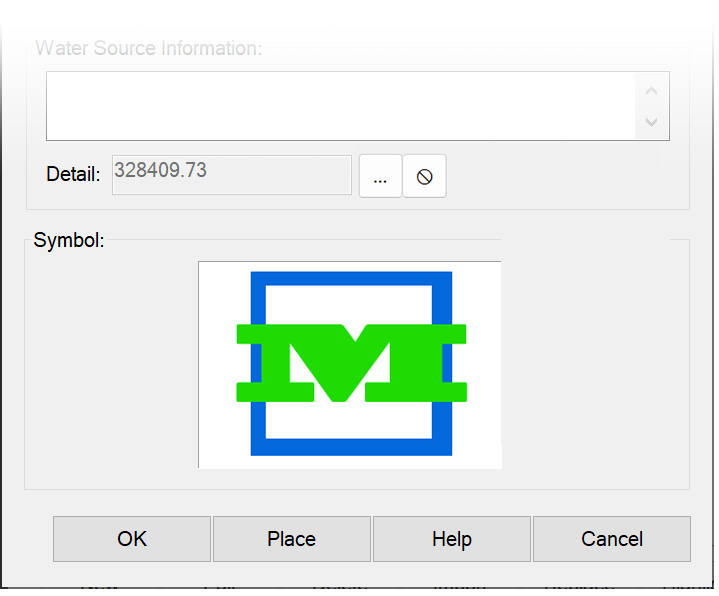
The symbol you selected will replace our default symbol that was previously assigned to the selected meter or POC in the Water Source dialog box, and you can now place it in your drawing as needed.
Accounting for Multiple Water Sources
Some irrigation system designs will require you to account for more than one water source. For example, a site might draw water from two or more water meters or wells that you need to tie into your system.
For information on designing sites with multiple water sources, see our Accounting for Multiple Water Sources documentation.
Setting Up Your Pipe Data
Now that you've set up your water source data, it's a good idea to also set up your pipe classes before you begin designing. See our Pipe Data page for instructions.
Related Webinars
- Understanding Pressure and Flow: Learn the differences between static and dynamic pressure, how specific equipment types affect that pressure, how flow affects pipe sizing, and what to consider when dealing with pressure issues both before and after installation. (1 hr 4 min)
- Irrigation Tools – What You Need to Know: We'll show you the ins and outs of basic irrigation setup using our software, including how to add drip, sprays, and rotors to a project. (1 hr 6 min)
Troubleshooting
Issue: Multiple POCs are connecting or sizing automatically


