Creating Modular Planting Design Mixes
- Principles of Modular Planting
- Principles of Modular Planting
- How to Create a Modular Planting Plan
- Step 1: From Palette to Module to Mix
- Step 2: Communicate Your Mix on a Plan
- Step 3: Use Your Modules Across Multiple Projects
- Related Webinars
- Modular Planting Design: If you’re trying to design with plant communities, have you tried using the plant mix tools in our Concept Plant Manager? Tune in to see how these tools simplify this planting design process dramatically – including the details. (1 hr 1 min)
Modular planting design allows designers to apply their knowledge of successful plant communities to their landscape plans, resulting in highly effective designs at a reduced cost. The plant mix tools in our Concept Plant Manager greatly simplify the modular design process.
Principles of Modular Planting
To learn more about the fundamentals of modular planting, along with reasons for modular planting design and tips on developing a module, see our Modular Planting Design webinar.
How to Create a Modular Planting Plan
Step 1: From Palette to Module to Mix
First, create a new Land F/X project and then add your desired plants to your Land F/X project.
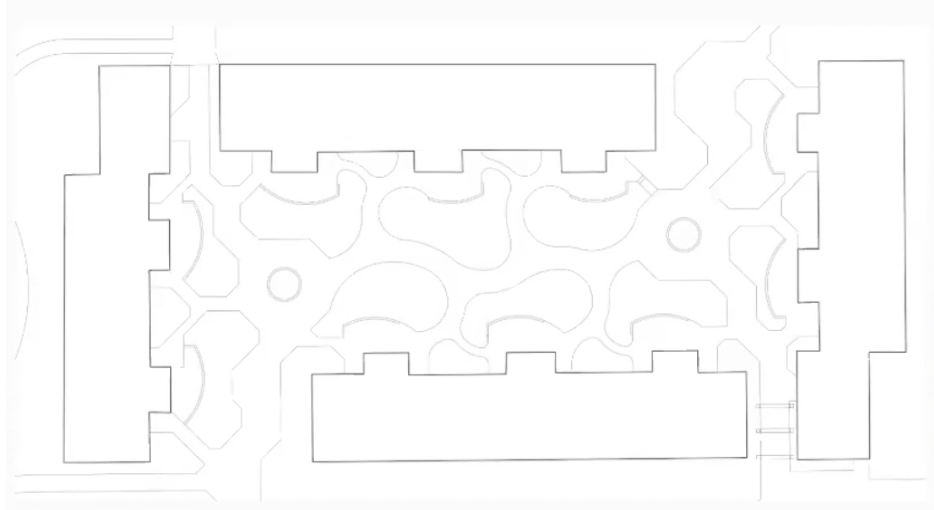
Next, place your base layer.
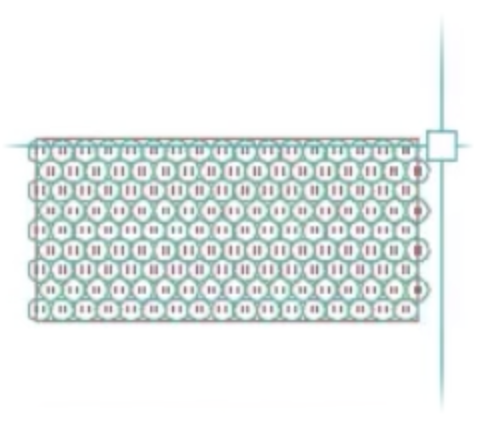
Use one of our Array tools to place an array of plants into a planting area.
Place additional plants around the perimeter of the planting area.
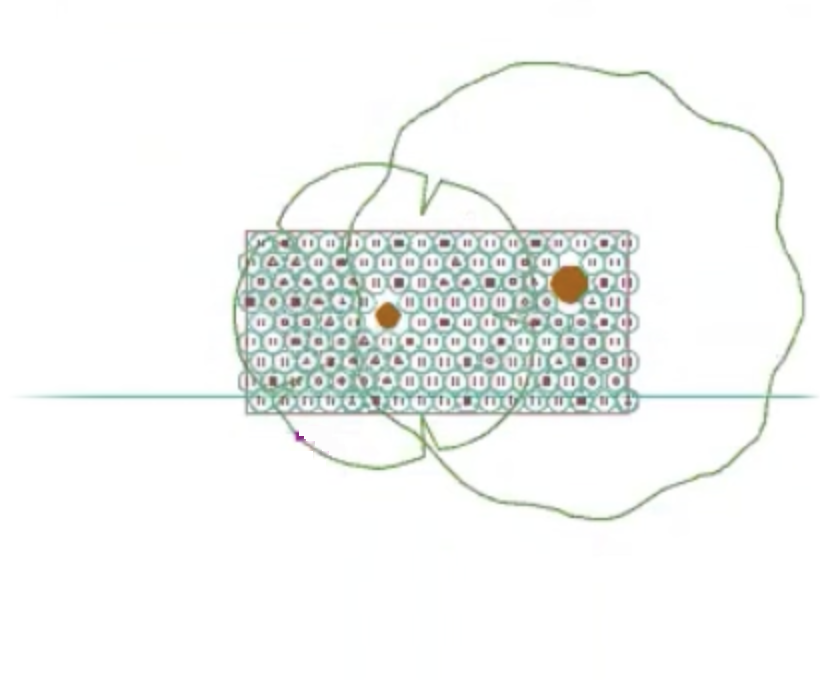

Use one of our Array tools to place an array of plants into a planting area.
Then use our Mimic tool to duplicate the placed plants around the module.
Open our Concept Plant Manager and create a plant mix.
In our example, we'll create separate mixes for the interior and exterior planting areas.

Calculating Percentage Fills for Trees & Shrubs
The following method for calculating plant percentage fills for individual plants uses only plant quantity, and therefore assumes the plant sizes are the same. If your mix species are different sizes, you'll need to determine percentage fill based on species area divided by total area.
You can either figure out the area of a plant and multiple by the quantity, or use our Plant Outlines tool to quickly select the region and determine the total species quantity. If species area is 100 square feet and the mix rectangle is 200 square feet, the percentage fill of that species would be 50 percent.
You'll need to verify that the spacing in your mix actually matches the spacing in your sample. If your symbols overlap, you'll need to adjust the mix spacing accordingly.
See our Modular Planting Design webinar to see a video tutorial on this method. The instructions start at 30:33 in the webinar recording.
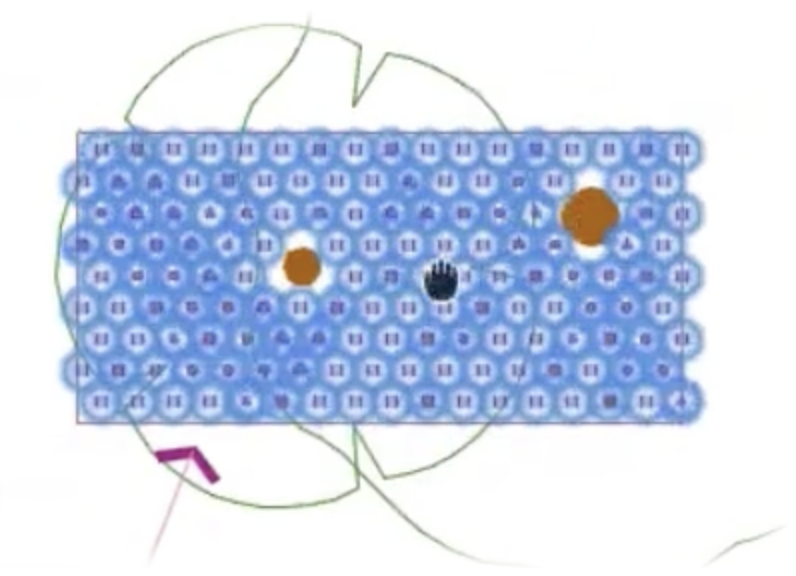
Select the trees in your planting module whose species percentage you need to calculate.
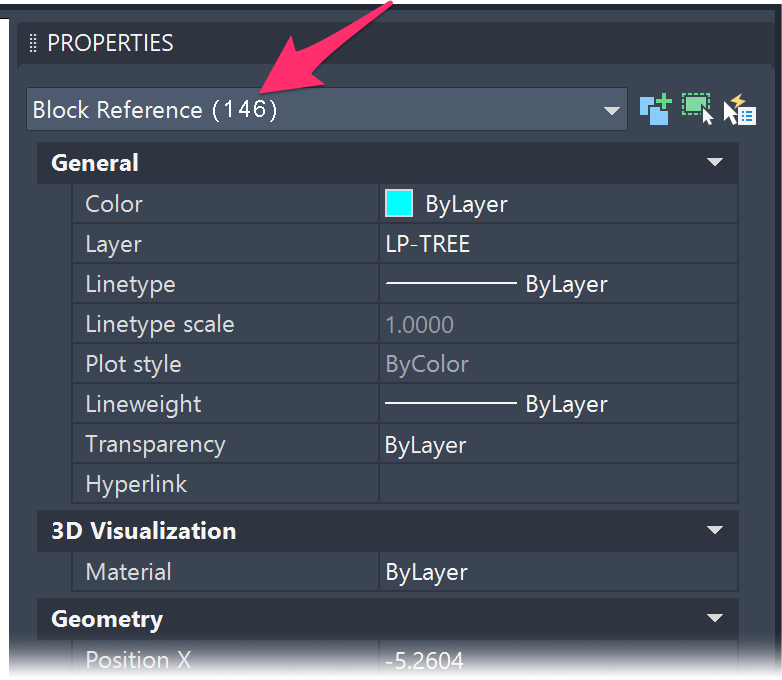
Type PROP in the Command line and press Enter to open the Properties panel.
Note the Block Reference number, which will tell you the number of individual trees or shrubs you've selected. In our example, 146 trees are selected.
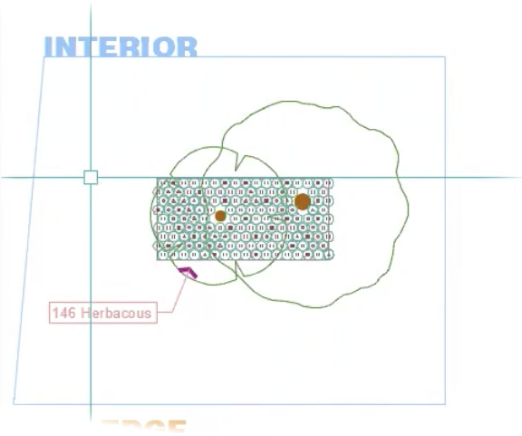
Place a Work Area around your module.
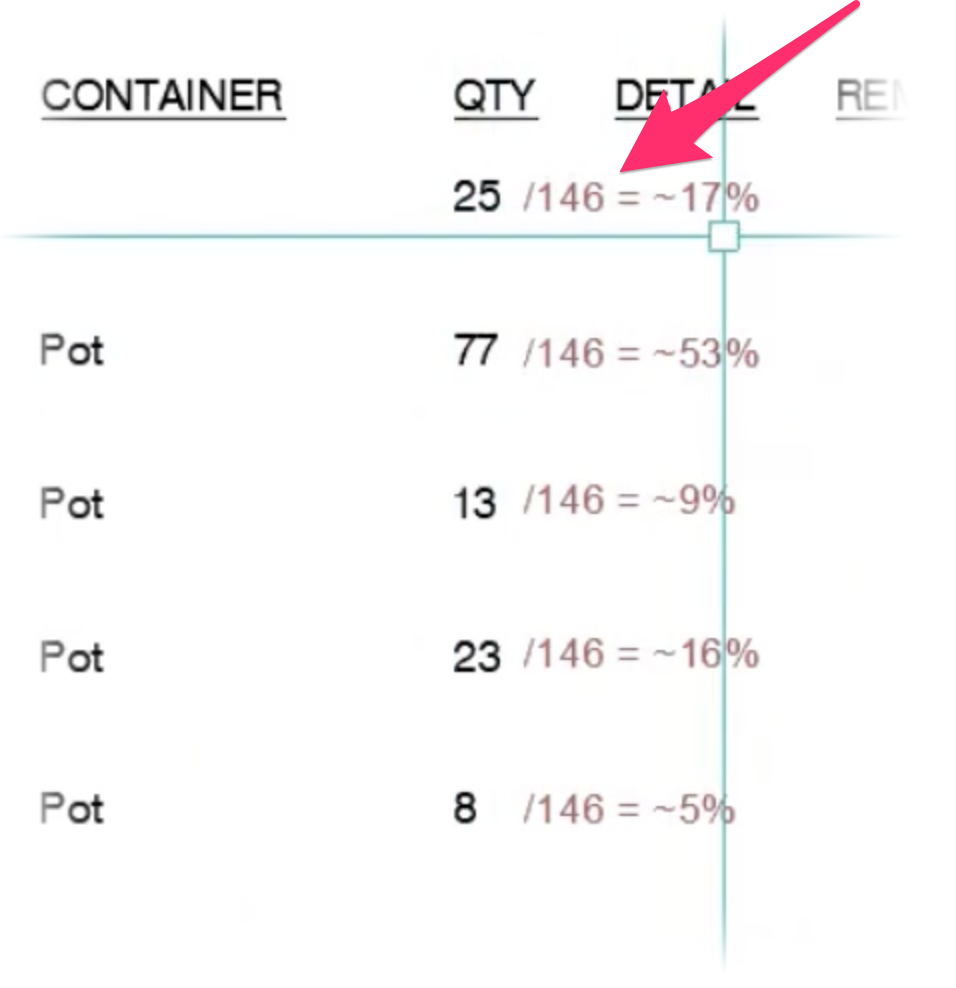
Place a Plant Schedule based on the Work Area. To determine the percentages of trees or shrubs making up the mix, divide the quantity of each species by the Block Reference number you noted in the Properties panel.
In our example, we would divide the quantity of each species by 146.
Remember that this method of laying out the mix depends on triangular spacing. Land F/X normally uses our Natural spacing formula. You may need to adjust percentage fill to account for this discrepancy, or change the spacing setting to Triangular for the drawing.
Natural Spacing Formula
Here's a formula you can plug into MS Excel if you need figure out the needed spacing when you only know the needed density (#/area):
=ROUND(1000 * SQRT(1 / (A1 * 0.866 * 1.1111)), 0)
(Where A1 is number of plants in the density, and the density is per square meter.)
Take out the "1.1111," and you get triangular spacing. The 1.1111 is for natural spacing.
Step 2: Communicate Your Mix on a Plan
Place a mix, then call that mix out using one of our labeling tools.
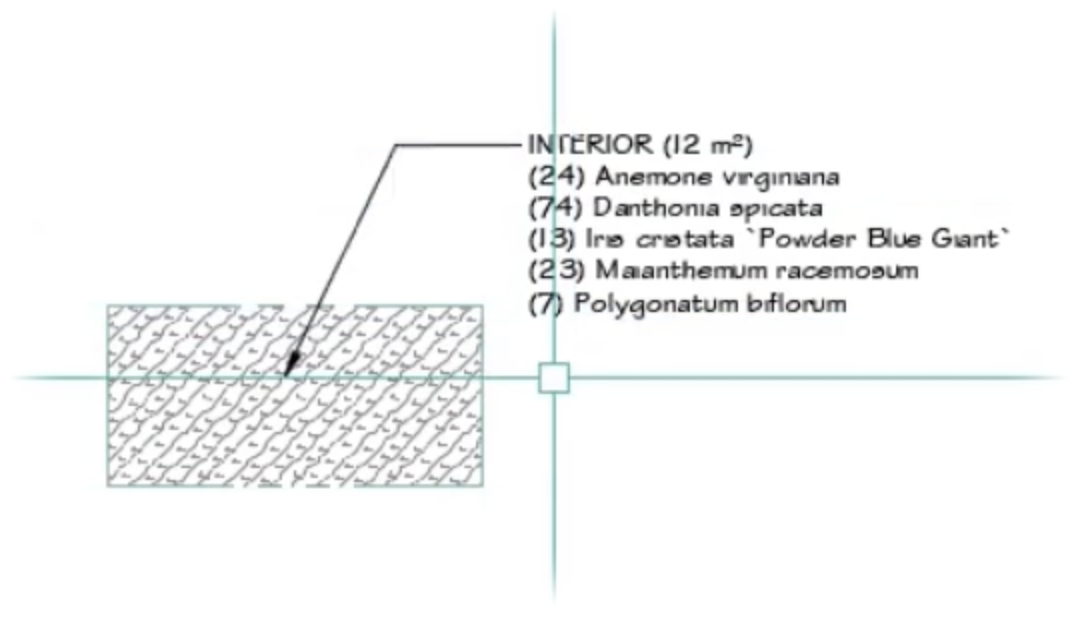
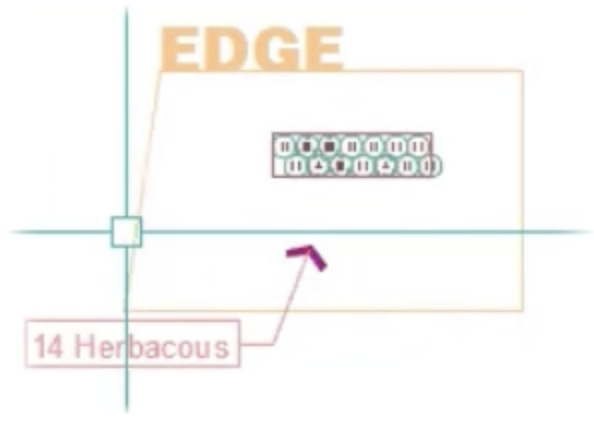
Place and label a mix for the exterior, or edge, of your module.
Place your mixes within the interior and exterior planting areas throughout your site.
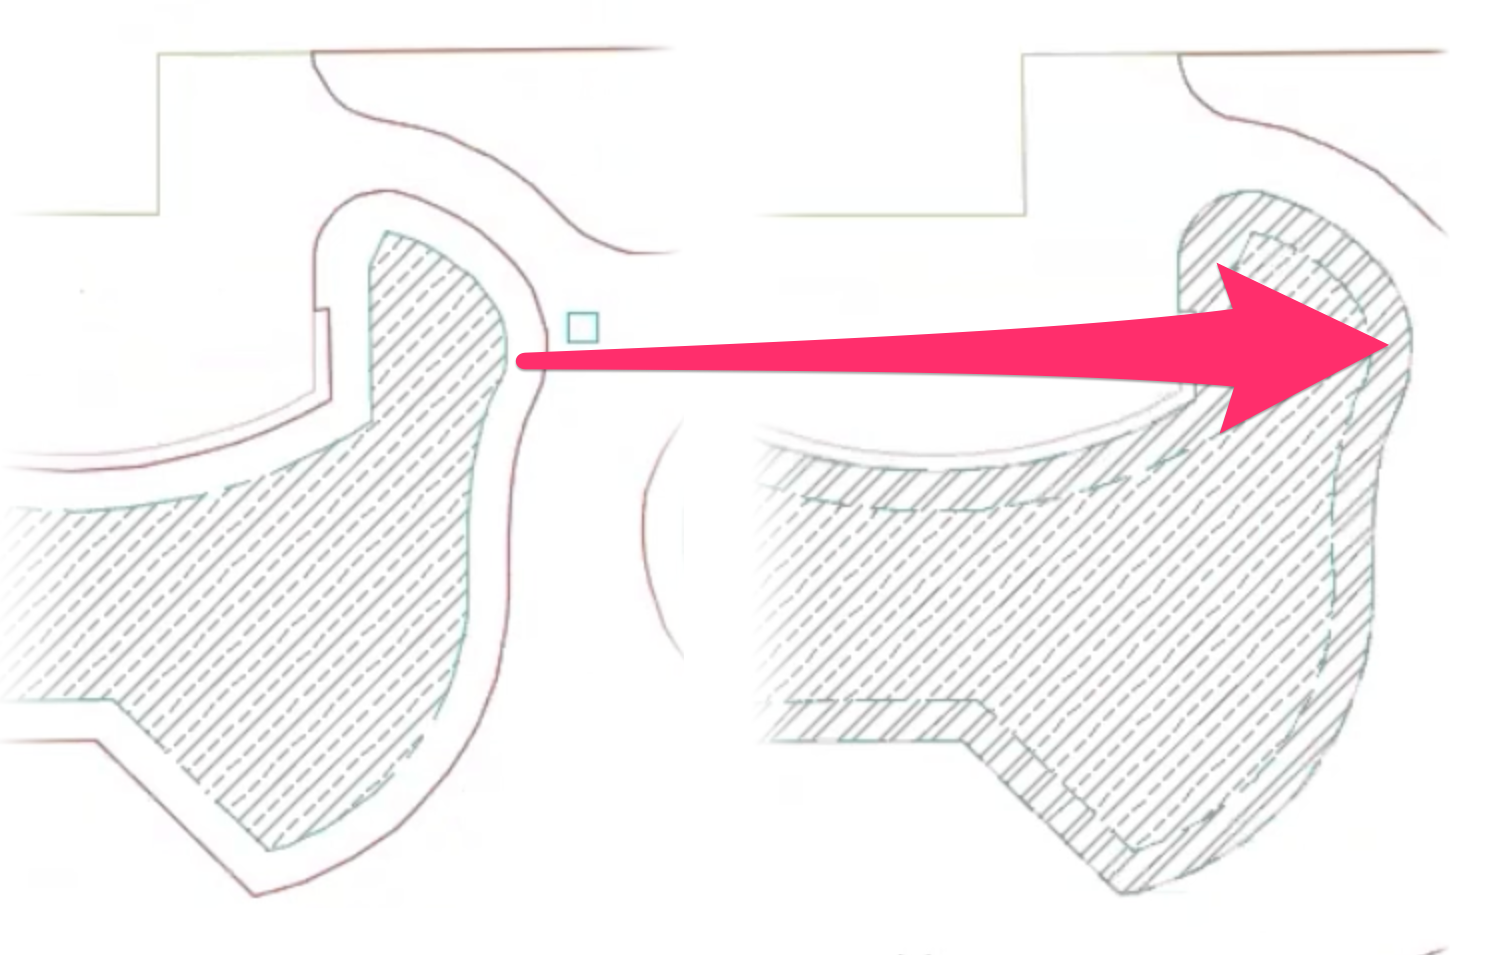
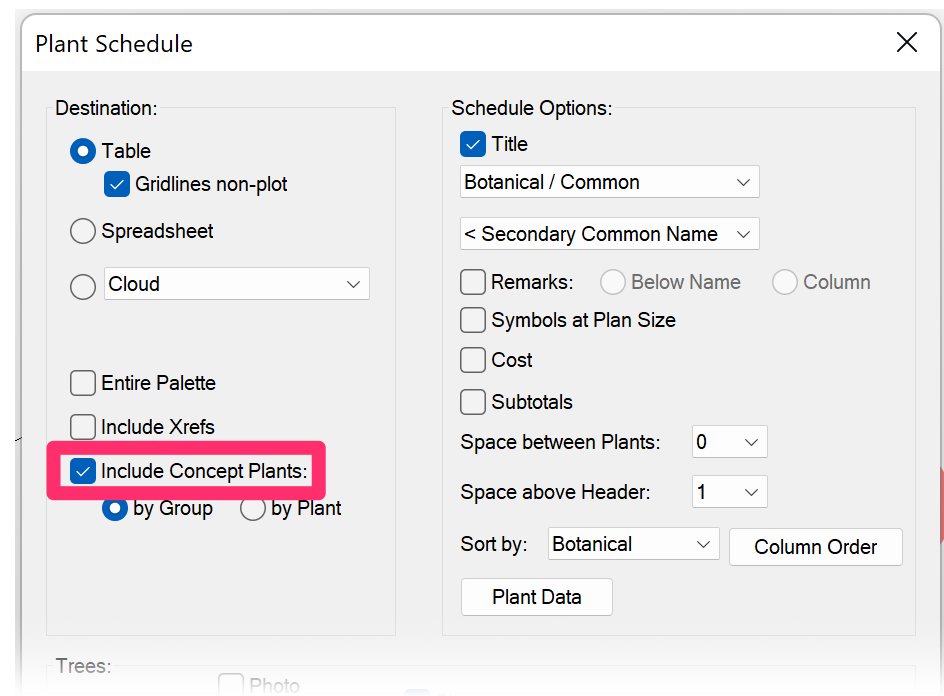
Place a Plant Schedule showing the plants in the mixes, taking care to select the option to Include Concept Plants.
Step 3: Use Your Modules Across Multiple Projects
Connect Your Modules to Details
When you use your planting modules across multiple projects, you'll want to have details that will provide contractors with an in-depth look at what makes up each of your modules. To do so, create details showing each of your modules.
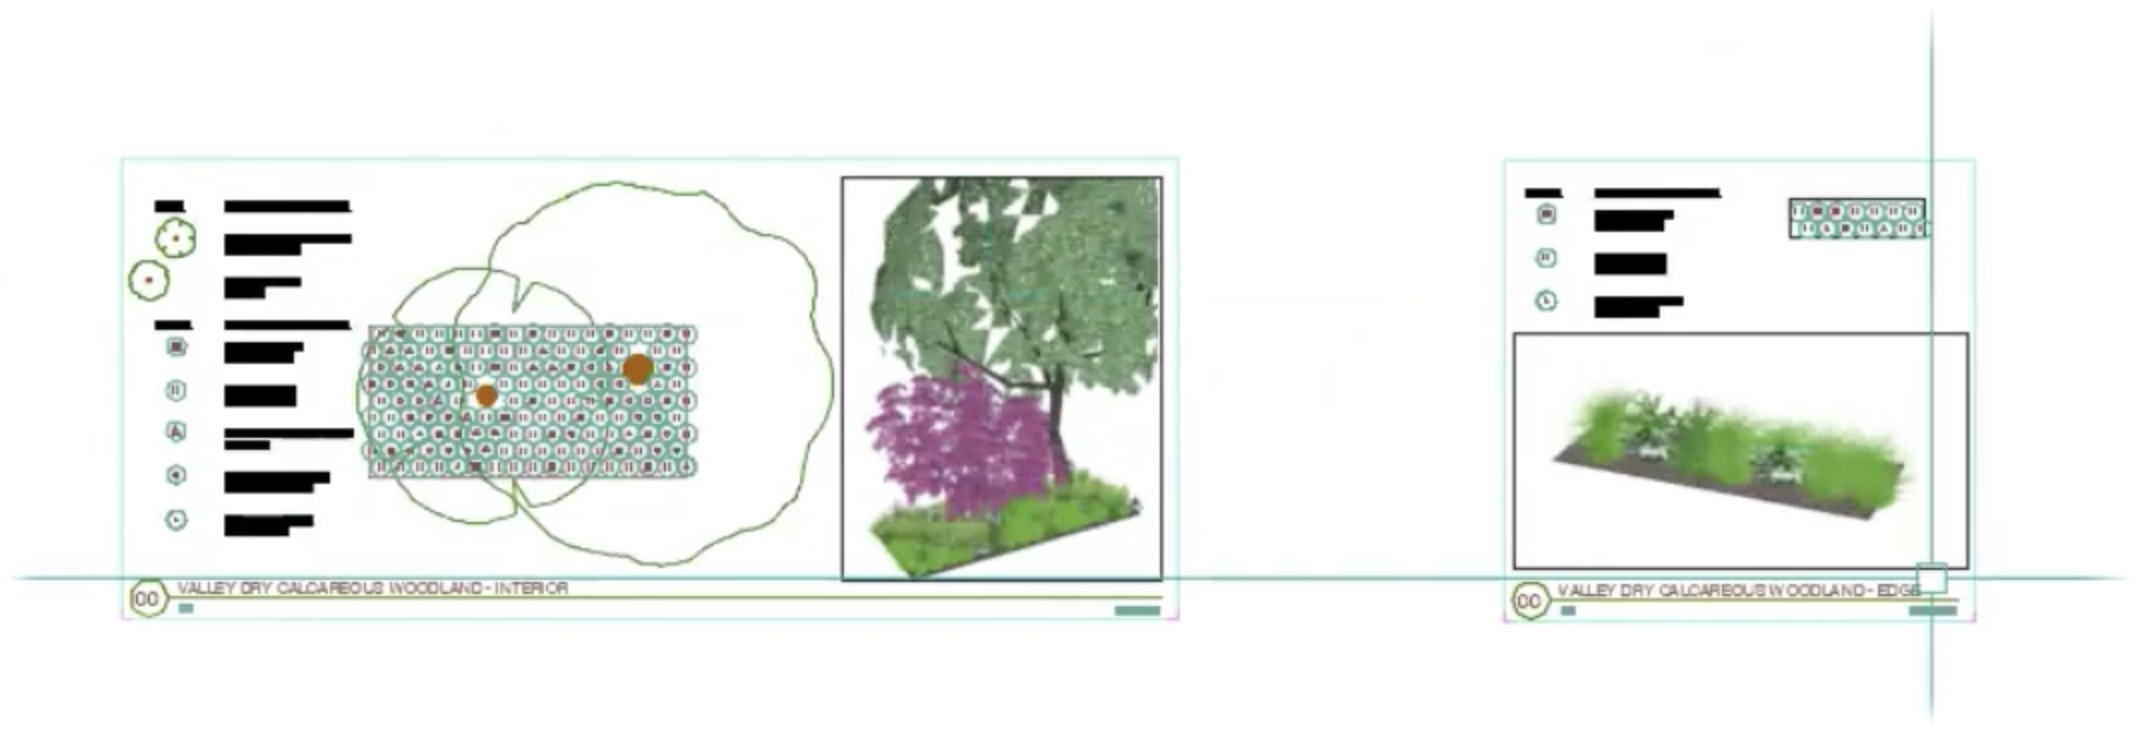
You might also want to use our 3D Connection tool to bring your module into a 3D modeling platform such as SketchUp or Revit®, and include the 3D module into your detail.
You can then add your details to each Land F/X project where you plan to use your modules, and place your details where needed.
Save Your Modules in a Template and Import
To make your modules available for use in multiple projects, follow our steps to create a Land F/X Project Template based on the Land F/X project that includes your module mixes. You can then import your module mixes from that Template whenever you need them.


